
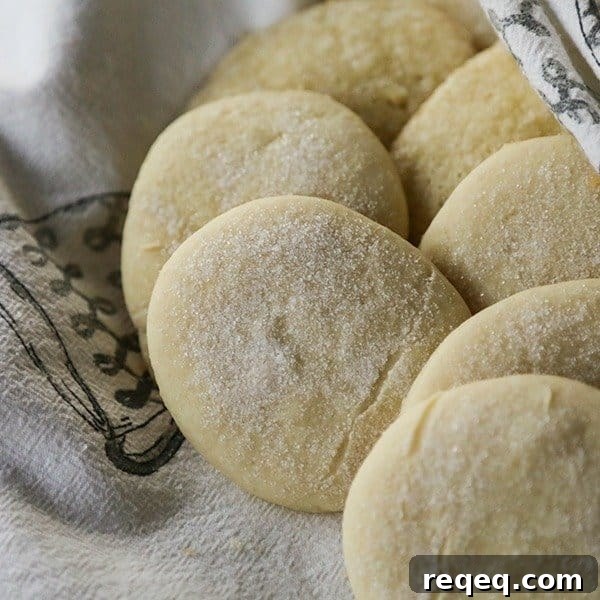
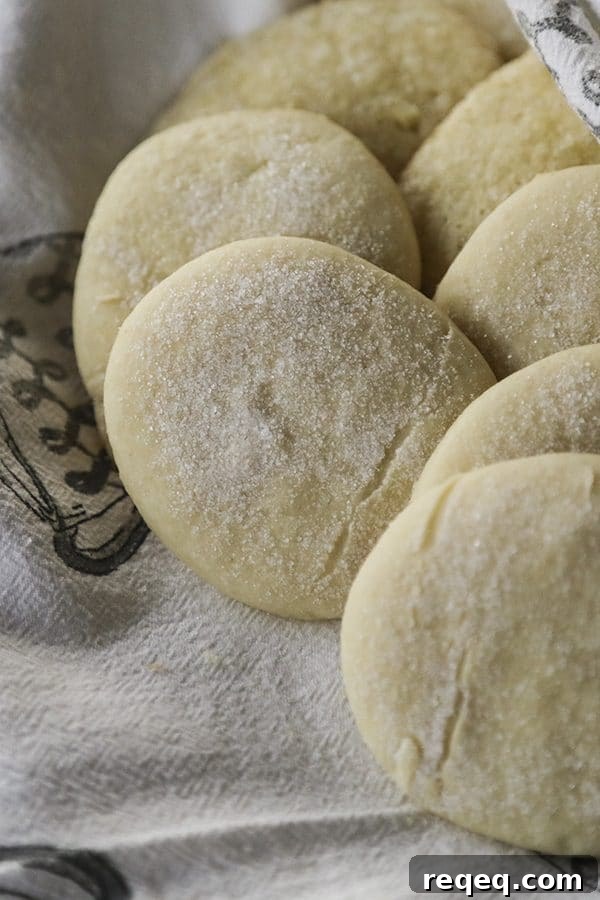
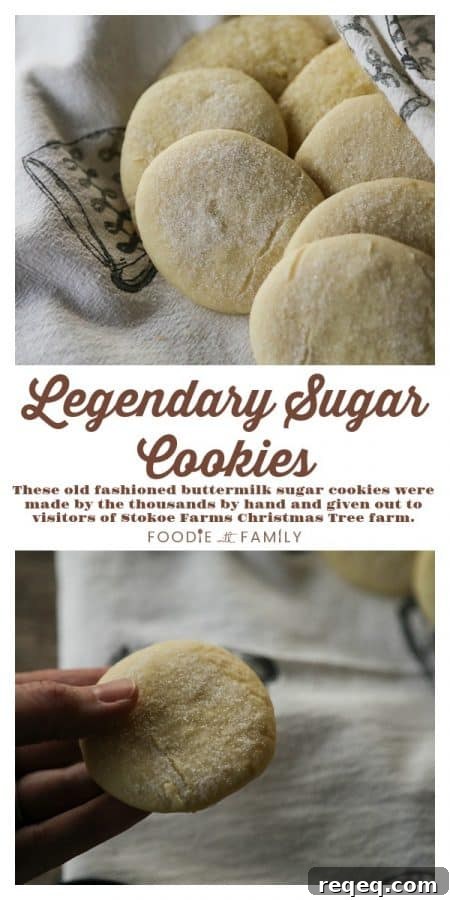
Disclosure: This post was sponsored by The Real Christmas Tree Promotion Board; all opinions are my own. The pillowy, tender Stokoe Farms’ Legendary Sugar Cookies recipe comes from Martha Stokoe and her grandmother, Grandma Dewart, and I’ve standardized it for the home cook. These cookies are soft, sweet, fluffy, old-fashioned, and delicately tender.
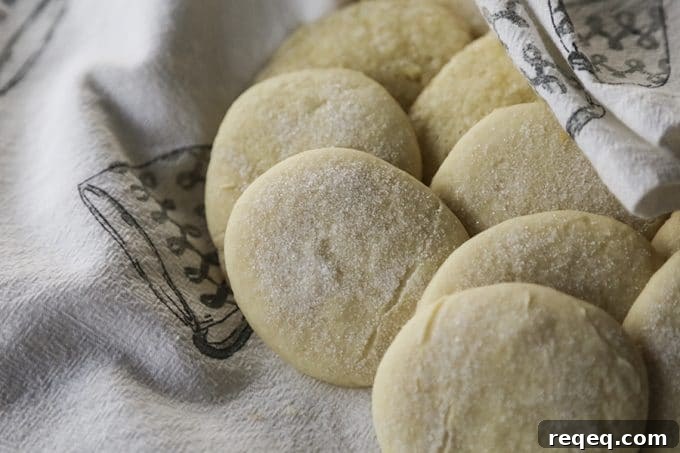
When I visited Stokoe Farms in October, I learned that until recently Martha would bake thousands of these sugar cookies each December to hand out with hot chocolate to visitors at the Christmas tree farm. Many guests returned year after year just for the cookies. Naturally I wanted the recipe—and Martha kindly shared Grandma Dewart’s original recipe and gave me permission to share it here.
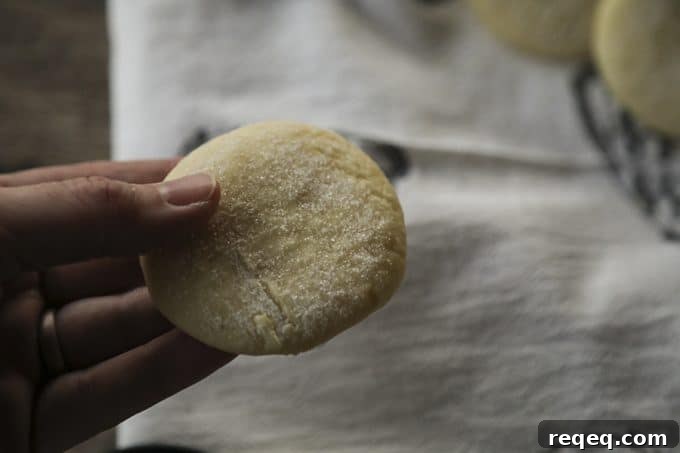
I’m grateful to the Stokoe family: they grow beautiful Christmas trees and passed along this legendary cookie recipe. Below I share the full recipe and practical notes so you can successfully make these at home.

Before the recipe, a word about Christmas trees: we choose real trees because of the full sensory experience—the scent, texture, and tradition. This year we visited Stokoe Farms, rode the hay wagon through rows of blue spruces and Douglas firs, and picked a Fraser fir. We spent time wandering among the trees, enjoying the weather and the fragrant needles, and finally picked a full, symmetrical tree the kids call a “chubby baby.” Two of my boys helped cut it down while the rest of us hauled it back to the wagon.

Photo by Aidan Lindamood
At the gift shop the staff shook the tree to remove loose needles, baled it, and drilled a hole at the base so it would sit easily and securely in the stand they recommend and sell. That simple step made setup quicker and easier than ever. We brought the tree home, decorated it, and enjoyed Stokoe Farms’ Legendary Sugar Cookies while we worked.
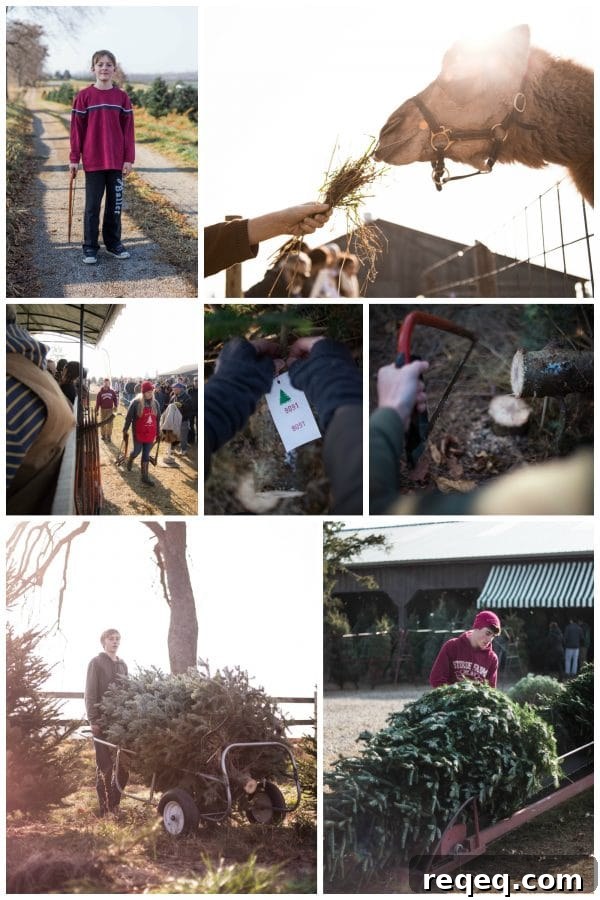
Photos by Aidan Lindamood
I’m firmly in the sentimental, homemade-ornaments camp when it comes to decorating. Unpacking each ornament brings a memory, and sometimes I get a little teary. I love the nostalgia and warmth of Christmas.
How do you decorate your tree? Do you prefer a themed, show-stopping tree or the homemade, sentimental kind? Or something in between?
Cook’s Notes:
- Whisk or sift the flour and salt together before starting.
- Take your time creaming the butter and sugar—fully incorporate them before adding other ingredients.
- Keep extra all-purpose flour on hand. The dough should be firm but slightly sticky; depending on humidity you may need to add more. I sometimes add up to an extra cup.
- Chill the dough before rolling or scooping—refrigerate for at least 8 hours or overnight. Do not try to freeze and slice a rock-hard roll of dough; it’s difficult to slice and frustrating to work with.
- You can either scoop or roll and cut the dough. If scooping, roll the dough balls in granulated sugar before baking for a sparkly exterior.
- A silicone mat on the counter helps keep things tidy and makes lifting cut cookies easier if you didn’t use much flour.
- Flour your work surface generously to avoid tearing cutouts.
- Martha recommends greasing cookie sheets; using parchment gives extra insurance and speeds up batch work.
- If you prefer frosted cookies, use a classic sugar-cookie frosting that hardens, but these are wonderful plain.
Prep Tips
- Stand mixer speeds up creaming and mixing.
- A silicone spatula helps scrape bowls clean.
- A rolling pin and silicone mat make rolling and cutting easier.
- Round cookie cutters or cookie scoops work well depending on your chosen method.
Stokoe Farms’ Legendary Sugar Cookies
Rebecca Lindamood
15 mins
10 mins
25 mins
Ingredients
- 3 cups sugar
- 1 pound butter, softened to room temperature
- 3 medium eggs
- 2 cups buttermilk
- 1 teaspoon baking soda
- 1 teaspoon vanilla
- 6 to 7.5 cups all-purpose flour
- 2 teaspoons salt
- extra sugar for rolling or dusting
Instructions
To Make the Legendary Sugar Cookie Dough:
-
In the bowl of a stand mixer fitted with the paddle attachment (or in a large mixing bowl using a mixer), cream the sugar and butter until light and fluffy. Add the eggs one at a time, beating until fully incorporated. In a measuring cup, gently stir together the buttermilk and baking soda. Add the buttermilk mixture and the vanilla to the butter mixture and beat on low until the liquid is incorporated; then increase speed and beat until the texture is even.
Whisk or sift together 6 cups of the flour and the salt, then add it all at once to the butter and buttermilk. Beat on low until combined. Scrape down the bowl and beat once more until smooth. The dough should be firm but slightly sticky. If needed, add more flour 1/4 cup at a time, beating after each addition, until the dough reaches the right consistency.
For Cut Out Cookies:
-
Transfer dough to a sheet of plastic wrap and pat into a disc. Wrap tightly and refrigerate for 8 hours or overnight. Preheat oven to 350°F. Grease or line rimmed sheet pans with parchment paper. Generously flour your work surface and roll dough to 1/4-inch thickness, dusting as needed. Cut with cookie cutters and place at least 3 inches apart on prepared pans. Sprinkle generously with granulated sugar. Bake 8–12 minutes depending on size, until set. Let rest on the pan for at least 3 minutes before transferring to a wire rack to cool completely. Frost or leave plain.
For Scooped Cookies:
-
Bring the dough together in the mixing bowl with a spatula or bench knife. Wrap tightly and refrigerate for 8 hours or overnight. Preheat oven to 350°F and prepare sheet pans. Pour granulated sugar into a shallow dish. Use a medium cookie scoop to form dough balls, roll each in sugar, and place at least 3 inches apart on prepared pans. Bake 8–12 minutes depending on size, until set. Let rest on the pan for at least 3 minutes before transferring to a wire rack to cool completely. Frost or leave plain.
Nutrition
Calories: 48 kcal
Carbohydrates: 5 g
Fat: 3 g
Saturated Fat: 1 g
Cholesterol: 12 mg
Sodium: 77 mg
Potassium: 7 mg
Sugar: 4 g
Vitamin A: 105 IU
Calcium: 6 mg
Nutritional information is an estimate and provided as a courtesy. Calculate nutrition using the exact ingredients you use if needed.
Did you make this recipe?
Tag @foodiewithfam on Instagram and use #foodiewithfamily so I can see your cookies!
Did you know real Christmas trees are better for the environment and local economy than fake ones?

How to keep your Christmas tree from shedding needles
The Stokoe family shared a few simple tips to keep a real tree from dropping needles:
- Cut a fresh slice off the bottom before placing the tree in the stand. For extra assurance, drill a few holes near the base below the water line so the tree can take up water more easily.
- Keep the tree well watered. Don’t add gimmicks—just fresh water and don’t let the stand run dry.
- Keep the tree away from fireplaces, wood stoves, space heaters, or other heat sources that accelerate drying.