
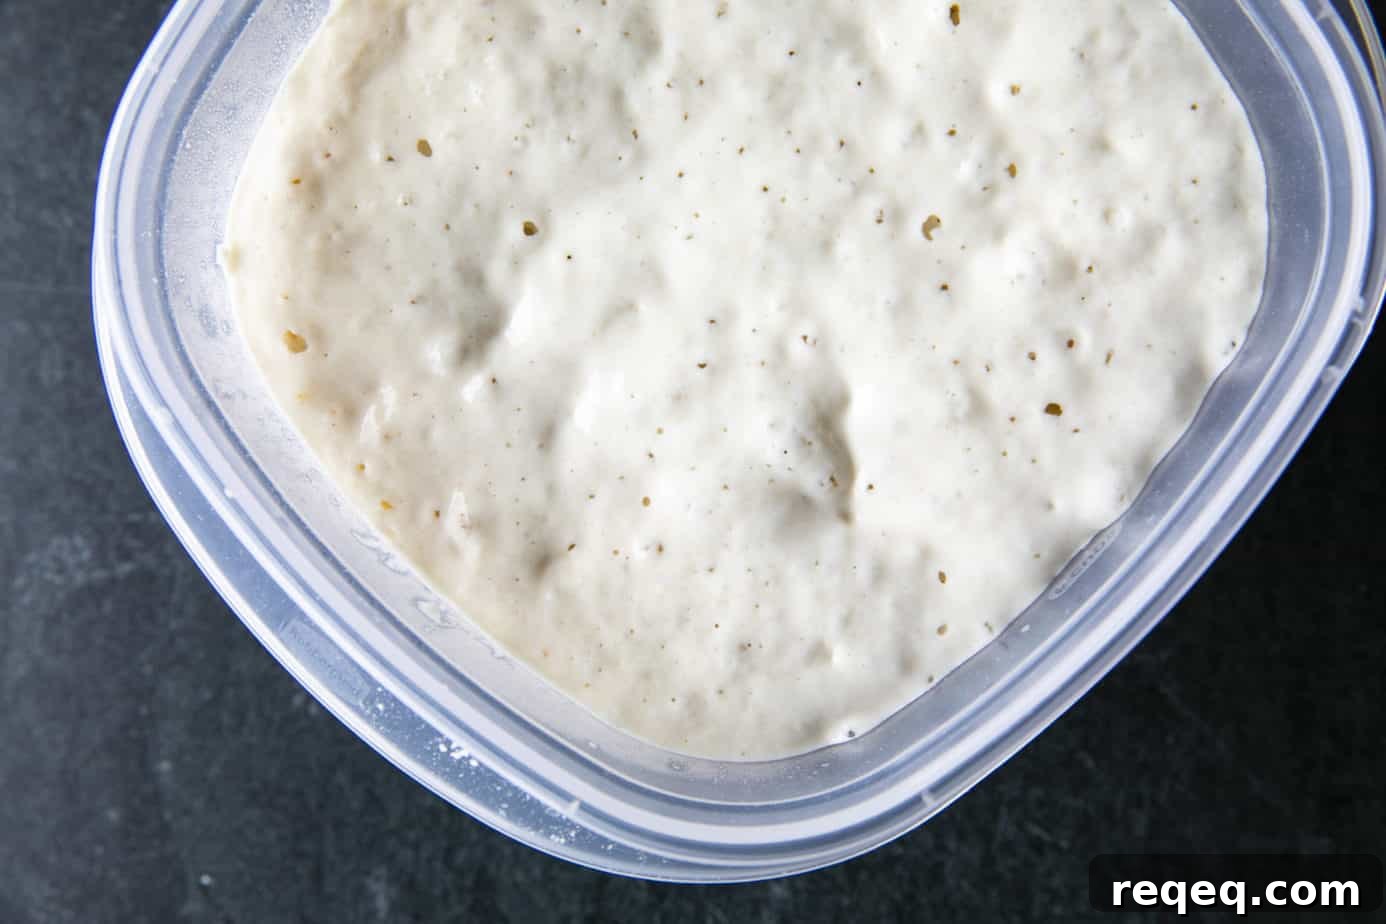
Have you been wondering how to make a sourdough starter? With commercial yeast sometimes hard to find, making your own starter from just flour and water is a reliable option—and easier than you might think.
Once established, your starter will leaven bread naturally, giving you delicious sourdough without added yeast. You can also use a little commercial yeast in some recipes if you prefer, but this guide focuses on building and maintaining a robust, all-natural starter from scratch.
This article is organized into equipment, ingredients, and step-by-step instructions so you can skip quickly to the section you need. The method is straightforward and designed for consistent, reliable results.
Equipment needed to make sourdough starter
At minimum you need a spoon, a liquid measuring cup (or dry measuring cup if you prefer), and a food-safe container that holds 4 to 8 cups with a loose-fitting lid. A few inexpensive extras make the process easier and more predictable:
Kitchen scale
A small kitchen scale that can tare (reset to zero) is the most useful tool for sourdough. Sourdough starter expands significantly when active, so measuring by weight ensures consistent feedings and predictable results. If you don’t have a scale, you can use volume measurements, but weight is more reliable and easier once you get used to it.
Two or three 6–7 cup containers with lids
One container is enough, two are convenient, and three are ideal. Having multiple identical containers simplifies feeding, storing discard, and keeping a clean vessel ready for the next feeding.
Silicone spatula or dough whisk
A spoon works, but a spatula or dough whisk speeds mixing and scraping the container clean at each feeding.
Ingredients for sourdough starter
At its simplest, a starter needs only water and flour. For the initial mix, use whole wheat or rye flour because the bran and germ contain more nutrients that kick-start fermentation. After day one, switch to an unbleached all-purpose flour for more consistent, stable activity.
Use the same type of flour for regular feedings whenever possible. King Arthur All-Purpose or Bread Flour is a reliable choice, but any unbleached all-purpose or bread flour will work.
Water should be non-chlorinated if possible. Temperature matters: if your home is cool (around 68°F/20°C or below), use lukewarm water to encourage activity. If your home is warm (70°F/21°C or above), use cool-to-the-touch water to avoid overactive fermentation.
Feeding frequency
To get a new starter active you’ll feed it twice daily for several days. After it’s established—usually five to ten days depending on temperature and environment—you can refrigerate it and feed it once every 7–10 days. When refrigerated, bring it back to room temperature and give it a couple of feedings before using for recipes that require a ripe starter.
What is sourdough discard?
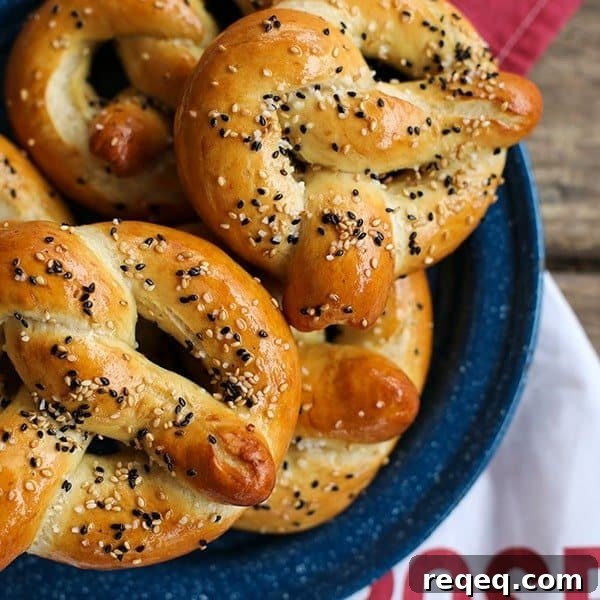
When feeding starter, you divide and remove part of it before adding fresh flour and water. That removed portion is called “discard.” Discard keeps the overall starter volume manageable and maintains a healthy balance of microbes. It’s also very useful: discard can be used to make pancakes, waffles, crackers, pizza dough, pretzels, and many other baked goods.
How to make sourdough starter (5–7 day plan)
DAY ONE
Measure 4 ounces (by weight) of whole wheat or whole rye flour (about a scant 1 cup by volume) and 4 ounces of lukewarm water (about 1/2 cup) into a food-safe container. Stir until there are no dry pockets. Cover loosely so air can circulate but evaporation is limited—use a lid set on top, plastic wrap, or waxed paper.
Place the container where the temperature is steady and warmish (around 68–75°F / 20–24°C). If your home is cool, use a warm spot such as the top of a fridge, near (not directly on) a woodstove, or inside a cold oven with the light on. Avoid very hot or drafty locations.
Sample schedule: start at 9:00 AM.
DAY TWO
After about 24 hours you may see small bubbles under the surface when viewed from the side. If not, don’t worry—cooler temperatures can delay visible activity. Stir down the starter, remove and refrigerate half as discard, then feed the remaining starter with 4 ounces all-purpose flour and 4 ounces lukewarm water. Stir until smooth, cover loosely, and return to the warm spot.
Sample schedule: feed at 9:00 AM.
DAY THREE
You should see more bubbles and a pleasantly tangy, slightly fruity aroma. Shift to feeding every 12 hours from this point. Each feeding: stir down, discard half, then feed the remaining starter with 4 ounces all-purpose flour and 4 ounces water. Cover loosely after each feeding.
Sample schedule: feed at 9:00 AM and 9:00 PM.
DAYS FOUR–FIVE (AND BEYOND)
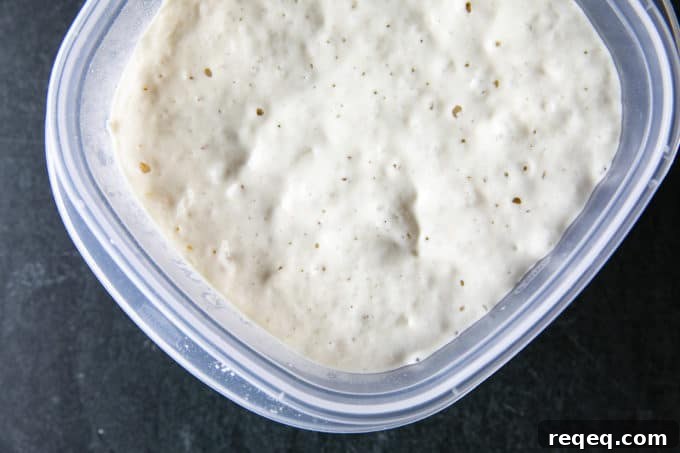
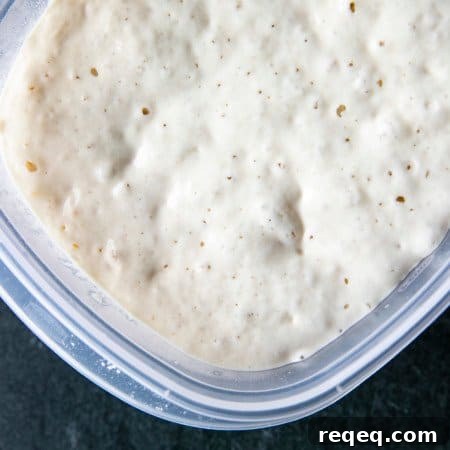
By days four to five the starter should show frequent bubbles, a fruity tang, and rising volume near feeding times. Some liquid (hooch) may appear on top; this is normal. If the starter hasn’t become reliably bubbly and rising by day five, continue twice-daily feedings—some starters take up to two weeks to mature depending on environment.
When your starter consistently doubles or nearly doubles in volume between feedings, has many bubbles of different sizes, and smells fruity and pleasantly tangy, it’s ready to bake with.
You can continue twice-daily feedings to keep it very active, or refrigerate after a feeding and maintain it with weekly feedings. If refrigerated, bring the starter back to room temperature and feed it a couple of times before using in recipes that need a ripe, vigorous starter.
How to Make Sourdough Starter
Rebecca Lindamood
Equipment
-
bowl or food-safe container
-
spoon, silicone spatula, or dough whisk
-
liquid + dry measuring cups or kitchen scale
Ingredients
- 4 ounces whole wheat or whole rye flour by weight. If using volume measurements, this is about 1 scant cup.
- 4 ounces lukewarm water per feeding by weight. If using volume measurements, this is 1/2 cup water.
- 4 ounces unbleached all-purpose flour per feeding by weight. If using volume measurements this will be a scant cup.
Instructions
DAY ONE
-
Measure 4 ounces whole wheat or whole rye flour and 4 ounces lukewarm water into a clean container. Stir until smooth.
-
Cover loosely and place in a warm, steady spot (about 68–75°F / 20–24°C).
DAY TWO
-
After ~24 hours stir down, discard half into a separate container (store refrigerated for discard recipes), then feed the remaining starter with 4 ounces all-purpose flour and 4 ounces lukewarm water. Stir until no dry pockets remain. Cover loosely.
DAY THREE
-
You should see more bubbles and a pleasant, fruity tang. Begin feeding every 12 hours: stir down, discard half, then feed with 4 ounces all-purpose flour and 4 ounces water each feeding. Cover loosely.
DAY FOUR–FIVE (AND BEYOND)
-
By now the starter should be bubbly, tangy, and rising higher before feedings. Continue twice-daily feedings until it reliably doubles or nearly doubles between feedings. This can take 5–14 days depending on conditions.
-
When your starter is full of bubbles, rises consistently, and smells fruity and tangy, it’s ready to bake with. To store, feed and refrigerate; bring back to room temperature and feed for a day or two before using.
Nutrition
Nutritional information is an estimate provided as a courtesy. Calculate nutrition using the actual ingredients in your recipe if needed.