
UPDATE (12/10): Since first writing this post almost two years ago, I have continued experimenting with ways to cook beans. While I still use the slow cooker most often, one thing has changed: I now add salt at the beginning of cooking. It doesn’t slow the beans’ cooking time and it gives them noticeably more flavor than salting at the end. Salt away!
Beans are one of the best budget foods: full of fiber and nutrients, easy to store, and very inexpensive. They’re affordable enough that almost anyone can keep them on hand. Yet dried beans can feel intimidating if you haven’t cooked them before. Many recipes and cookbooks add complicated steps that aren’t necessary for a simple pot of tender beans. My goal here is to simplify the process so you can confidently cook dried beans at home.
Why bother with dried beans when canned beans are convenient? Dried beans store for years in a cool, dry place, cost less per pound, and usually taste better. Most importantly, cooking from dried beans lets you control the sodium content. Canned beans often contain high levels of salt, which can be a health concern. If you’ve never tried dried beans, give them a chance—you might find you prefer them.
Over the next few weeks I’ll share a bean recipe each Thursday or Friday so you’ll have time to test them over the weekend. Today’s post is a straightforward tutorial to get your dried beans ready for recipes. My method is simple and reliable. You’ll need a slow cooker; a basic model with HIGH and LOW settings is all you need. If possible, buy a larger basic slow cooker so you can cook bigger batches. I usually cook more beans than we need in one meal and freeze portions for soups, stews, dips, or refried beans later.
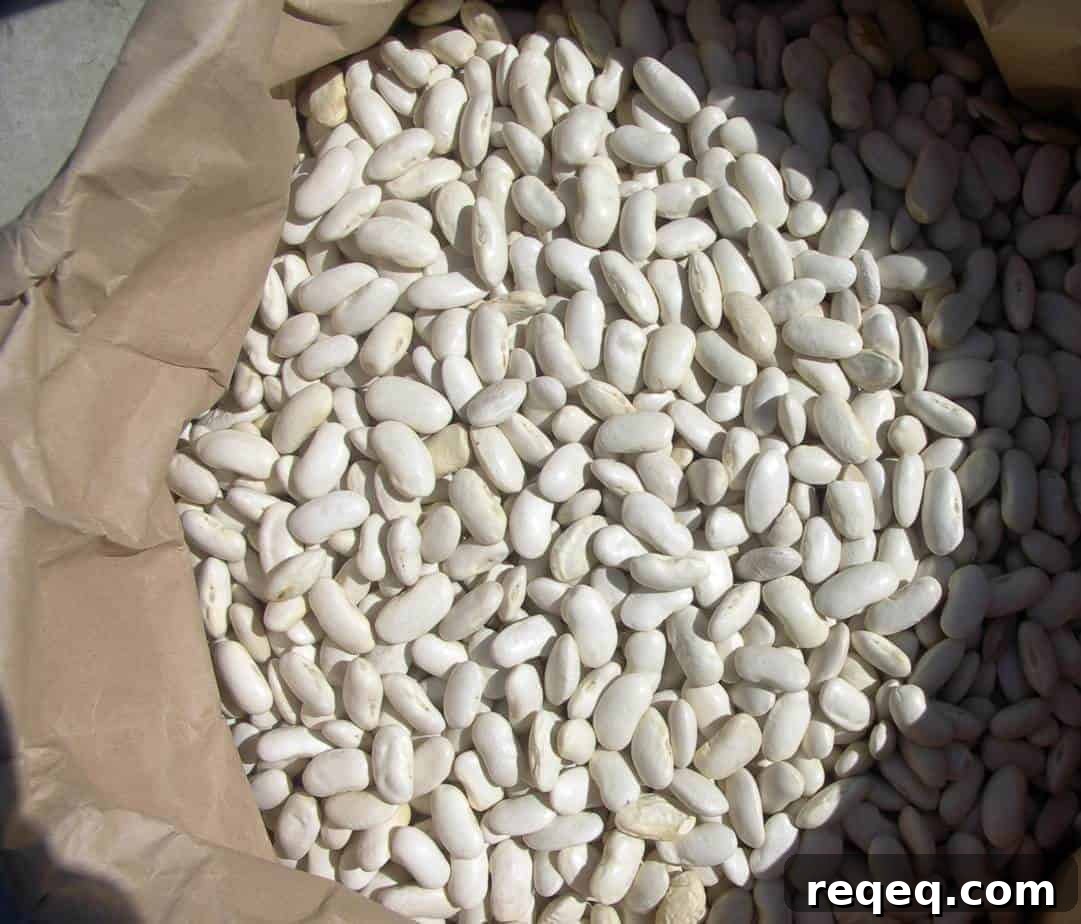
This tutorial uses cannellini (white kidney beans) because they’ll be used in tomorrow’s recipe, but the method works for any dried bean: pinto, black, kidney, lima, garbanzo, and others.
Dried Beans: A Tutorial
Necessary equipment:
- a slow cooker
- a saucepan to boil water
Ingredients:
- 1 lb dried beans (about 2 cups) — cannellini used here, but any variety will work
- 2 bay leaves
- 2–3 frozen onion tops or 1 cooking onion, peeled and halved
- 2 quarts boiling water
- salt to taste
Start by pouring the dried beans into a colander.
Pick through the beans to remove any misshapen, discolored beans or small stones. Because dried beans are similar in size and color to pebbles, it’s not uncommon to find a few small rocks or bits of debris. After picking through, rinse the beans thoroughly under cold water, rubbing them in the colander to wash away dirt and dust. This also gives you one more chance to inspect them.
Transfer the rinsed beans to the slow cooker. Nestle the bay leaves and onion tops (or halved onion) on top of the beans. Sprinkle about a teaspoon of salt over the beans, adjusting to taste.
Pour in boiling water—make sure it’s truly boiling, as that jump-starts the cooking process. You want about two inches of water covering the beans. Quickly put the lid on the slow cooker and set it to HIGH. If the water doesn’t cover the beans by at least two inches, bring more water to a boil and add it as soon as possible. Set a timer for three hours and relax or do something enjoyable while the beans cook.
After three hours, test a couple beans. Use a spoon to remove a few beans quickly, replace the lid, and blow on the beans to cool them slightly. If the skins have curled away and the beans are tender through the center when you bite them, they’re done. Many smaller beans like black or pinto will be done around this time, especially if they’re relatively fresh. If they’re finished, you can use them immediately, refrigerate them—covered in their cooking liquid—for up to four or five days, or freeze portions.
If the beans are still firm in the center (common for larger or older beans such as cannellini, garbanzo, or butter beans), switch the slow cooker to LOW and add more boiling water if needed to keep the beans covered. Continue cooking for about four more hours and test again. Repeat the test and additional cooking as needed until the beans are tender. Some beans, especially garbanzos, can take a very long time and may need to simmer overnight. Beans are forgiving as long as they stay covered in water; if they’re overcooked you can always mash them into a dip or refried beans.
To freeze cooked beans, portion them into one- or two-cup servings in airtight containers. Ladle enough of the cooking liquid over the beans to keep them from drying out and leave a little headspace for expansion. Seal the containers tightly and freeze for two to three months for the best texture and flavor. Alternatively, pack beans and their liquid into freezer bags, lay them flat to freeze, and save space in the freezer. After a few months the texture and taste start to decline, but they’ll still be fine for mashing into dips.