


My husband can cook. He’s an engineer, so his approach to the grill often comes with words like “matrix,” “schematic,” and “sequence.” The language might be technical, but the results are delicious, and I love watching him work when inspiration strikes.
One weekend he called from town after stopping for lawn tractor parts and asked, “Do you have plans for dinner? I want to grab some chicken and try a two-stage method: smoke it first to render some fat and infuse flavor, then finish it on the grill while brushing on sauce. Sound good?” I said, “Absolutely!”
He’s entertaining to watch—part mad scientist with seasoning flying and part master tactician quietly satisfied as everything comes together.
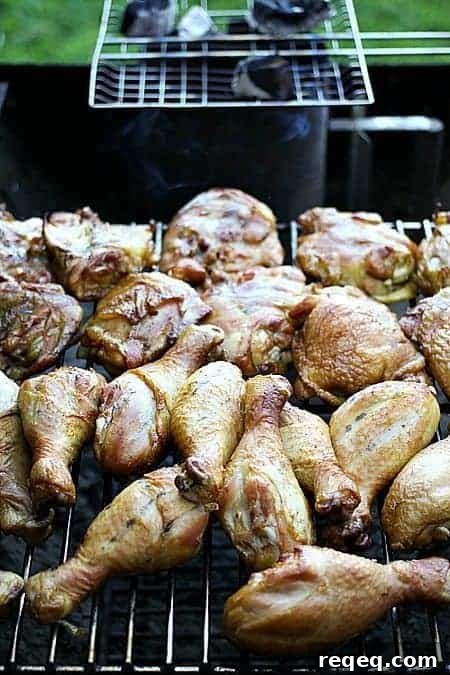
Stage one: the charcoal grill set up for indirect smoking. He removed one grate so a chimney starter could sit low in the grill, then placed a grill basket or small rack over the chimney to hold soaked hardwood chunks. The chimney concentrates the coals to one side and sends heat up to the wood, producing steady smoke. He smoked the chicken for about two hours, until the skin turned golden and fat began to render.
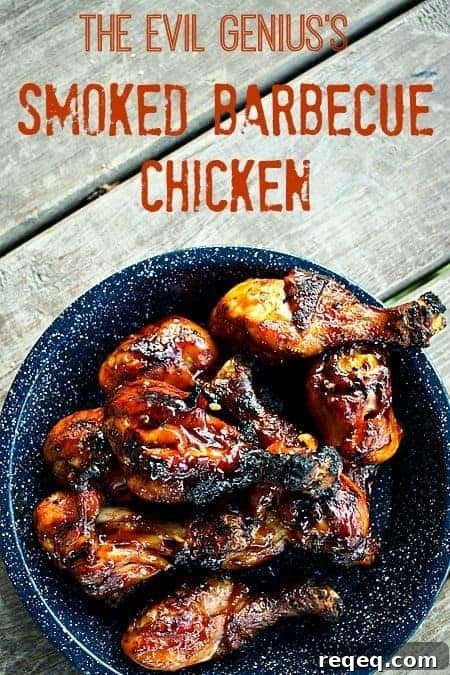
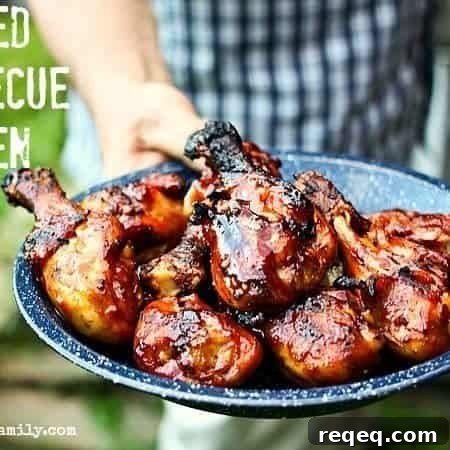
Stage two: the chicken moved to a low-heat grill (gas or charcoal works). He grilled for roughly 20–30 minutes, flipping as needed to prevent flare-ups from the rendered fat. Then he began brushing on his barbecue sauce in a deliberate sequence—brush all pieces, flip each one, brush again—until the sauce caramelized into a sticky, tangy, mahogany glaze. He used his father’s barbecue sauce, which added the perfect balance of sweet, tangy, and a hint of heat.
The finished chicken is tender and smoky with a sticky, flavorful coating you keep going back to. It’s the kind of dish where the taste lingers and makes you reach for another piece.
Cook’s Notes:
- Use a chimney-style charcoal starter with a wooden or heat-resistant metal handle so nothing melts while it heats.
- You can complete this method using a single grill; a second grill just makes transitions easier. If using one grill, make sure the chimney starter fits and the lid closes.
- While smoking, you don’t need to stand over the grill constantly—check and rotate the chicken every 20 minutes so each piece gets equal smoke exposure.
- Do not leave the grill unattended during the second stage. The rendered fat can cause flare-ups, so stay nearby while grilling and while you repeatedly brush and flip the chicken until the sauce is caramelized and sticky.
The Evil Genius Smoked Barbecue Chicken
Ingredients
Ingredients needed:
- Bone-in, skin-on chicken thighs or drumsticks (or a combination)
- Seasoning salt
- Barbecue sauce
Equipment needed:
- Chimney-style charcoal starter with a heat-safe handle
- Lump charcoal or briquettes
- Grill basket top half or a small toaster oven rack
- Chunks of hickory, mesquite, or apple wood, soaked briefly
- A large gas or charcoal grill (one or both)
Instructions
- Sprinkle the chicken pieces on all sides with seasoning salt and set aside.
To Smoke the Chicken:
- Place the chimney starter in the grill where it will fit with the lid closed; remove a rack if needed. Fill the chimney half full with charcoal and light it (crumpled paper under it works). Once the coals are glowing, set the rack or basket on top and arrange the soaked wood chunks over the hot section.
- Arrange the chicken pieces on the grill to the side of the chimney starter without touching it. Close the grill with the vent mostly closed. Rotate the chicken every 20 minutes so each piece gets equal exposure to smoke. Smoke for about 2 hours, adding another wood chunk if the smoke source fades.
- If you have a second grill, heat it to low now. If using just one grill, remove the chicken briefly and create a low-heat zone or bed of coals. Place the chicken over low heat and grill for 20 minutes, flipping as needed to control flare-ups from the rendered fat. After 20 minutes, begin a sequence of brushing with barbecue sauce: brush all pieces, flip, and brush again. Continue flipping and brushing for about 10 minutes until a thick, sticky, caramelized glaze forms. Transfer the chicken to a serving plate promptly.
Nutritional information is an estimate and provided as a courtesy. Calculate nutrition using the exact ingredients you use if needed.
Did you make this recipe?
If you try it, tag @foodiewithfam on Instagram and use #foodiewithfamily so it can be seen and enjoyed!