Recipes 5 min read
Rosemary Parmesan Artisan Bread Recipe for Crispy Crust and Flavor
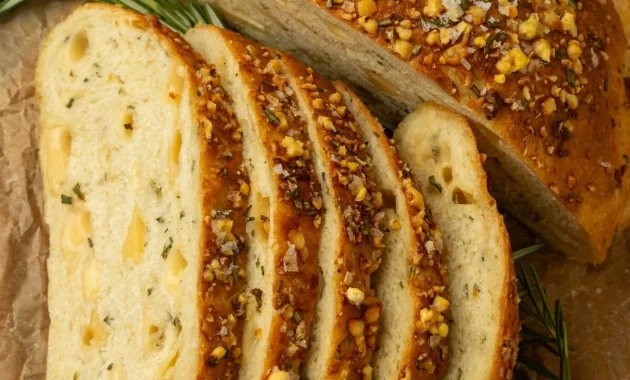
This crusty rosemary Parmesan bread takes about one hour from start to finish and bursts with Parmesan, fresh rosemary, and garlic. Bake one loaf for dinner and freeze the other for later.
Keep reading to learn how to have this aromatic loaf on the table in roughly 60 minutes.
Rosemary Parmesan Bread
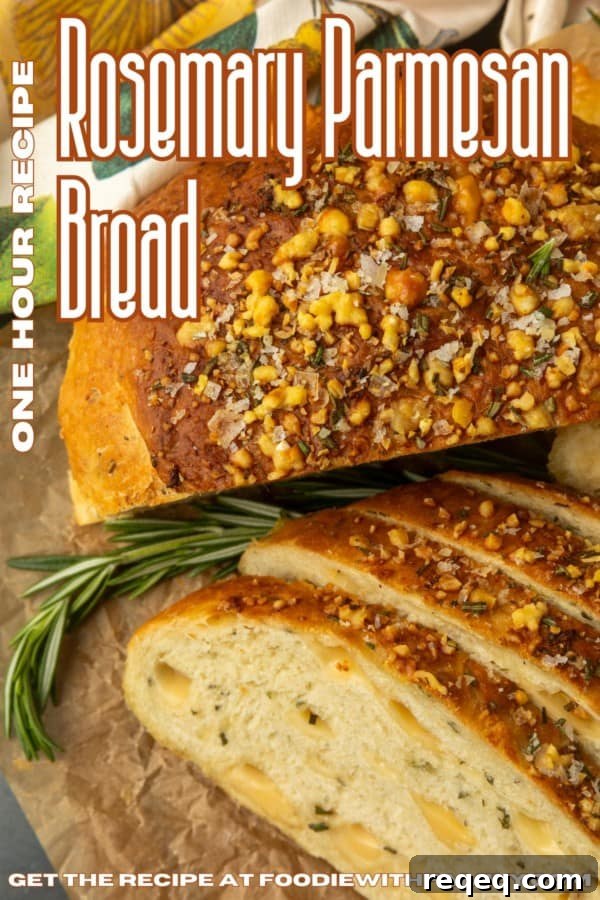
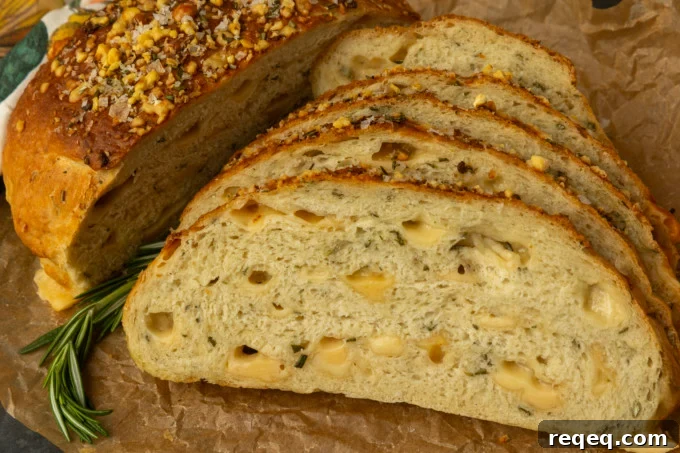
At first glance this loaf is irresistible: a deeply browned crust brushed with garlic olive oil and topped with crispy, nutty Parmesan, fragrant rosemary, and coarse sea salt. The aroma alone will have you reaching for a slice.
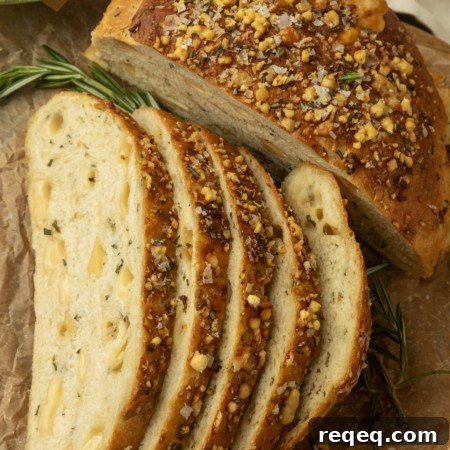
Slice into the loaf and you’ll find chewy, garlicky crumb threaded with minced rosemary and dotted with pockets of melted Parmesan. It’s rustic, bold, and indulgent—perfect alongside soups or stews or simply on its own.
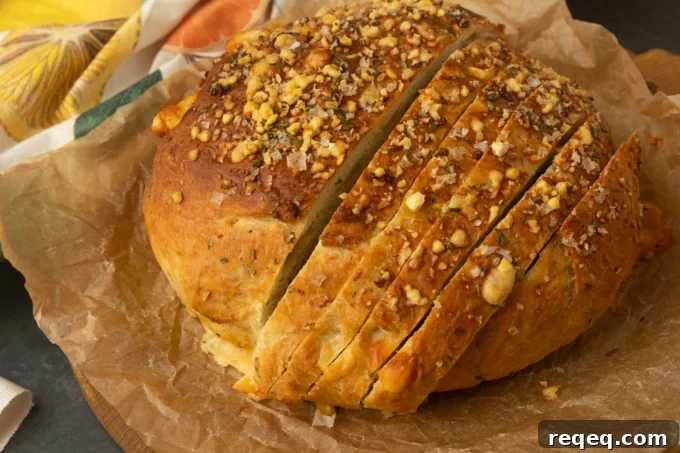
One Hour Bread
Yes—the one-hour timeframe is accurate. While long-ferment breads and sourdough are wonderful when you can commit time, this method produces two impressive loaves in about 60 minutes. It’s a fast, reliable way to enjoy fresh, homemade bread without days of planning.
Over the years I’ve refined this quick approach to make everything from sandwich loaves to enriched regional breads; the technique produces real, excellent bread in a single hour.
Rosemary Garlic Bread
The smell while the loaves bake is unforgettable. Each loaf gets a generous amount of Parmesan and minced fresh rosemary, plus garlic used two ways: granulated garlic mixed into the dough for reliable yeast activity, and fresh minced garlic mixed with olive oil and brushed on top right before baking. That delivers garlic flavor throughout and a bright punch on the crust.
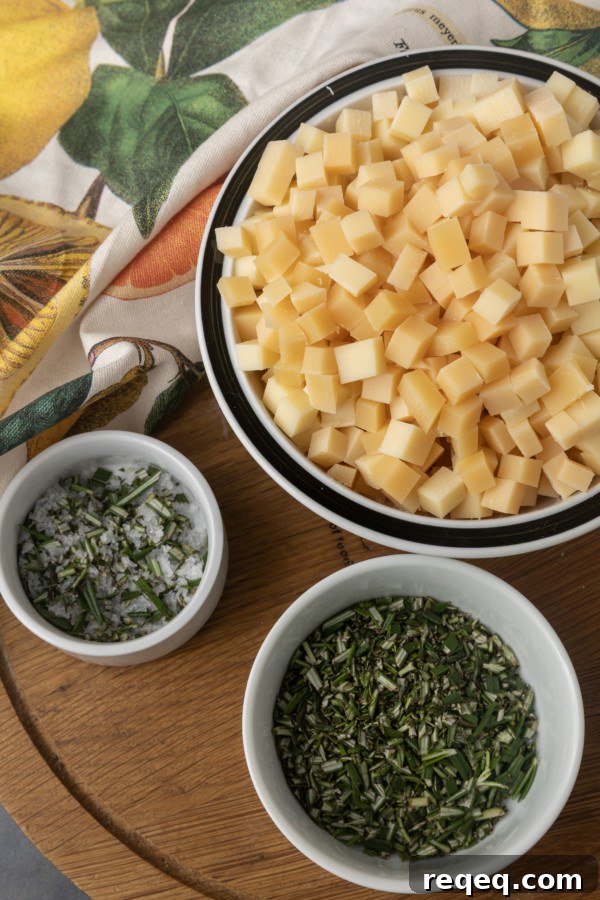
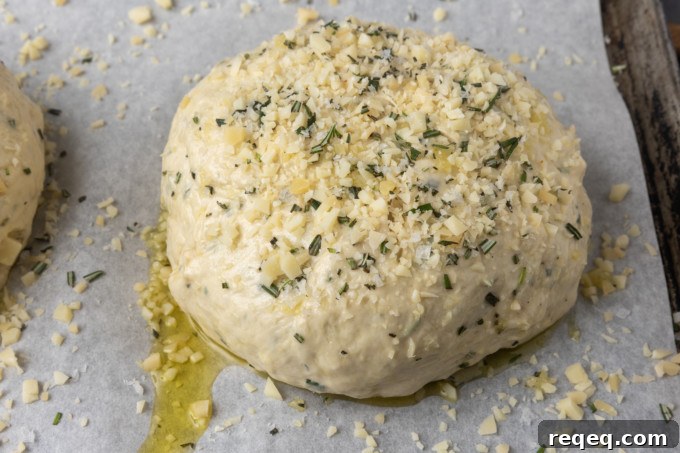
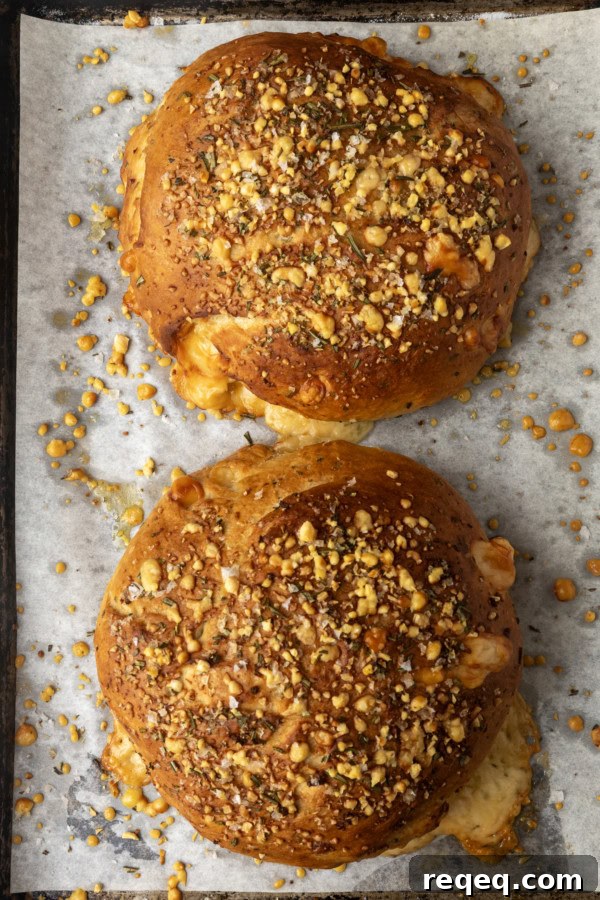
Garlic Parmesan Bread
The trio of rosemary, garlic, and Parmesan is a beloved combination here. If fresh rosemary isn’t available, substitute about 1 tablespoon of dried rosemary for the 1/4 cup fresh called for; crush the dried leaves to avoid prickly pieces. I don’t recommend using dried rosemary as a finish on top—fresh minced rosemary makes a better garnish.
Bread flour (high-gluten) is ideal for this recipe: it gives a chewier texture and better structure. All-purpose flour will still work, but the loaf will be slightly less chewy and the dough can tear more easily while shaping.
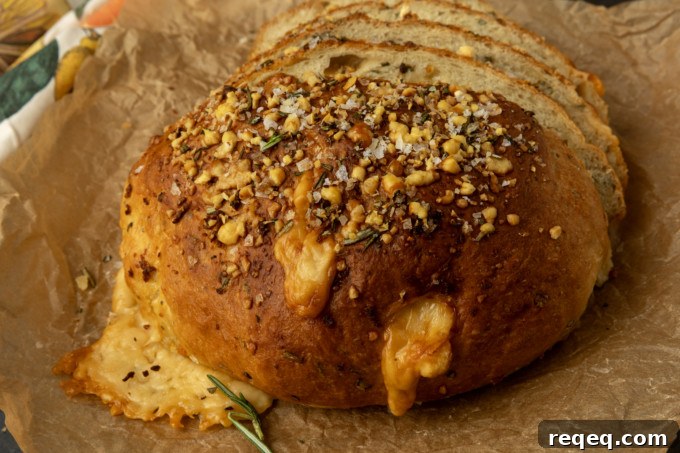
Tears in the dough are not a disaster—Parmesan cubes can puncture the surface while you shape the loaves. Aim to keep the dough as intact as possible, but accept a rustic appearance: melted cheese will ooze and crisp on the pan, which is part of the charm.
Important: avoid slicing into a hot loaf unless you plan to eat most of it within an hour or two. The residual heat continues to cook the crumb, and cutting too soon will cause cheese to flow out and the texture to be less settled. You can certainly enjoy warm bread, but know that a just-cut hot loaf is best eaten quickly.
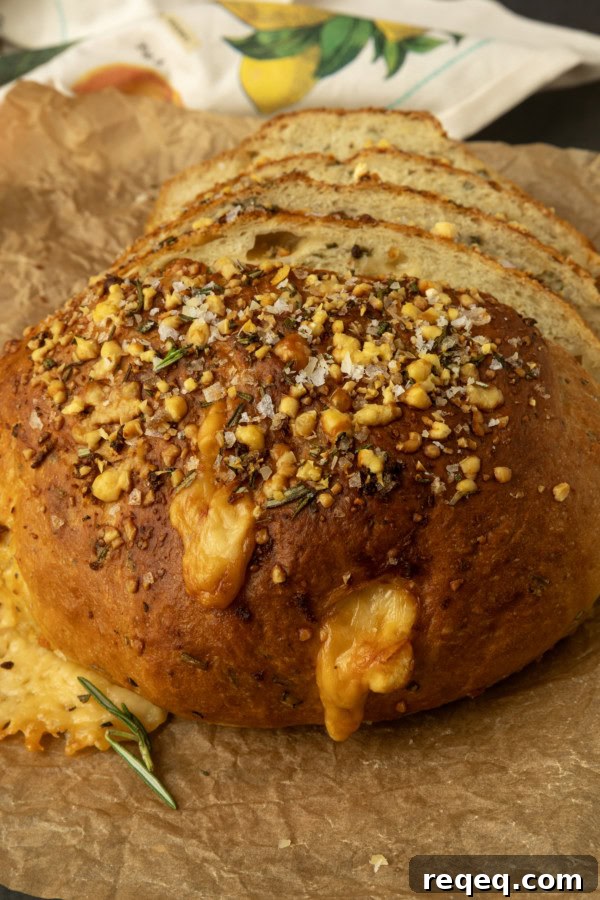
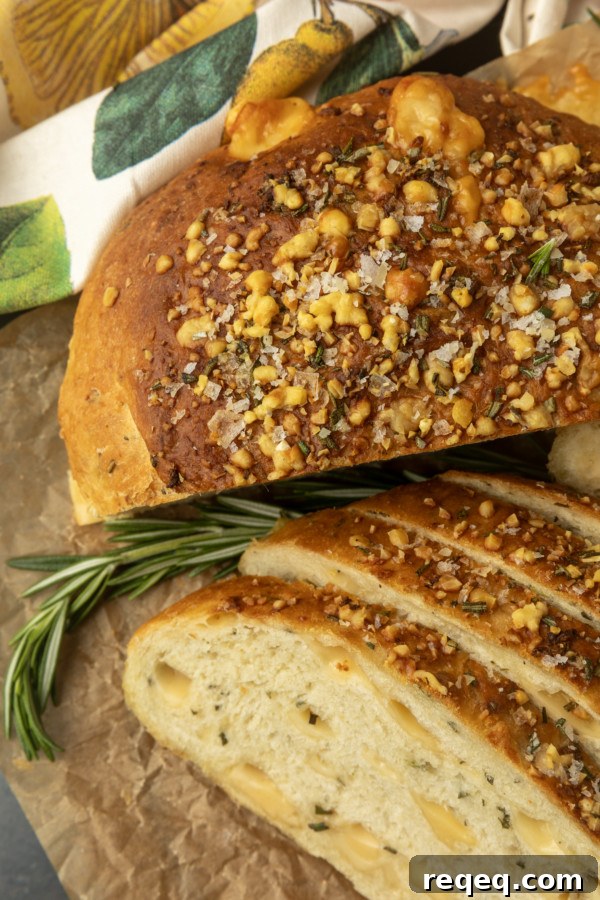
If you prefer a subtler result, use grated Parmesan instead of cubed pieces; you’ll still get excellent flavor without large pockets of molten cheese. The crispy cheese bits that brown around the loaf are delightful—save them if you can.
When cooled, the cheese firms up again but melts readily when reheated. Avoid a standard toaster for warming slices, since the cheese can clog or burn; instead, toast slices briefly in a skillet with butter or olive oil, or use a quick turn under the broiler for the best texture.
Rosemary Parmesan Bread
Rebecca Lindamood
Ingredients
- 6 cups high-gluten flour a.k.a bread flour, 1 pound 9.5 ounces by weight. See notes
- 2 cups warm water
- 1/4 cup fresh rosemary minced, divided (1 teaspoon set aside for garnish)
- 2 tablespoons instant yeast
- 2 tablespoons sugar or mild honey
- 2 tablespoon kosher salt
- 1 teaspoon granulated garlic
- 12 ounces Parmesan cheese cut into 1/4-inch cubes, divided (1/3 cup set aside for garnish)
- 2 tablespoons extra virgin olive oil
- 2 cloves garlic peeled and minced or pressed
- 2 teaspoons coarse sea salt flakes optional
Instructions
-
DO NOT PREHEAT THE OVEN. Start the bread in a cold oven—this is essential to the technique.
-
Bring a kettle of water to a boil. Line a half-sheet pan with parchment or a silpat and set aside.
-
In a mixing bowl or stand mixer fitted with a dough hook, combine the flour, warm water, minced rosemary, instant yeast, sugar (or mild honey), kosher salt, and granulated garlic. Mix until a shaggy dough forms. Knead for 4 minutes in the mixer or about 10 minutes by hand on a lightly floured surface. Return the dough to the bowl, cover with a clean tea towel, and let rest for 15 minutes.
-
Turn the dough onto the counter and divide it into two equal pieces. Gently pat each piece into a rough rectangle. Scatter about 1/2 cup of the Parmesan cubes over each rectangle and press them into the dough.
Fold both short ends toward the center, then scatter the remaining Parmesan cubes (reserve 1/3 cup for garnish). Press the cheese into the dough again, fold the ends toward the center a second time, flip the pieces seam-side down, and shape into rounds.
To tighten each round, cup your hands at an angle and gently rotate the dough while pulling the top toward the counter. Transfer the rounds to the prepared sheet pan, leaving plenty of space for expansion during baking.
-
Mix the olive oil and minced fresh garlic in a small bowl. Roughly chop the reserved Parmesan cubes until the pieces are about the size of panko crumbs. Combine the reserved minced rosemary with the coarse sea salt flakes, if using. Set these three preparations aside.
-
Press each round gently to flatten the top slightly. Brush generously with the garlic olive oil. Score an X on the top of each loaf with a sharp knife. Scatter the chopped Parmesan and the rosemary-salt mixture over the tops.
-
Place the sheet pan on the center rack of the COLD oven. Put a cake pan on the rack below and fill it with the boiling water. Close the oven and set the temperature to 400ºF. Start a 40-minute timer. When the timer finishes, remove the pan and let the loaves cool completely before slicing.
Notes
Nutrition
Nutritional information is an estimate and provided as a courtesy. Calculate nutritional values using your actual ingredients if needed.
did you make this recipe?
Tag your photos on Instagram so the author can see them.