


If you enjoy this Easy, Fast Mak Kimchi recipe, explore other Korean recipes from the same kitchen.
For readers familiar with this blog, my affection for kimchi is well documented. Yes, kimchi can be pungent, bubbly, and a touch wild, but the flavor and texture make it utterly worthwhile.
If you’re new to kimchi, a short description: it’s a spicy, aromatic Korean fermented vegetable dish—think tangy, complex sauerkraut with heat. Below is a straightforward, reliable Easy, Fast Kimchi (Mak Kimchi) recipe you can make at home.
What is Kimchi?
Kimchi covers a wide range of fermented vegetables. Nearly any vegetable can be transformed into kimchi, producing versions that vary from mild and subtle to boldly funky or intensely spicy. There’s a kimchi to match every palate.
The mak kimchi shared here is our family favorite: full of beneficial probiotics, vibrant with flavor, and getting stronger the longer it ferments. As it ages, both taste and probiotic content increase—think of it like cultured vegetables that improve with time.
Is Kimchi Good For You?
Kimchi is low in calories and fat, high in fiber, and a good source of vitamins such as A, B, and C. Many Koreans eat kimchi daily, and its low-calorie, satisfying nature is often credited with helping maintain a healthy weight.
Some studies suggest probiotic cultures similar to those in kimchi may have beneficial effects on health. Regardless, kimchi is a nutrient-dense, flavorful way to add fermented foods to your diet.
How to Make Kimchi
This version—Mak Kimchi—is cut into bite-sized pieces and ferments more quickly than whole-head kimchi. It’s easier to prepare, faster to enjoy, and convenient to eat straight from the jar with chopsticks or a fork.
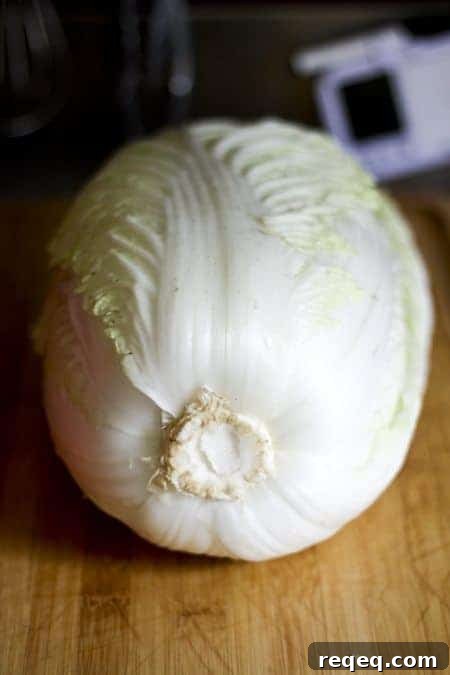
Do I need special tools to make kimchi?
No special equipment is required. A sharp knife, cutting board, and a large bowl are enough. You may need a few specialty ingredients—Korean red pepper flakes, white miso, or unsweetened pear juice—but these items are widely available now.
Start with one or two heads of napa cabbage; two 3-pound heads will yield about three quarts of kimchi, a convenient amount for a family. Scale down if you prefer a smaller batch.
Kimchi Recipe
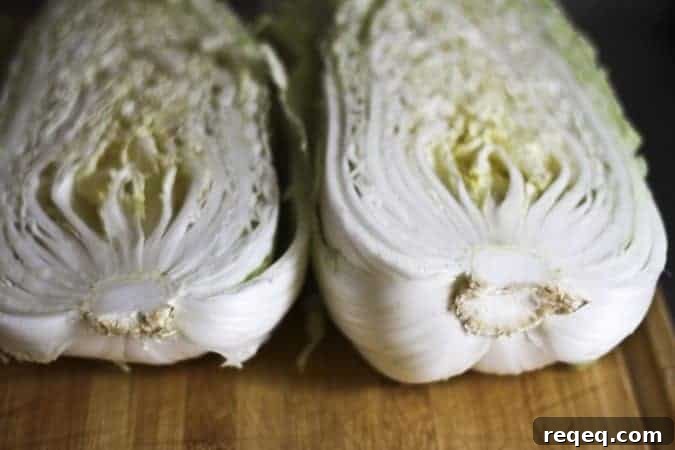
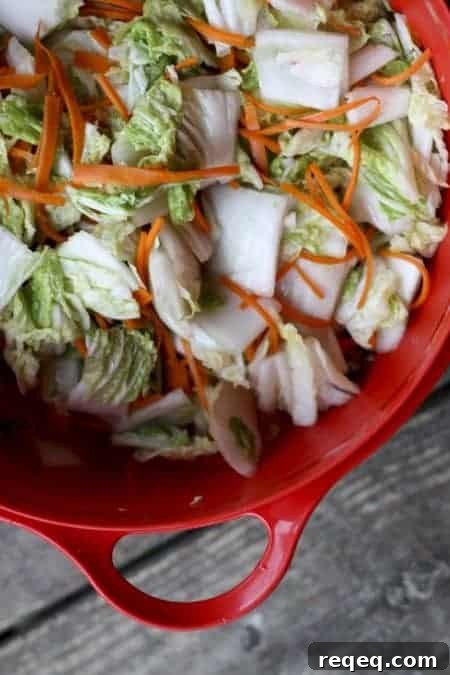
Trim each cabbage and cut into quarters. Remove the cores, then slice across into 2-inch squares for easy, bite-sized pieces.
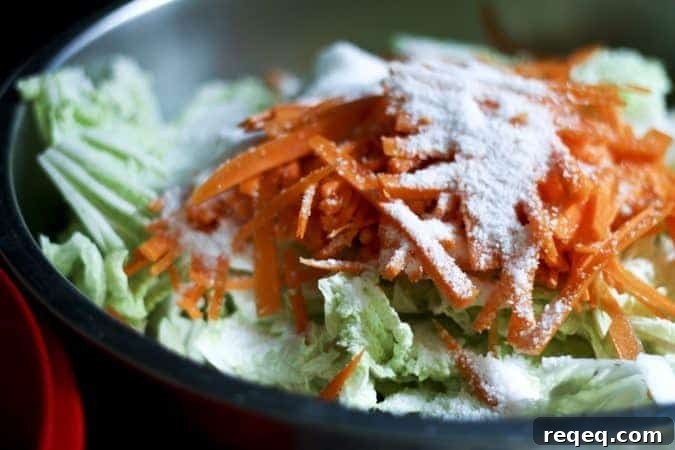
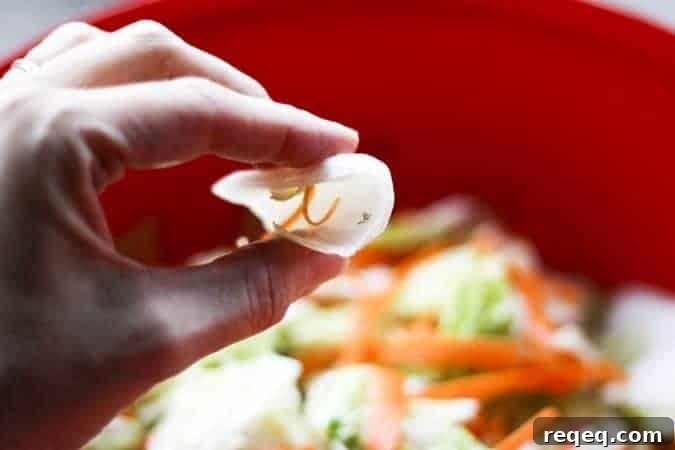
Place the cabbage in a large non-reactive bowl, add julienned carrots, and sprinkle with kosher salt. Massage the vegetables until they begin to wilt. Cover with cold water so the vegetables are submerged and let sit at room temperature for a couple of hours.
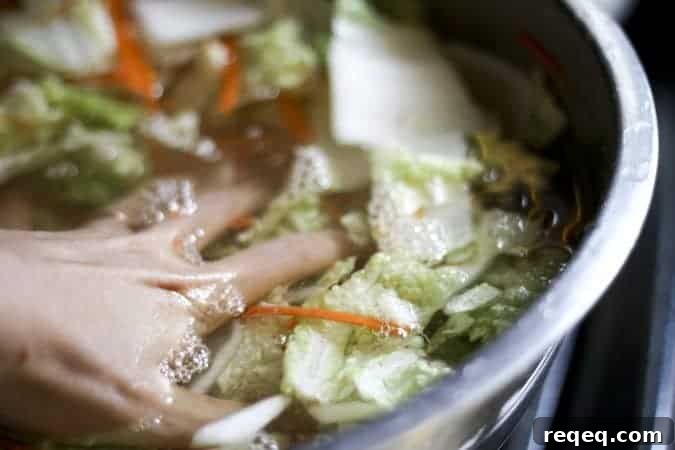
After a few hours, when the cabbage is pliable, drain the vegetables in a colander, reserving the brine if you need to top up later.
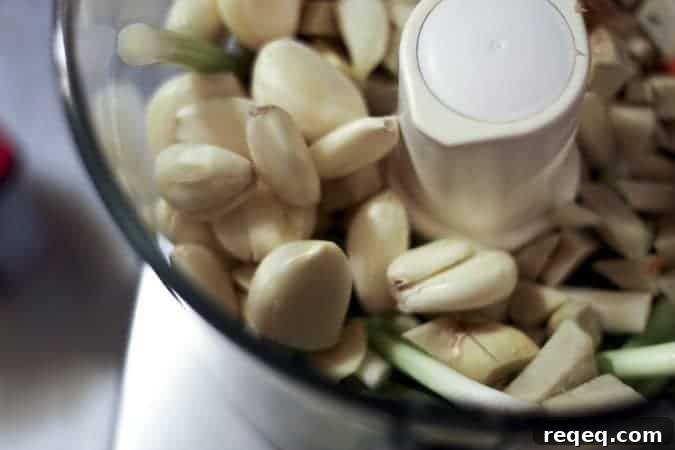
Prepare the seasoning paste: combine the white parts of green onions, garlic, ginger, Korean red pepper flakes, fish sauce, unsweetened pear or apple juice, and white miso paste in a food processor or blender. Process to a smooth, red paste—similar to pancake-batter consistency. Be cautious with extra garlic or ginger, as they can overpower the balance of flavors.
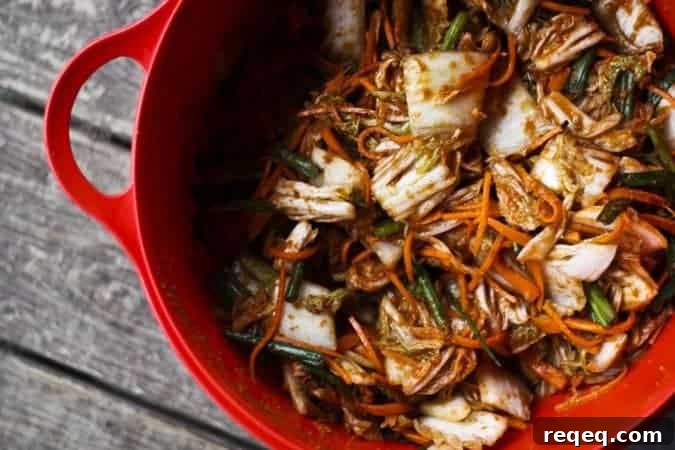
In a large non-reactive bowl, combine the drained cabbage and carrots with the chopped green parts of the onions. Wearing gloves, massage the chili paste evenly through the vegetables until everything is well coated.
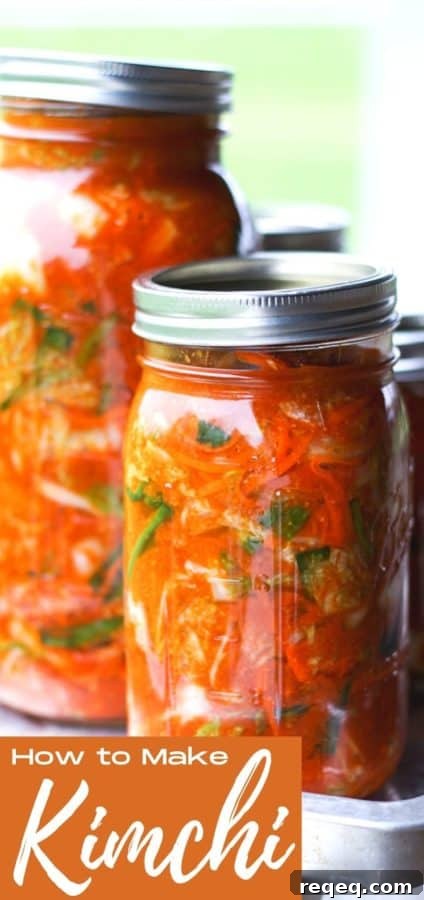
Pack the mixture tightly into clean canning jars or food-safe containers, pressing down to remove air pockets so the vegetables are submerged in their juices. Use glass jars if possible to avoid lingering odors. Place lids on the jars but do not tighten fully; fermentation produces gas and needs room to escape.
Set the jars on a rimmed baking sheet to catch any overflow. Leave them at room temperature for 24–72 hours to ferment until bubbly and aromatic. Each day, release trapped air by inserting a clean chopstick or butter knife and top up with reserved brine if needed to keep solids submerged.
How long can I keep homemade kimchi?
When the jars look lightly carbonated (usually 24–72 hours), move them to the refrigerator. Kimchi is ready to eat at this point but will continue to develop flavor over time. Fresh kimchi is great raw; older kimchi works well in cooked dishes.
Properly submerged in brine and refrigerated, homemade kimchi can last for months. The flavor will intensify the longer it sits.
Ways to Use Kimchi
Kimchi is versatile. Use it in kimchi jjigae (stew), kimchi fried rice, budae jjigae (Korean army stew), bo ssäm (pork with kimchi), or transform older kimchi into kimchijeon—crispy, savory kimchi pancakes that win over skeptics.
Ingredients (summary)
- 3–8 pounds napa cabbage
- 2 bunches green onions, trimmed
- 2–3 large carrots, peeled and julienned
- 1/2 cup kosher salt
- 1/2 cup Korean chili flakes
- 15–20 cloves garlic, peeled (adjust cautiously)
- 4–6 inches ginger, peeled and roughly chopped
- 1 tablespoon fish sauce
- Unsweetened pear or apple juice
- 4 tablespoons white miso paste
Step-by-step
1. Cut napa cabbage into quarters, remove cores, and chop into 2–3 inch squares. Combine in a large bowl with carrots and 1/2 cup kosher salt. Massage to wilt, then cover with cold water and soak for at least 1½ hours.
2. Drain the vegetables and reserve brine if needed.
3. In a food processor combine white parts of green onions, garlic, ginger, miso, and Korean chili flakes. Process until fairly smooth, then add fish sauce and pear juice and blend to a loose paste.
4. In a non-reactive bowl, mix drained cabbage and carrots with the green parts of the onions. Pour the chili paste over the vegetables and, wearing gloves, massage until evenly coated.
5. Pack tightly into jars, pressing down to remove air pockets and ensure solids are submerged. Place lids on loosely and set jars on a rimmed baking dish.
6. Leave at room temperature for up to 72 hours, checking daily to release air pockets and topping with extra brine if needed. When bubbly and fragrant, refrigerate the jars.
7. Store in the refrigerator on a rimmed sheet for up to six months, keeping the vegetables submerged. The flavor will deepen with time.
Notes
If you need extra brine, dissolve 4 teaspoons kosher salt in 1 quart cool water in a sealed jar and use to top up jars as necessary.
Originally published December 2, 2013; updated December 28, 2016, June 2018, and September 2021.