Recipes 4 min read
Make-Ahead Mini Fruit Hand Pies for Busy Weeknights
You knew this was inevitable.
After three Make Ahead Mondays focused solely on savory meals, it felt necessary to include a make-ahead dessert. With a freezer full of ready-to-bake dinners, having a stash of frozen desserts makes perfect sense. February is still National Snack Food Month, and after soft pretzels, what could be more snackable than tiny hand pies? They’re adorable, convenient, and absolutely delicious.
These mini fruit hand pies are ideal for front-loading the work: make them, freeze them, and bake them when you want a fresh warm treat. The process might sound involved, but prepping ahead saves time and delivers nearly instant pie when you need it. Pull frozen pies from the freezer, brush with egg, sprinkle with sugar, and bake—done.
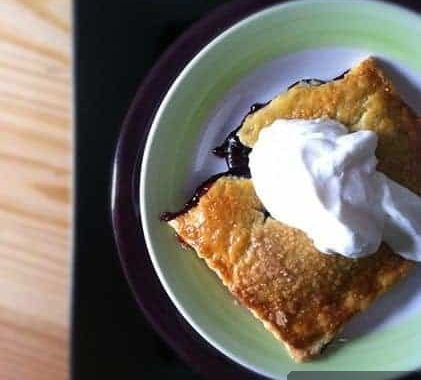
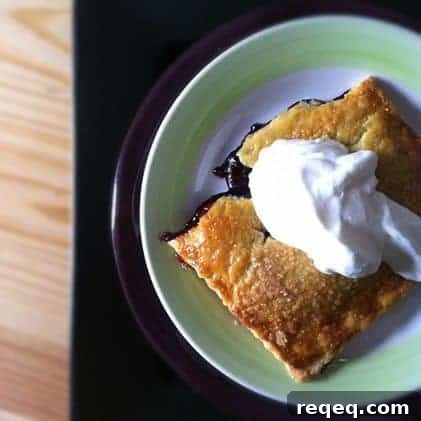
Don’t mistake these for the mass-produced boxed snacks that populate lunchboxes. These hand pies have a buttery, flaky crust with a crunchy sugar top and a genuine fruit filling. Serve them warm with ice cream or whipped cream for an elevated dessert experience.
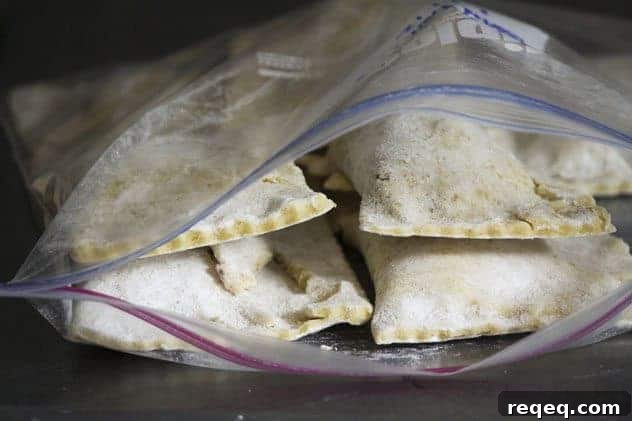
The recipe starts with a sturdy butter-based pie crust that’s forgiving and simple to make in a food processor. If you’re uneasy about making crust from scratch, you can substitute two store-bought pie crust rounds. Homemade crust and filling will yield the best flavor, but these pies are still excellent with quality store-bought components. Once assembled, freeze the pies on a parchment-lined sheet until solid, then store in a resealable freezer bag for up to three months. This makes them perfect for last-minute celebrations—like Pi/Pie Day on March 14th.

Mini Fruit Hand Pies | Make Ahead Mondays
Rebecca Lindamood
Ingredients
For the Crust (Can substitute 2 purchased pie crust rounds):
- 2 cup flour
- 1/2 teaspoon salt
- 1/2 pound 2 sticks cold butter, in small pieces
- 2 egg yolks
- 4 tablespoons ice water
For the Pies:
- 4 cups pie filling whichever flavour you prefer; a variety of homemade fillings works well.
Also needed to bake the pies:
- 1 egg beaten
- 1 teaspoon raw sugar or granulated sugar per pie
Instructions
To Make the Crust:
-
Pulse the flour and salt in a food processor fitted with a metal blade. Add the butter and pulse until the mixture resembles small peas. Pour the ice water and egg yolks through the feed tube and process just until a coarse dough forms. Turn the dough onto a lightly floured surface and press together until it holds. Divide into two equal pieces and shape each into a 1/2-inch thick rectangle. Wrap in plastic and chill at least 20 minutes (or up to 2 days) before rolling.
To Make the Pies:
-
Line one or two baking sheets with parchment and set aside.
-
Lightly flour your work surface. Place one chilled rectangle of dough on the counter and sprinkle a little flour on top.
-
Roll the dough into a roughly 12 x 10-inch rectangle. Cut the dough in half vertically, then score lengthwise so you have four smaller rectangles as guides for the filling.
-
Spoon about 1/2 cup of pie filling near either side of the central split on the dough.
-
Fold the outer edges toward the center, draping the dough over the filling. Press and crimp the seams to seal and prevent leaking.
-
Cut between the pies to separate them. Use a spatula or bench knife to transfer the pies to the parchment-lined pans. Space them generously since they will be frozen.
-
Repeat with remaining dough and filling. Cover the pans lightly with plastic wrap and freeze until solid, about 4 hours.
-
Once frozen, transfer the pies to a resealable freezer bag and store for up to 3 months.
To Bake Pies:
-
Preheat oven to 425°F. Place desired frozen pies 2–3 inches apart on a rimmed, parchment-lined pan. Brush tops with beaten egg, sprinkle with about 1 teaspoon raw sugar per pie, and cut two small vents in the top.
-
Bake 15 minutes, then reduce heat to 350°F and bake another 10–15 minutes, until pies are deep golden and filling bubbles.
-
Cool on the pans for 10 minutes, then transfer to a rack to finish cooling. Serve warm or at room temperature. Leftovers, tightly wrapped, keep at room temperature for up to three days.
Nutritional information is an estimate and provided as a courtesy. Calculate nutrition using the exact ingredients you use with your preferred nutrition calculator.
did you make this recipe?
Tag @foodiewithfam on Instagram and use #foodiewithfamily so the author can see your creations!