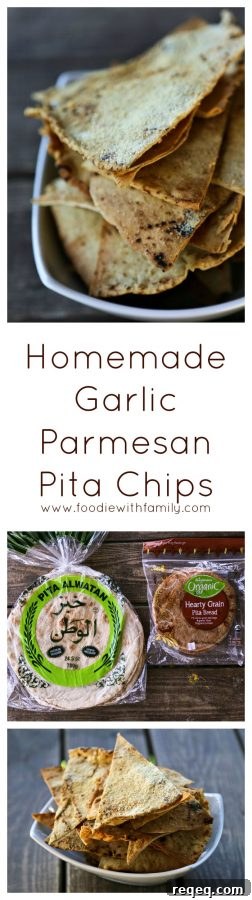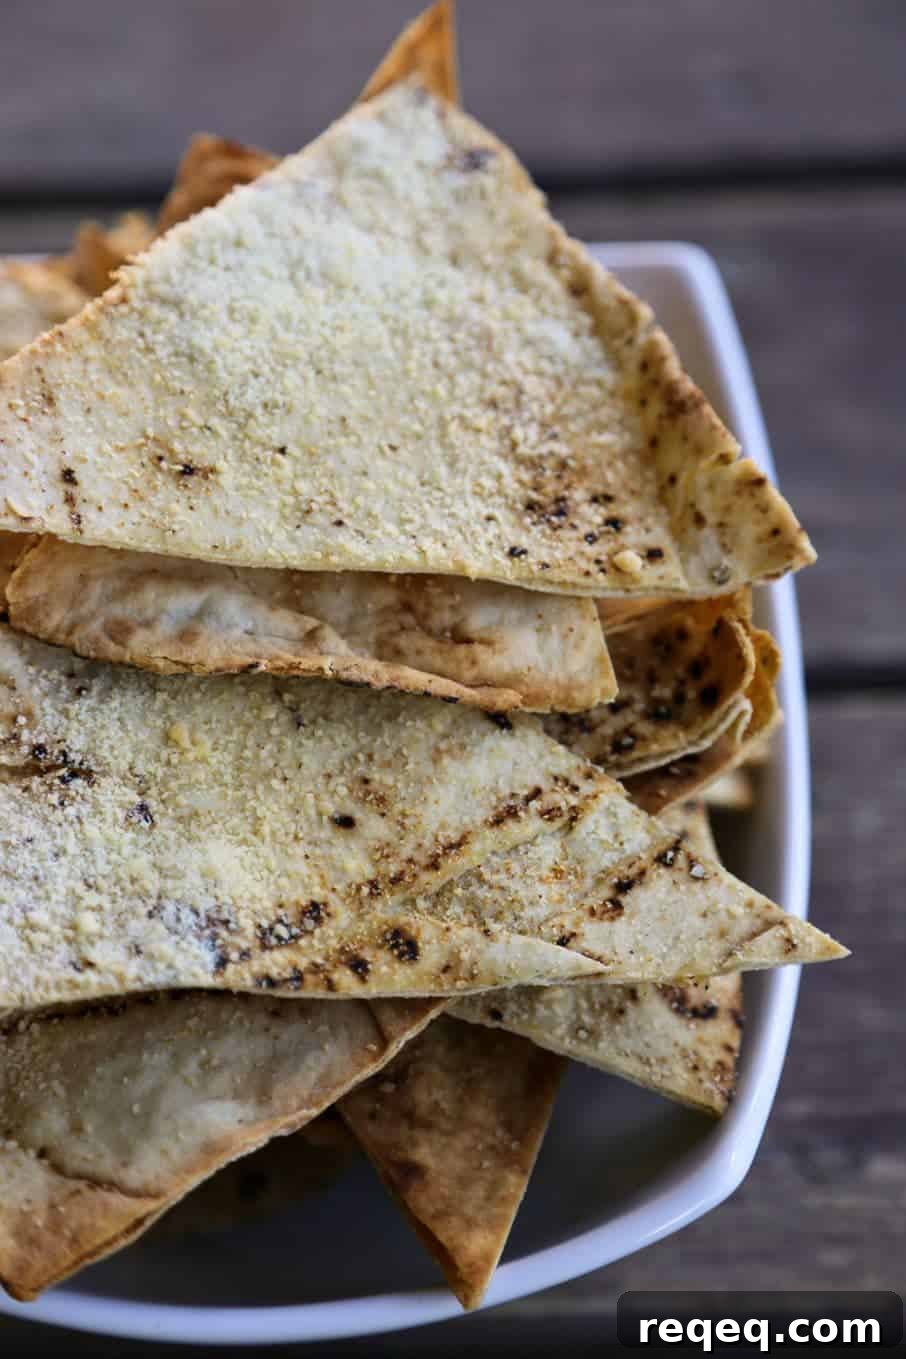
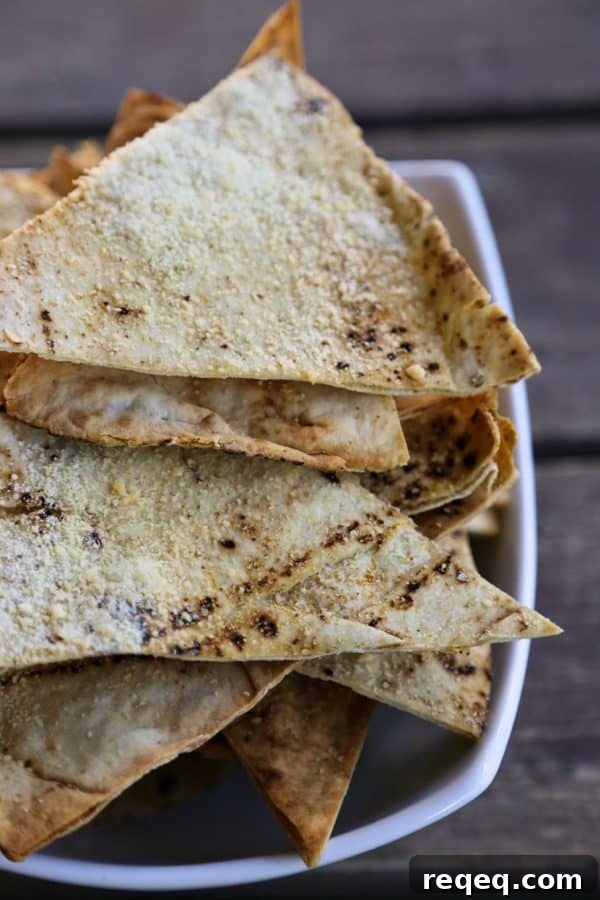
If I could be a professional snacker, I’d be the world’s best. I follow a simple, reliable snacking system: keep a small rotation of go-to items that complement each other. I always include something slightly sweet, a cold element, a protein-rich choice, and something crunchy. They don’t have to be fancy, but they should balance one another. My ideal snack right now is fresh berries, a cold cucumber, some hummus, and these Homemade Garlic Parmesan Pita Chips—the perfect crunchy component.
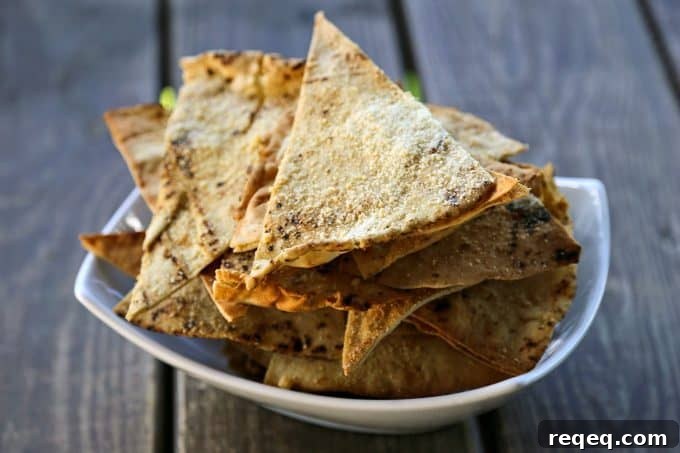
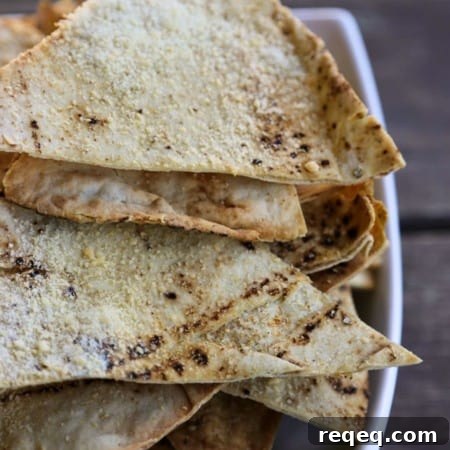
Store-bought pita chips serve a purpose, but making them at home yields a superior texture. These Homemade Garlic Parmesan Pita Chips are crisp without being unnaturally hard, and they hold up well to hearty dips. They’re sturdy enough to dunk and drag without falling apart, yet they don’t require you to brace your jaw to bite through them like many commercial varieties.
Beyond a midday snack, these pita chips make a great appetizer or party finger food alongside wine or beer. They’re also excellent as a quick crouton substitute—try them crumbled over salads like Fattoush for an instant textural boost.
Cook’s Notes
for Homemade Garlic Parmesan Pita Chips Recipe
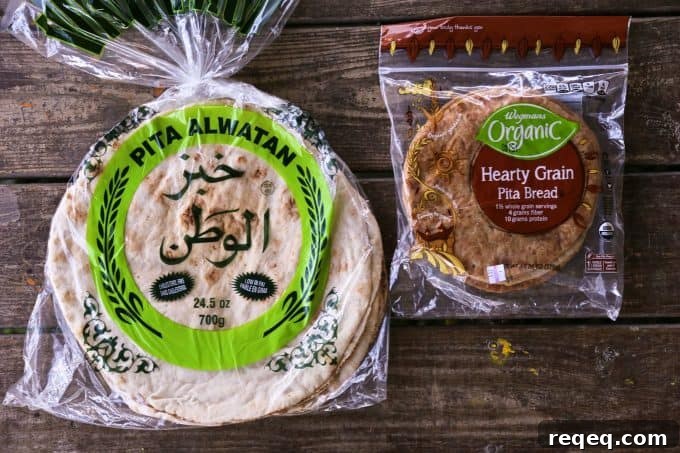
- Pita breads vary widely in thickness and package weight. That’s okay—no need to worry about exact details. Stack the pitas, cut them in half, then into halves again, and finally into wedges to create 8 wedges per round.
- Adjust baking time for thicker or thinner pitas. If your pitas are especially thick, consider splitting each pocket into two circular layers before cutting into wedges; otherwise you’ll end up with very thick chips that need more baking time.
- If you don’t have a spray bottle of extra virgin olive oil, you can brush the wedges with oil. A spray makes the process faster and more even, but brushing works perfectly well.
- Use granulated garlic rather than garlic powder if you can. Granulated garlic has a coarser grind that distributes more evenly over the chips. If you love garlic, be generous—its flavor will mellow slightly when combined with the Parmesan.
- Don’t be shy with the grated Parmesan. It’s a defining characteristic of these chips and helps create a golden, savory crust.
- Surprisingly, the inexpensive grated Parmesan from a shaker works very well here. It adheres to the wedges reliably during baking, whereas some high-end grated cheeses can clump and fall off.
- Remove the chips from the oven when they’re lightly browned, the Parmesan has turned a deep golden brown, and they feel firm rather than fully crunchy. They will continue to crisp as they cool. If you bake them until they’re already rock-hard, they can become scorched and overly brittle.
Connect with Foodie with Family
facebook | pinterest | instagram
twitter | G+
Homemade Garlic Parmesan Pita Chips Recipe
Rebecca Lindamood
Ingredients
- 1 package pita bread 13 to 25 ounces
- spray extra virgin olive oil (or brush with oil)
- grated Parmesan cheese
- granulated garlic
Optional:
- kosher or sea salt
Instructions
-
Preheat the oven to 350°F (175°C).
-
Stack the pita rounds. Cut each into halves, then cut each half in half, and then again so each round yields 8 wedges.
-
Arrange the wedges in a single layer on a baking sheet. Spray or brush them lightly with extra virgin olive oil. Sprinkle generously with granulated garlic and grated Parmesan. If you like, add a light sprinkle of kosher or sea salt.
-
Bake for 10–16 minutes, watching closely toward the end. Remove when the pita is a deep golden brown and the Parmesan has toasted to golden brown. The wedges will continue to crisp as they cool. Allow to cool completely before storing in an airtight container.
-
Store at room temperature up to 5 days. If they soften, re-crisp in a 350°F oven for a few minutes or use a dehydrator.
Nutritional information is an estimate provided as a courtesy. Calculate nutrition using the exact ingredients you use with your preferred nutrition calculator.
Did you make this recipe?
Tag @foodiewithfam on Instagram and use #foodiewithfamily so the author can see your version.