
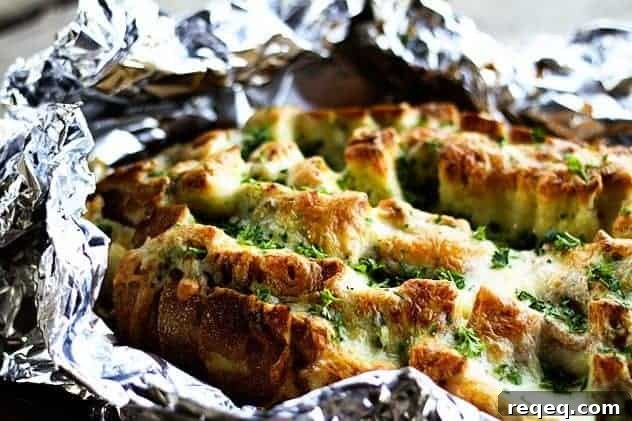
Last week I took my five boys to the playground to meet friends and somehow ended up bringing ten boys home. It happens. I was glad to have them: I needed honest feedback while testing a recipe I’d made before. I was brushing up on finger foods and revisited my own take on the popular cheesy pull-apart breads floating around the internet.
Why focus on snacks right now? Because the NFL season kicks off in eight days, and that means it’s officially snack season. If your kids play football, you’re already knee-deep. Also, the new season of Doctor Who premieres Sunday—timey-wimey television requires snacks. Lots of snacks.
If you haven’t started planning your game-day menu, this cheddar pull-apart bread is an ideal place to begin. It uses simple ingredients, assembles quickly, and works equally well baked in an oven or heated on a grill for tailgating. Most importantly, it disappears fast. When I told the boys to go ahead and dig in, this is what happened.
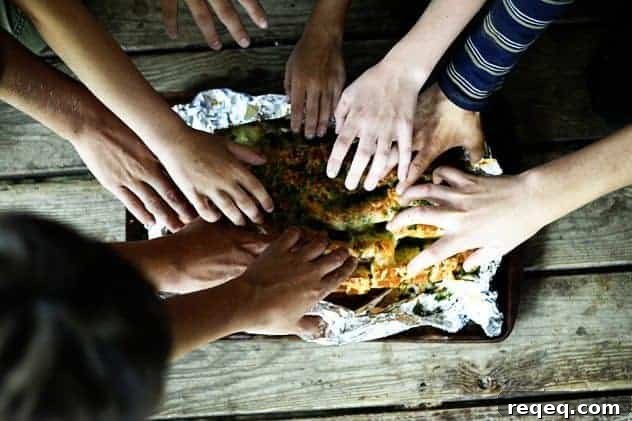
What you can’t see in the photo is my husband at the edge of the scene growling because the boys reached the bread before he did. Such is the power of cheesy bread.
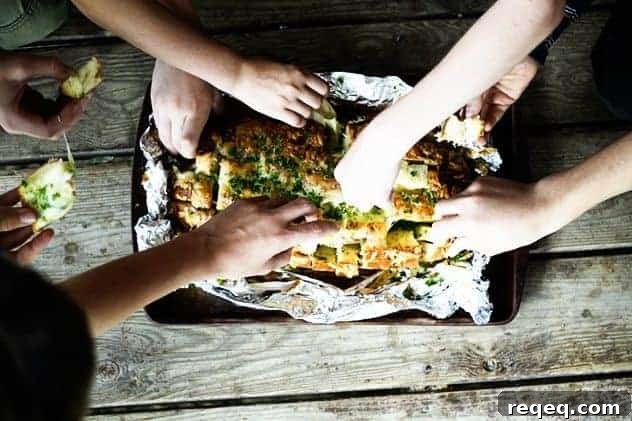
Shortly after that picture was taken, my son dove right into the center of the loaf and declared it dangerously good. The other boys agreed. Requests followed: serve it at birthday parties, at sleepovers—in fact one friend asked I serve nothing else but this bread. That felt like a win.
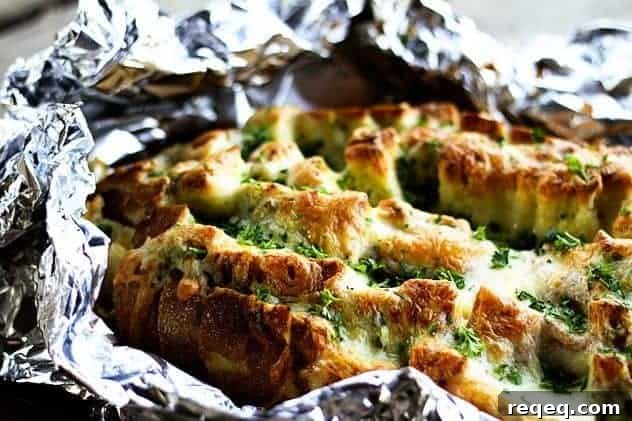
The secret is starting with a crusty-on-the-outside, soft-on-the-inside Italian loaf, cutting it into grab-able squares while keeping the bottom intact, and spooning a garlicky, scallion-studded melted butter into the seams. Toasting the wrapped loaf briefly steams the interior, then you open the foil, heap on sharp Cheddar, and bake until the cheese is bubbly and browned in spots. A sprinkle of chopped parsley is optional, but it brightens the plate and offers a hint of freshness.
I also taught the boys about the cook’s tax—the crispy cheese bits left on the foil after the bread is gone. Naturally they ate every last bite.
If any of those boys are reading this: unlimited tailgating bread is yours if you help clean my barn and plant garlic this fall. That should do the trick.
I’d better go grate some cheese.
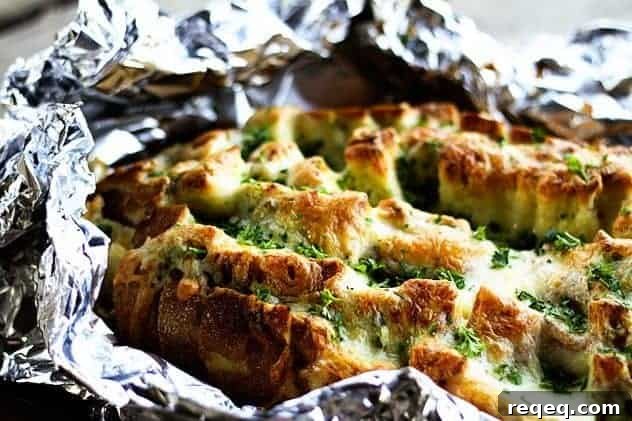
Cheddar Tailgating Bread
Rebecca Lindamood
Ingredients
- 1 loaf Italian bread about 16 ounces by weight
- 1 pound grated extra-sharp Cheddar cheese
- 1 stick (4 ounces) butter
- 1 large clove garlic minced or pressed
- 1 bunch green onions trimmed and thinly sliced
- A handful fresh curly parsley minced, optional
- Nonstick cooking spray and foil
Instructions
-
Preheat the oven to 350°F (or preheat a grill to medium). Lay double-thickness standard foil (or single heavy-duty foil) on a rimmed baking sheet and lightly spray with nonstick cooking spray. Set aside.
-
In a microwave-safe bowl or a small skillet, melt the butter. Stir in the minced garlic and sliced green onions until combined.
-
Place the loaf on a cutting board and cut a ½” grid pattern, stopping about ¼” above the bottom so the loaf remains intact. Gently separate the cuts and spoon the butter mixture into the seams. Wrap the loaf loosely with the foil and place it on the prepared baking sheet. Bake for 10 minutes.
-
Carefully remove the pan, open the foil, and sprinkle the grated Cheddar over the top, pressing some cheese into the cuts.
-
Leave the foil open and increase the oven to 425°F (or set the grill to HIGH). Return the pan and bake another 15 minutes, or until the cheese is melted, bubbly, and lightly browned.
-
Let the loaf rest 3 minutes, then sprinkle with minced parsley if desired and serve warm.
Nutritional information is an estimate and provided as a courtesy. Calculate nutrition using your actual ingredients if needed.
did you make this recipe?
Share photos on Instagram and tag @foodiewithfam so the author can see your version.