
Visit our Bread Recipes page for more wonderful homemade bread recipes like these Everything Soft Pretzels!
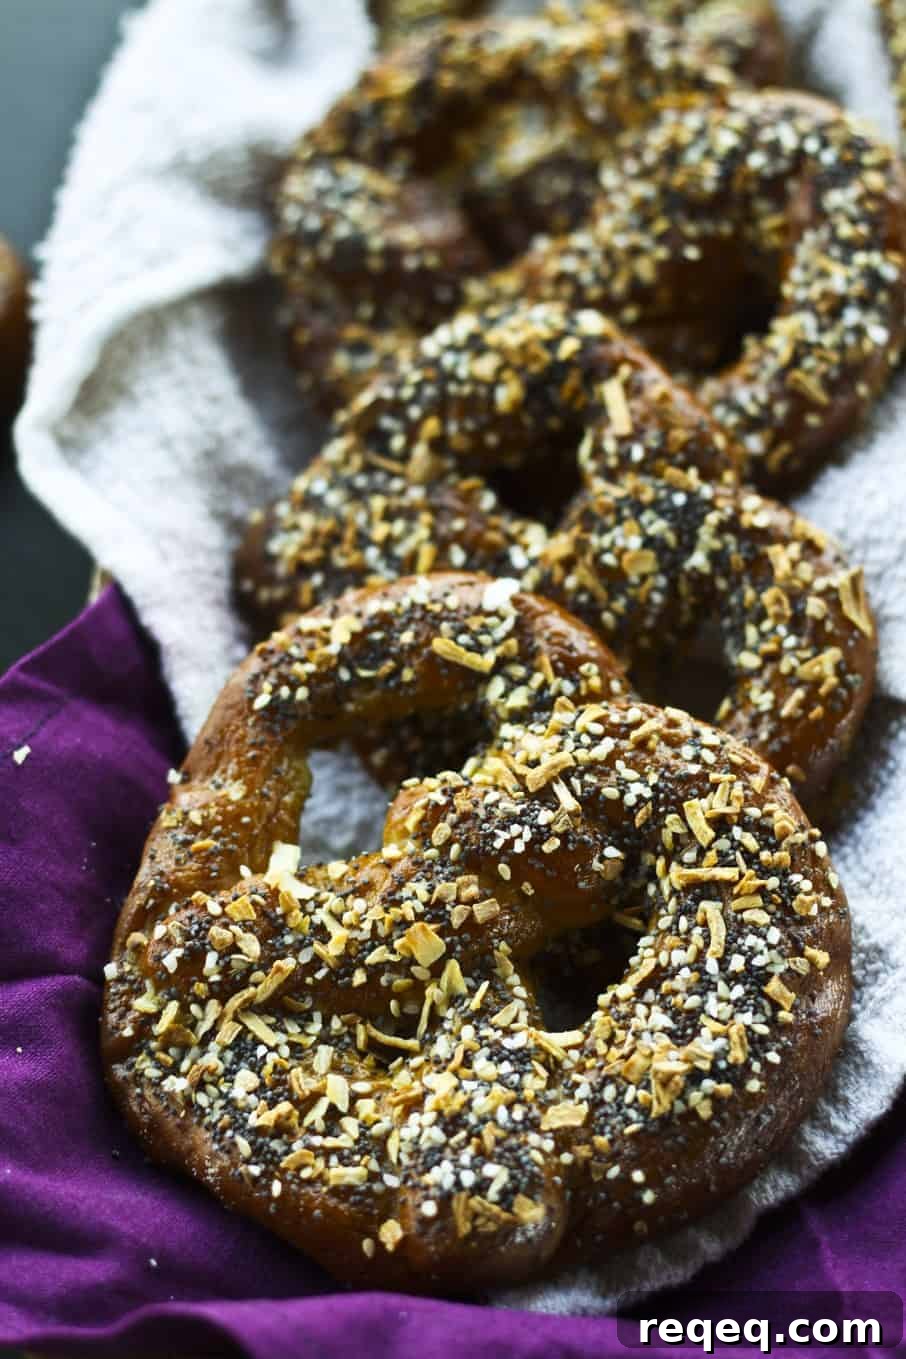
February is National Snack Food Month, and as the self-proclaimed Queen of Snacks, I couldn’t think of a better way to celebrate than with soft pretzels—specifically, Everything Soft Pretzels. These chewy, glossy pretzels are topped with that irresistible everything bagel mix: garlic and onion flakes, poppy and sesame seeds, and coarse salt. Served warm with cold cream cheese, they’re pure snack perfection.
Soft pretzels are one of my favorite treats. If someone asked me at any time, “Would you like a soft pretzel?” my answer would almost always be an enthusiastic yes. Plain pretzels are delightful, but turning them into Everything Soft Pretzels takes them to another level. The crunchy, savory topping against the warm, slightly chewy interior creates a contrast that’s hard to beat.
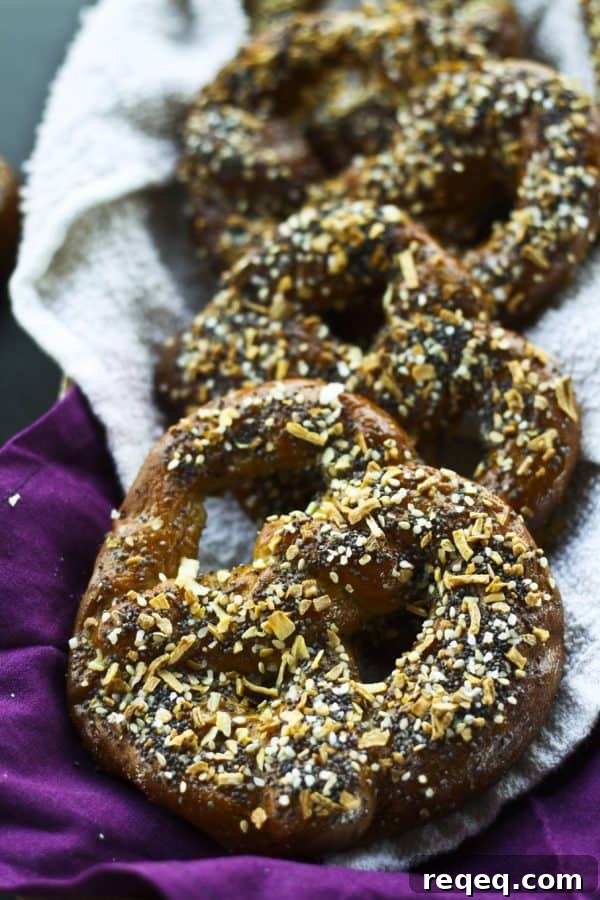
Think of opening the oven and being greeted by the aroma of freshly baked bread mingled with toasted garlic and onion. The tray emerges filled with deep, glossy brown pretzels covered in the crunchy everything topping. You wait a few minutes so the pretzel cools slightly, then smear on chilled cream cheese. A few stray seeds fall to the pan—you might sneak them off the knife before you tuck into your first bite. The cream cheese starts to warm and soften against the hot pretzel, the topping crackles, and you get that perfect combination of textures and flavors. That moment is everything.
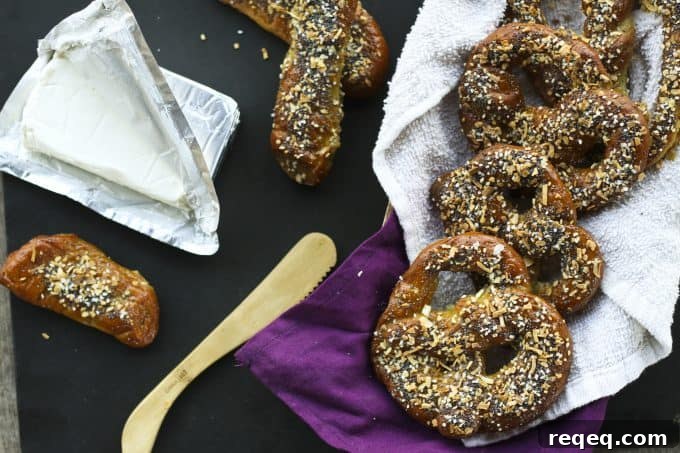
These pretzels pair exceptionally well with cold cream cheese, though you could serve them with other dips if you prefer. They are best eaten warm, straight from the oven, but will keep for a couple of days in an airtight container at room temperature and can be reheated quickly before serving.
Everything Pretzels
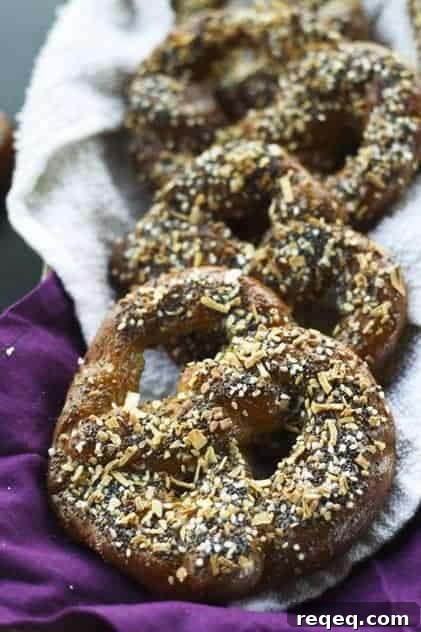
Deep, glossy brown soft pretzels topped with a crunchy everything mix—garlic and onion flakes, poppy and sesame seeds, and coarse salt. Served warm with cold cream cheese, these are a show-stopping snack. Important note: If you don’t have silicone or Teflon pan liners, spray your baking sheets generously with non-stick cooking spray (even if you use parchment). Pretzels can stick without adequate protection.
Everything Pretzels
Ingredients
Ingredients for dough:
- 4 cups bread flour 1 pound 1 ounce by weight
- 1 tablespoon non-diastatic malt powder or sugar (preferably)
- 1 1/4 teaspoons kosher salt
- 1 cup whole milk
- 1/2 cup hot tap water
- 2 teaspoons SAF or instant yeast
Ingredients for pretzel boil:
- 2 quarts water
- 2 tablespoons baking soda
Ingredients for toppings:
- 2 tablespoons dried onion flakes
- 2 tablespoons dried garlic flakes
- 2 tablespoons poppy seeds
- 2 tablespoons sesame seeds
- 1 tablespoon pretzel salt or coarse sea salt or kosher salt
- 1 egg, whisked until evenly colored
Instructions
To Make the Dough by Hand:
- In a large bowl whisk together the flour, salt, malt powder or sugar, and yeast. Stir in the milk and hot water until a soft dough forms. Turn the dough onto a generously floured surface and knead, adding small amounts of flour only as needed to keep the dough from sticking. The dough should be fairly slack and slightly tacky but smooth. Place in a clean bowl, cover with a damp tea towel, and let rise in a warm, draft-free place until nearly doubled and puffy, about 1 hour.
To Make the Dough by Stand Mixer:
- Combine the flour, salt, malt powder or sugar, and yeast in the mixer bowl fitted with a dough hook. Mix on low to combine. With the mixer on low, pour in the milk and water and mix until you have a smooth, soft, slightly tacky dough. Cover and let rise in a warm place until nearly doubled, about 1 hour.
To Make the Dough by Bread Machine:
- Add the milk, water, flour, malt powder or sugar, and yeast to your bread machine pan in the order your manufacturer recommends. Select the Dough cycle and allow it to complete.
To Form the Pretzels:
- Line three 11×13-inch baking sheets with silicone or Teflon pan liners and set them near your workspace.
- Turn the dough out onto a very lightly floured surface.
For Traditional Pretzel Shapes:
- Cut the dough into 12 equal pieces. Roll each into a rope about the thickness of a pencil. Form each rope into a U, twist the ends twice, then fold the twisted ends down onto the base of the U and gently press to seal. Place pretzels on the lined sheets, leaving generous space between them. Cover with tea towels and let rise in a warm, draft-free place until puffy, about 20 minutes.
To Form Easier Pretzel Rods:
- Cut the dough into 22 equal pieces and roll each into a rope about the thickness of a pencil. Place on lined sheets, leaving space between pieces. Cover and let rise until puffy, about 20 minutes.
To Cook the Pretzels:
- Mix the dried onion flakes, dried garlic flakes, poppy seeds, sesame seeds, and salt together in a small bowl. Set aside.
- Preheat the oven to 400°F (200°C).
- Bring 2 quarts of water to a boil in a non-reactive pan. Add the baking soda. Gently lower pretzels or pretzel rods into the boiling water, being careful not to crowd the pan. Let simmer about 45 seconds, flip, and simmer another 45–60 seconds. Use a slotted spoon to drain and return each piece to the baking sheet. Repeat until all pieces are boiled.
- Brush each pretzel with the beaten egg, then sprinkle with the topping mixture. Bake on the prepared sheets until golden brown, at least 18 minutes; for a deeper brown, bake 22–24 minutes depending on your oven.
- Let pretzels rest at least 5 minutes before eating. Serve warm with cold cream cheese or your preferred dip. Store leftovers in an airtight container at room temperature for a couple of days and reheat before serving.
Nutritional information is an estimate and provided as a courtesy. Calculate nutrition using the exact ingredients you use and your preferred nutrition calculator.
Did you make this recipe?
Tag @foodiewithfam on Instagram and use #foodiewithfamily so I can see your creations!
This recipe was originally posted on February 2, 2012.
Connect with Foodie with Family
facebook | pinterest | instagram
twitter | G+