
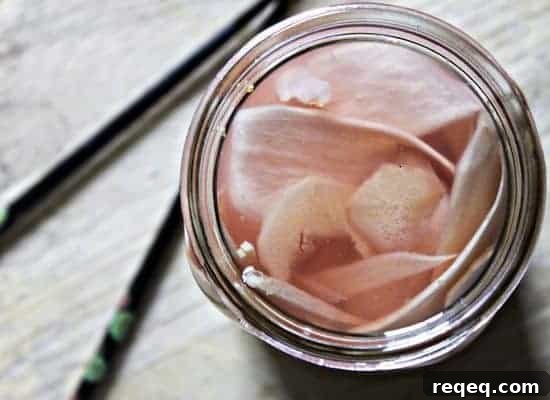
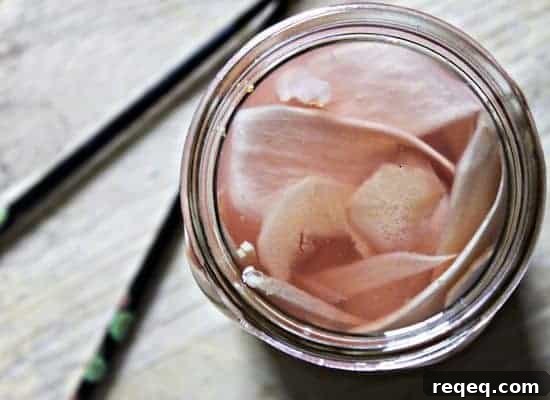
I love sushi — the fish, the rice, the nori, and the sharp hit of wasabi — but my favorite condiment of all is pickled ginger, or gari. Bright, tangy, slightly sweet and spicy, it refreshes the palate between bites and adds a surprising lift to simple rice dishes.
When my husband and I manage a rare night out without the kids, we almost always choose sushi. We’ve developed a little routine over the years:
- We order more than we probably need, promising ourselves we’ll take leftovers home for the children.
- When the sushi arrives, we split identical rolls.
- He skillfully dips his piece in soy, piles on wasabi, and maneuvers it to his mouth with chopsticks.
- I eat pickled ginger between bites, dot wasabi on my roll, dip a corner in soy, and dig in.
- We repeat until we have to ask the server for more gari and wasabi and she starts giving us a bemused look.
- We tuck one lonely California roll into a box for the kids, leave with satisfied bellies, and sometimes take a short nap in the car before driving home.
During my pregnancies I craved pickled ginger like others crave ice cream. I ate it on rice bowls and sandwiches and asked my husband to pick up jars frequently. Eventually I checked the labels and found artificial sweeteners and food dyes I didn’t want to eat. That pushed me to try making my own — a simple solution that felt like an obvious home kitchen win.
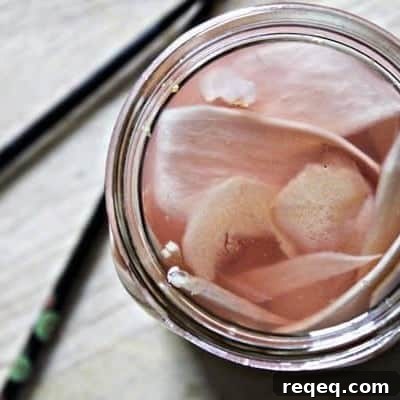
With a little research I learned that the pretty pink color often found in store-bought gari can happen naturally: young ginger sometimes turns a soft pink when pickled, while older ginger may not. That explains why some commercial producers add dye. Once I started experimenting, I discovered that the tastiest versions were also the simplest.
Here are a few tips I gathered while developing this recipe:
- Young ginger yields the best texture and flavor. If the skin is smooth and peels easily with a thumbnail or the edge of a spoon, it’s fresh and young.
- Slice the ginger as thinly as possible for the classic tender bite; a mandoline or a very sharp knife helps.
- Slice across the knob (not lengthwise) for the most pleasant chew.
- Salt the slices and let them drain briefly to remove excess moisture before pickling.
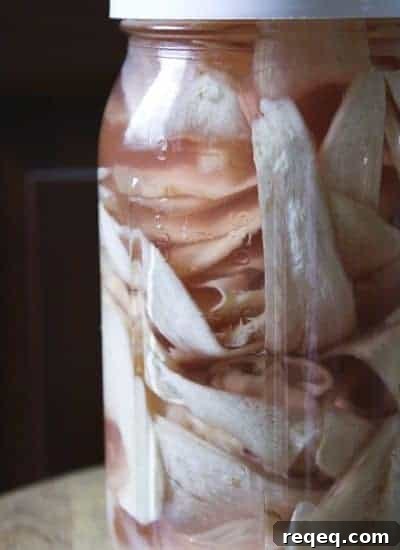
Don’t worry about the yield: this recipe makes a generous amount and keeps well in the refrigerator, making it perfect for regular use or as a thoughtful homemade gift.
Pickled Ginger (Gari)
Rebecca Lindamood
10 mins
10 mins
20 mins
Pin Recipe
Ingredients
- 1 1/2 pounds young fresh ginger *see notes
- 2 1/2 teaspoons coarse kosher salt if using sea salt, use coarse grind or reduce by half
- 3 cups unseasoned rice vinegar
- 2 cups granulated sugar **see notes
Instructions
- Wash the ginger and gently scrape away the skin using the edge of a spoon.
- Slice the ginger as thinly as possible across the knob (not lengthwise).
- Toss the slices with salt in a colander and let them drain over a bowl or sink for one hour, tossing occasionally.
- Pat the ginger slices dry on a clean tea towel or paper towels to remove excess moisture, then place them in a heat-proof jar or container with a tight-fitting lid.
- Bring the rice vinegar and sugar to a boil, then pour immediately over the ginger slices.
- Seal the jar tightly and let it cool completely at room temperature.
- Refrigerate for at least one week before serving to let the flavors develop.
- Stores indefinitely in the refrigerator; the flavor will continue to mellow over time.
Notes
Nutrition
Carbohydrates: 32 g
Sodium: 370 mg
Potassium: 176 mg
Sugar: 25 g
Vitamin C: 2.1 mg
Calcium: 10 mg
Iron: 0.3 mg
Nutritional information is an estimate. Calculate nutrition using the exact ingredients you use if precise values are needed.
Did you make this recipe?
Tag @foodiewithfam on Instagram and use #foodiewithfamily so the author can see your creation.