
Check below the post for an update on the Harry & David giveaway.
Last weekend I toured the college town where my little sister Airlia has been for the past two years. My mom, another sister and I explored Ithaca from top to bottom in sensible shoes (thank goodness for sensible shoes when a town feels like it was built on the side of a cliff). One of Airlia’s must-sees was the Ithaca Farmers’ Market. It did not disappoint: stalls full of vegetables, meats, potted plants, pottery, jewelry, clothing and, best of all, ready-to-eat food.
The ready-to-eat section was ethnic food heaven. My mom and sisters settled in front of a Japanese vendor for tofu pockets stuffed with sushi. I eyed the Cambodian stall, but the line curled around the corner and the market would close soon. As we wandered toward the far end of the market, I spotted my destiny: a Cuban sandwich stand.
“OH CUBANS! THEY HAVE CUBANS. I LOVE CUBANS!!!!!” I cried, running to the table while my mom and sisters looked on, puzzled. They’re all vegetarians, so the excitement made little sense to them.
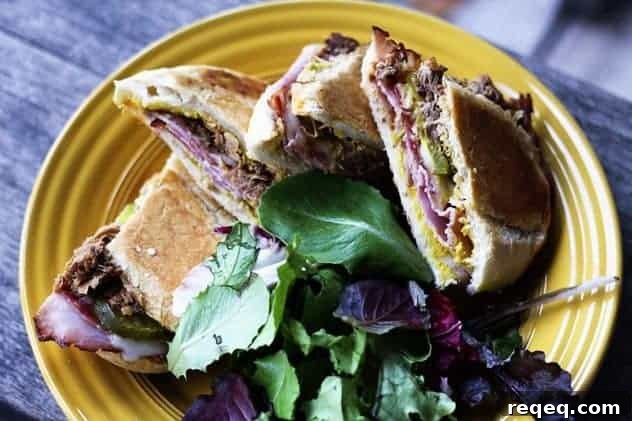
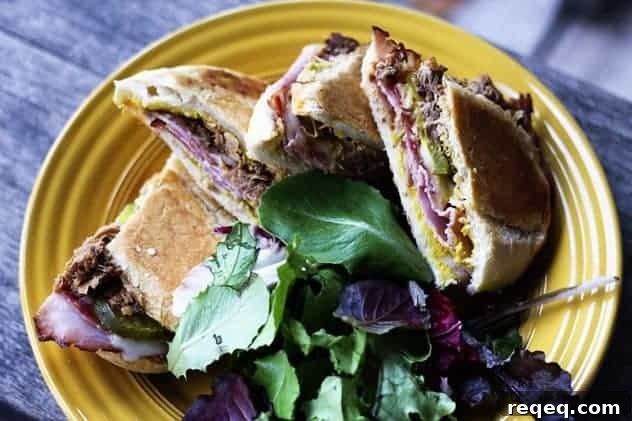
Cuban sandwiches are unapologetically meaty and intensely satisfying: layers of ham, shredded pork, salami (common in Miami-style Cubans), pickles, Swiss cheese and yellow mustard, all buttered and pressed between two hot pans until the bread is golden and impossibly crisp. The pan presses the fillings together so the roll becomes a crunchy, buttery shell around those porky, tangy fillings. Truly, a sandwich doesn’t get much better.
Sandwich PSA: Don’t just flop deli meat onto the bread. Take a moment to arrange it so the meat folds and layers naturally. Hold a slice by one end and place the bottom edge at the bread’s edge, letting it cascade in near-accordion folds. It sounds fussy, but it makes a huge difference — I should know, I worked in a deli in high school.
Making the perfect pressed Cuban at home doesn’t require specialty equipment, but it does need a bit of planning and some oven-safe weight. Here’s how I do it: line a baking sheet with heavy-duty foil and spray it with nonstick cooking spray. Butter the top and bottom of each roll (meaning the outsides of the top and bottom halves). Arrange sandwiches on the sheet with a couple of inches between them.
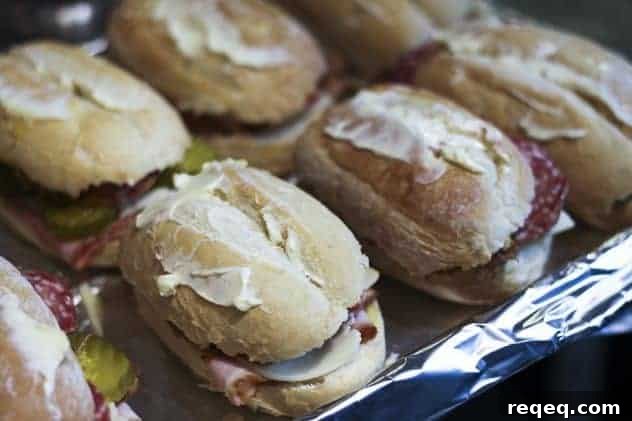
Spray another piece of heavy-duty foil and place it, sprayed-side down, over the sandwiches. Put a second baking sheet on top. Make sure the top pan doesn’t simply rest on the bottom pan’s rim — either use a flat bottom pan beneath and a rimmed pan on top (rim up) or use two pans that nest. This setup ensures even squashing as the sandwiches bake. If you’re making many sandwiches, you can double-decker pans, but rotate the stacks halfway through baking so all sandwiches heat evenly.
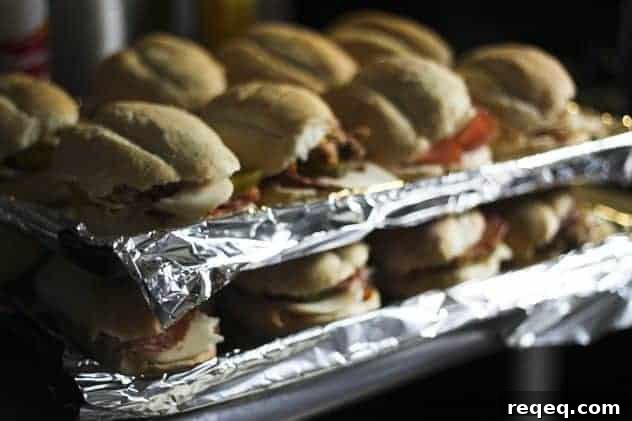
Place the pans into a preheated oven, then carefully set heavy oven-safe pots or preheated landscaping bricks on the top pan to press everything down evenly. The weight is the only slightly tricky part — you want steady, even pressure so the roll compresses and crisps uniformly.
When the sandwiches come out, they look and taste like this:
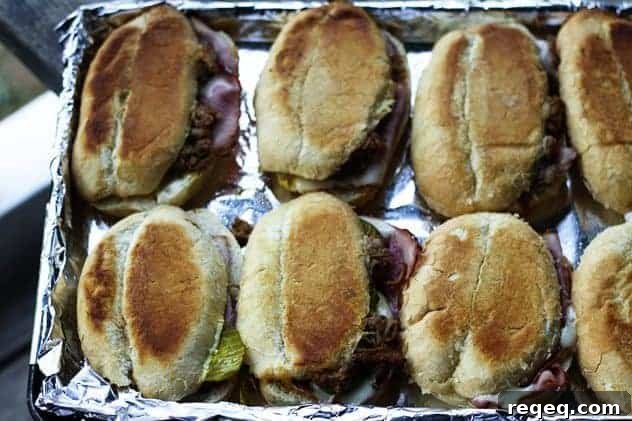
They are golden, crisp, melty and irresistible. If you love hearty, savory sandwiches, you’ll know exactly why I get so excited.
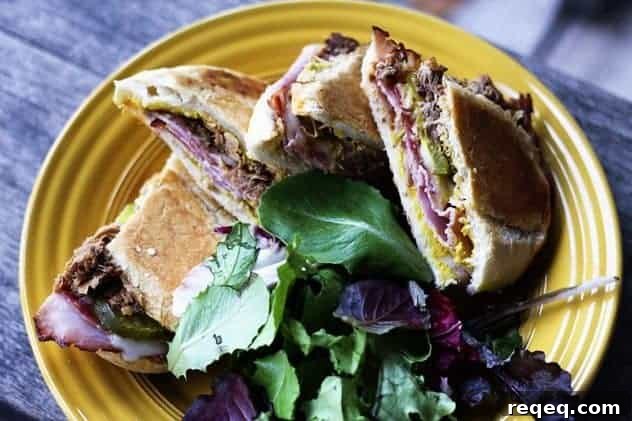
Cuban Sandwiches | Pressed Toasted Sandwiches
Rebecca Lindamood
Ingredients
Per Sandwich:
- 1 Portuguese roll or ciabatta roll
- 2 tablespoon yellow mustard
- 2-4 slices baked ham or ham off of the bone
- 2 slices salami
- 1/2-3/4 cup shredded fully cooked pork (homemade Cuban pork recommended)
- 1 slice Swiss cheese
- 2-4 thin slices garlic or kosher dill pickles
- 1 tablespoon softened butter
- non-stick cooking spray
Instructions
-
Preheat oven to 500°F with a heavy cast iron skillet or landscaping bricks inside so they heat as the oven does.
-
Line a baking sheet with heavy-duty foil and spray lightly with nonstick cooking spray. Halve the roll and lay the cut sides up. Spread mustard evenly on both sides. On one half, layer ham, pickles, Swiss cheese and salami. On the other half, press the shredded pork into the bun. Close the sandwich and spread softened butter on the outside of the top and bottom. Arrange sandwiches on the prepared sheet, leaving room for them to spread as they’re pressed.
-
Spray another piece of heavy-duty foil and place it sprayed-side down over the sandwiches, then top with a second baking sheet. Put the stack in the oven and weigh down the top pan with heavy oven-safe pots or preheated bricks. Bake about 10 minutes or until the cheese is melted, the bread is golden and the sandwiches are heated through. Rotate pans if you’ve stacked multiple layers so everything cooks evenly.
-
Serve immediately while hot and crisp.
Nutritional information is an estimate and provided as a courtesy. Calculate nutrition using the actual ingredients you use in your recipe.
did you make this recipe?
Tag @foodiewithfam on Instagram and use #foodiewithfamily so the author can see your photo!
In other news, I’ve chosen a winner for the Harry & David Bear Creek Gift Basket giveaway. Check the giveaway post to see if you were the winner.