Recipes 5 min read
Traditional Russian Pickled Cherries: Authentic Recipe & Tips
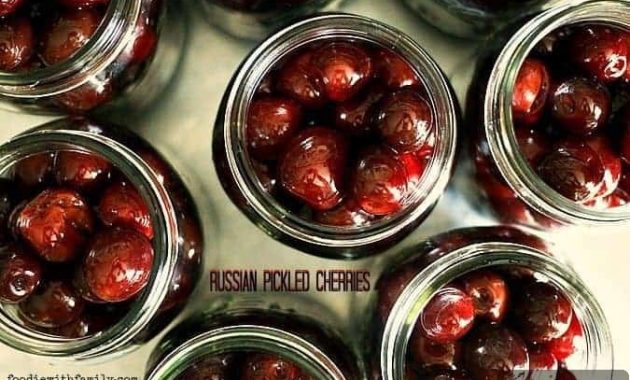
Cherry season is brief, but you can capture their sweet, juicy flavor to enjoy all year by preserving them as jams, jellies, juices, pie fillings — and pickles.
Yes—pickled cherries. Russian pickled cherries are an elegant, low-effort preservation project that suits beginners and experienced preservers alike.
This method doesn’t require a water bath or pressure canner. Instead, cherries are soaked and preserved in a vinegar-based pickling liquid. The result is a bright tart-sweet cherry that pairs beautifully with roast pork, venison, turkey, or roasted root vegetables. The acidity and fresh flavor help cut the richness of fatty or strongly flavored meats.
An extra bonus is the deeply colored cherry-infused vinegar the process yields. That vinegar is fantastic in vinaigrettes, salad dressings, or simply drizzled over roasted vegetables. It makes the preserved cherries and their vinegar useful for summer cookouts and holiday dinners alike.
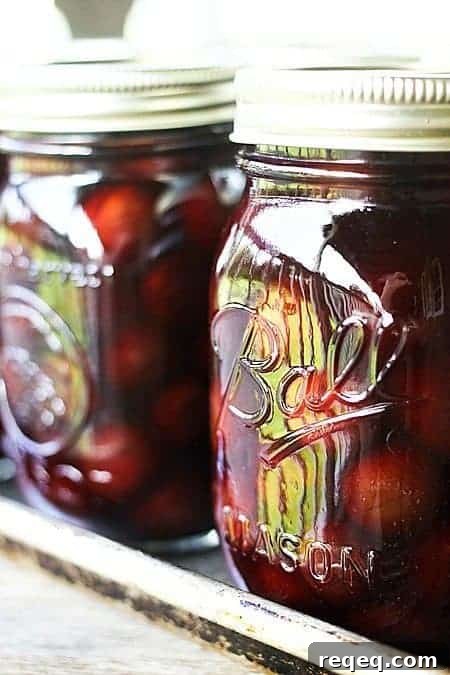
Why pickle cherries?
It’s understandable if cherries aren’t the first thing you imagine when you think “pickles.” But these Russian pickled cherries convert skeptics with their concentrated cherry flavor balanced by cider vinegar and gentle warming spices.
Dark, preserved cherries make a delightful accompaniment to roasted meats and hearty vegetables. The bright, tangy contrast elevates simpler or fattier cuts of meat, a preservation trick borrowed and adapted across cuisines to make economical cuts taste more refined.
A great beginner preservation project
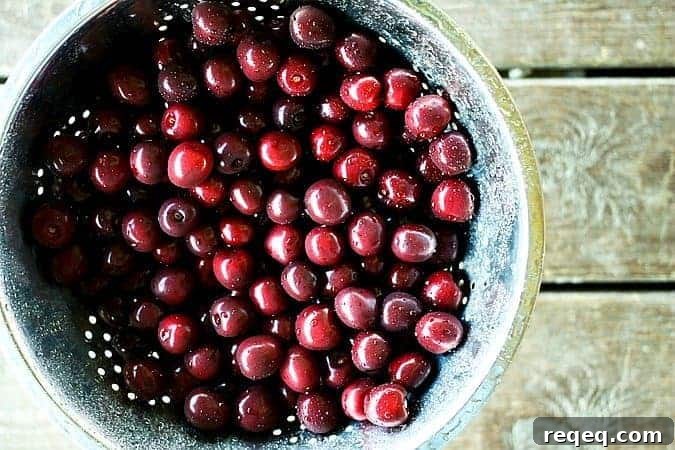
This is one of the least intimidating ways to preserve fruit: stem and wash the cherries and leave the pits intact so the fruit keeps its shape. After washing and stemming, the cherries soak in raw apple cider vinegar overnight. The vinegar is then drained, heated with sugar, water, and spices, cooled, and poured back over the cherries to steep for three days.
After three days, the liquid is heated again and the cherries are packed into sterilized jars. The cooled, strained pickling liquid is poured over the fruit, lids secured, and the jars stored in a cool, dark place for up to a year. Because the cherries are not pitted or cooked directly in the jars, they retain some of the fresh texture, though their color deepens naturally during the process.
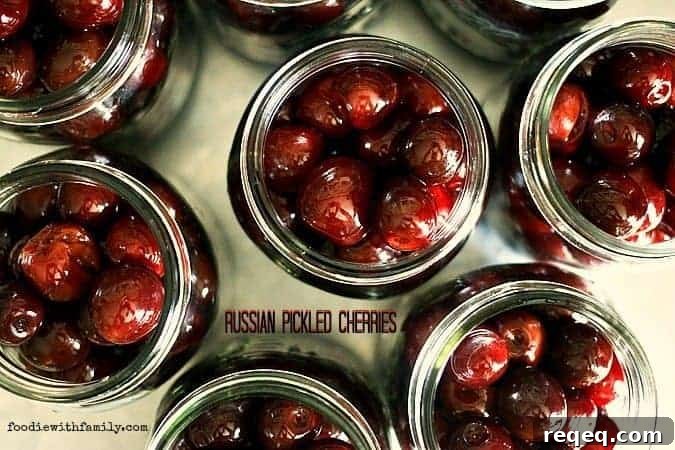
The technique is deliberately designed not to be canned in a boiling water bath; that would soften the cherries too much. Stored properly in a cool, stable environment, the high-acid pickling liquid keeps the cherries safe and flavorful. Save any leftover pickling vinegar—its bright, cherry flavor is fantastic in dressings or drizzled on roasted beets and carrots.
If you have a huge crop of cherries, try preserving some as rum-soaked cherries or making boozy cherry molasses for a different use of abundance.
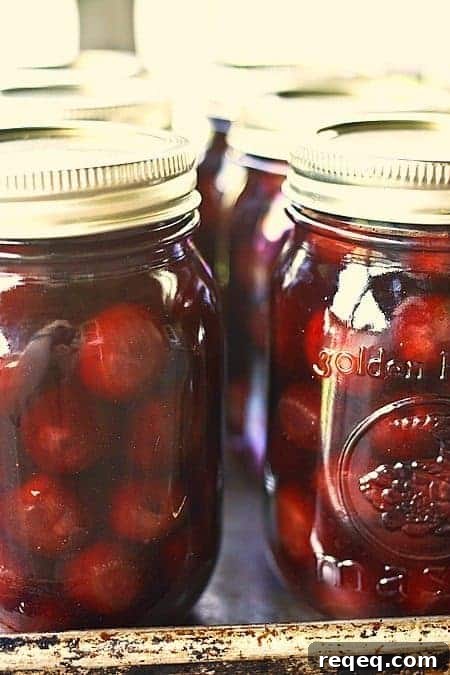
If you enjoy pickling, experiment with other preserved favorites such as moonshine pickles, quick refrigerator-style pickles, candied jalapeños, or fun condiments that put pickles to creative use.
Pickled Cherries
Because the two dominant flavors here are cherries and apple cider vinegar, use a good-quality raw apple cider vinegar for best results. This recipe requires four days from start to finish, but most of that time is hands-off: two brief boil-and-cool steps and the final jar-filling.
This recipe is not intended for conventional canning to extend shelf life; avoid heat-processing the filled jars. The pickled cherries are acidic enough to be stored safely in a cool, dark cupboard or cellar for up to a year. Refrigeration is optional if you prefer added reassurance.
Keep the infused vinegar after you’ve removed the cherries — it makes an exceptional salad dressing base and adds brightness to many savory dishes.
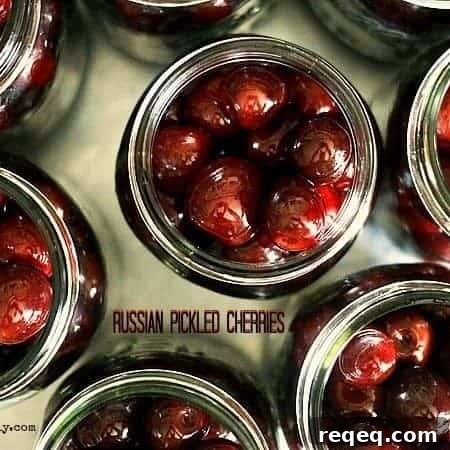
Russian Pickled Cherries
Rebecca Lindamood
Ingredients
- 4 cups sweet cherries preferably dark; stems removed but pits left intact
- 2 cups raw apple cider vinegar
- 1 cup raw sugar
- 2/3 cup water
- 2 cardamom pods lightly crushed to expose the seeds
- half a cinnamon stick
- 8 scrapes of whole nutmeg (use a rasp or fine microplane)
- 2 whole allspice berries
Optional, but tasty:
- 2 teaspoons kirsch clear cherry brandy
Instructions
-
Place cherries in a non-reactive bowl (stainless steel or glass). Pour the apple cider vinegar over the cherries and gently move the bowl so the fruit is evenly submerged. Cover tightly to keep fruit flies away and let the cherries soak overnight.
-
Next day, carefully drain the vinegar into a saucepan (use a colander if helpful to keep cherries from bouncing). Return the cherries to the bowl and cover. Add raw sugar, water, and the spices to the drained vinegar. Bring the liquid to a boil, then reduce heat and simmer 15 minutes. Remove from heat, cover, and cool completely.
-
If using kirsch, stir it into the cooled pickling liquid. Pour the cooled liquid back over the cherries, gently move the bowl so the liquid covers the fruit, cover tightly, and let stand at room temperature for three days. After three days, drain the liquid into a saucepan and heat it to a boil. While the liquid heats, use clean hands or utensils to transfer cherries to sterilized jars and cover the jars to keep insects out. When the pickling liquid reaches a boil, remove from heat, let it cool to room temperature, strain if desired, and pour it over the cherries to cover. Reserve any extra liquid in a sterilized jar. Wipe jar rims with a vinegar-dampened paper towel and secure non-reactive lids and rings fingertip-tight. Label and store jars in a cool, dark place for at least one month before tasting; they will keep up to a year.
Nutritional information is an estimate and provided as a courtesy. Calculate nutrition using the specific ingredients you use if needed.
Did you make this recipe?
Share your results on Instagram by tagging @foodiewithfam and using #foodiewithfamily so the author can see your jars.