Recipes 4 min read
No-Bake Mini Peanut Butter Cup Cheesecakes
Please join me in a brief moment of silence for my waistline.
*Silence interrupted by the sound of chewing. Munch, munch, mmmmmmm…*
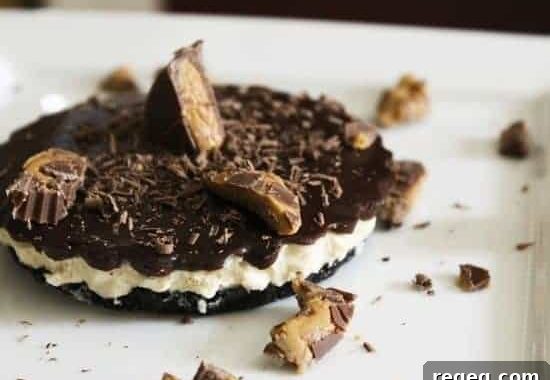
Sometimes I wonder what I’m doing to you, dear readers—those kind, funny, lovely people who read my recipes, send notes, and leave hilarious comments. Then I take another bite of that cheesecake pictured above and realize it’s so good it must be shared with the whole wide world. This post was written on a Peanut Butter Cup No-Bake Mini Cheesecake-fueled impulse.
Important aside: Whoever first paired peanut butter with chocolate deserves culinary sainthood.
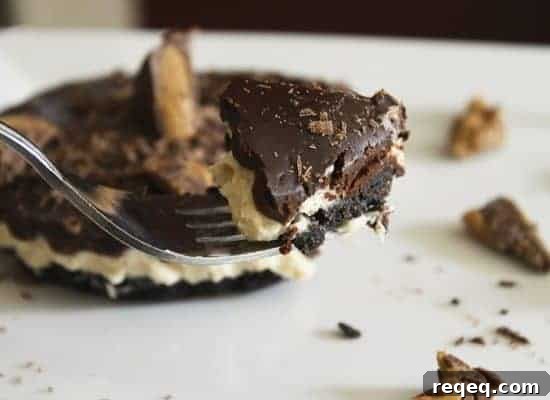
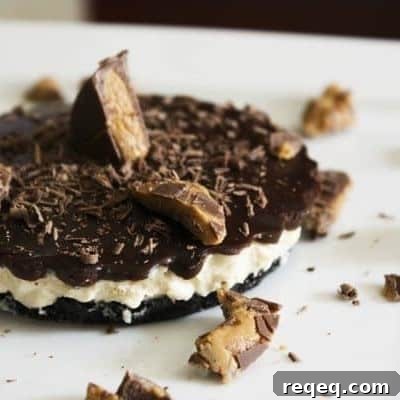
In short, this might be one of the best desserts I’ve ever made. The filling is creamy, airy, and rich peanut butter sandwiched between a crunchy chocolate cookie crust and a glossy chocolate ganache. When you press a fork in, the top yields smoothly and the only resistance is the crumbly cookie base. It’s elegant enough for a fancy dinner party, yet casual enough to eat straight from the pan with a fork, spoon, or even your fingers.
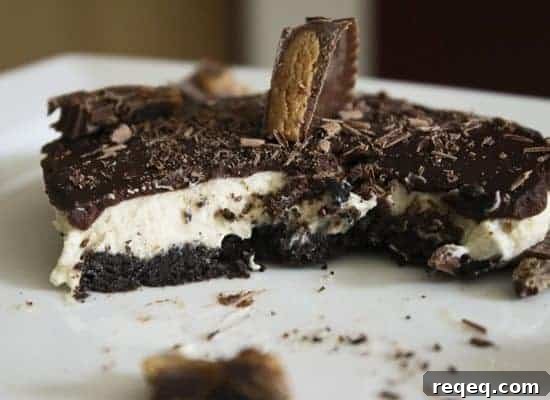
These mini cheesecakes also freeze beautifully for up to a month. Enjoy them frozen for an ice-cream-like treat, or remove from the freezer 20–30 minutes before serving for a cold, soft, and creamy dessert. Having a stash of these in the freezer is a lifesaver: last-minute guests, midnight cravings, dessert club, or a rough day—all solved with a few bites of heaven.
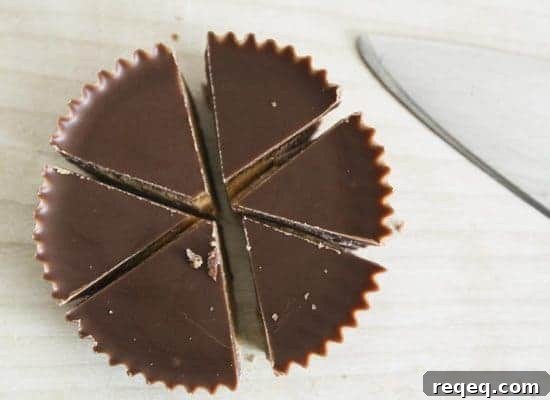
Note: I use mini tart pans with removable bottoms because the cheesecakes are easy to release and the fluted edges resemble Reese’s Peanut Butter Cups—one of my weaknesses. Any removable-bottom pan, mini springform, or a standard springform will work. If you don’t have those, a deep pie plate will substitute.
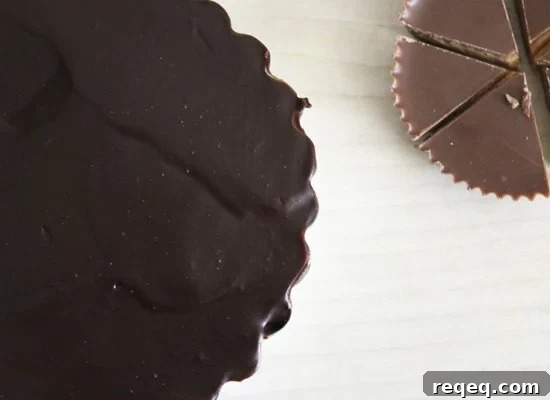
Glory hallelujah—pass the forks, please.
Peanut Butter Cup No Bake Mini Cheesecakes
Rebecca Lindamood
Ingredients
- 20 cream filled chocolate wafer cookies Think Oreos or Newman’s Own
- 4 ounces butter (by weight) 1 stick, melted
- 2 packages Neufchatel cream cheese 8 ounce each, softened to room temperature
- 2/3 cup creamy peanut butter
- 1/2 cup sugar Use 3/4 cup if using natural peanut butter
- 2 cups heavy cream whipping cream, divided
- 8 ounces semi-sweet chocolate roughly chopped
- Optional: chopped peanut butter cups and shaved dark chocolate for garnish
Instructions
-
Pulse the chocolate cookies in a food processor until they form fine crumbs. Add the melted butter and pulse until evenly combined. If you don’t have a food processor, place cookies in a zip-top bag and crush with a rolling pin or heavy pan, then combine with melted butter in a bowl.
-
Arrange 12 removable-bottom tart pans or mini springform pans on a tray and spray lightly with nonstick spray. Divide the cookie crumb mixture, using about 2 packed tablespoons per pan. Press crumbs firmly and evenly into the bottoms. Refrigerate to set while you prepare the filling. (For one large pie pan, press enough crumbs to cover the bottom.)
-
With a stand or hand mixer, beat the cream cheese on high until smooth and creamy. Scrape the bowl, add the peanut butter, and beat again on high until completely combined and smooth.
-
Add 1 cup of the heavy cream and blend on high until slightly thickened.
-
Turn off the mixer, scrape the sides, add the sugar, then beat on high until the mixture is quite thick.
-
Divide the filling evenly among the prepared pans and smooth the tops. Chill for 20 minutes while you make the ganache.
-
Place the chopped chocolate in a microwave-safe bowl with the remaining 1 cup of heavy cream. Microwave on high for 1 minute 30 seconds, watching to avoid boil-over.
-
Let the bowl sit in the closed microwave for 5 minutes to let the chocolate melt gently.
-
After resting, remove the bowl and whisk slowly in one direction until the ganache is smooth and glossy. It may look curdled at first, but continue whisking and it will come together.
-
Let the ganache sit 5 minutes at room temperature, then spoon it over the chilled cheesecakes. Smooth the tops and refrigerate until firm, at least 2 hours.
-
Serve chilled or freeze for later. If frozen, allow 10–30 minutes at room temperature before serving for a softer texture.
Notes
Nutrition
Nutritional information is an estimate provided for convenience. Calculate nutrition using the exact ingredients you use if precise values are needed.
Did you make this recipe?
Tag @foodiewithfam on Instagram and use #foodiewithfamily so the author can see your creations!