Recipes 5 min read
Buttermilk Biscuits: Make, Freeze, and Bake Later for Fresh Results

If you enjoy this tutorial on making buttermilk biscuits, check out our Bread Recipes page for more homemade bread ideas.

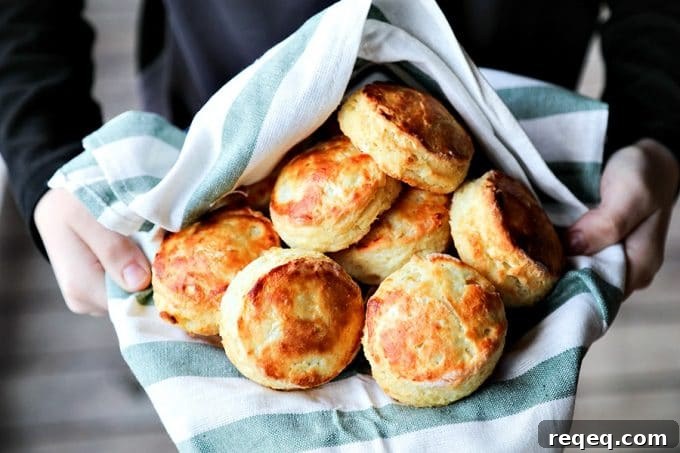
There are moments when only a biscuit will do. Quick drop biscuits are useful when time is short, but sometimes you want something taller, flaky, and layered from top to bottom—golden brown, moist, and utterly delicious. The kind you can split and slather with cold butter and jam or smother with sausage gravy.
I learned to improve my family recipe—my Arkansas grandmother’s—after attending a King Arthur Flour demo and later their Blog & Bake event. A few simple techniques transformed my biscuits into the perfect flaky layered buttermilk biscuits I now make every chance I get.
Here’s a quick summary of the essential rules that make a big difference:
How to Make Buttermilk Biscuits
- Use cold butter—do not soften it at room temperature.
- Cut the butter into two shapes: thin pats and larger batons/cubes.
- Work the butter into the flour with your hands rather than a cutter, knife, or food processor.
- Add buttermilk sparingly; you can always add more but you can’t remove excess.
- Be gentle with the dough—don’t overwork it.
- Use a sharp biscuit cutter (or a sharp knife) and cut straight down without twisting.
- Maximize the number of biscuits from the first cutting; each re-roll makes them tougher.
- Don’t crowd the pan—give biscuits room to rise.
Now for the details on why these steps matter and how to follow them.
Homemade Buttermilk Biscuits
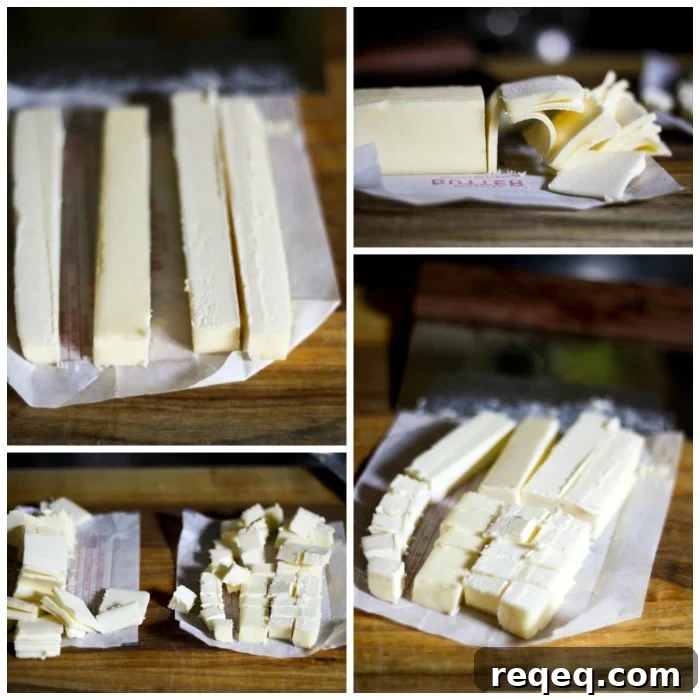
One key to achieving both tenderness and flakiness is cutting the butter two different ways. In the photos you’ll notice a double batch—because biscuits are worth it.
Cut half of the very cold butter into thin pats and cut the other half into longer batons, then cross-cut into small cubes. Smaller pieces create tender crumb; larger, flatter pieces create steam pockets in the oven and produce flaky layers. Using cold butter slows its melting while you work the dough and allows it to melt in the oven, which helps form layers.
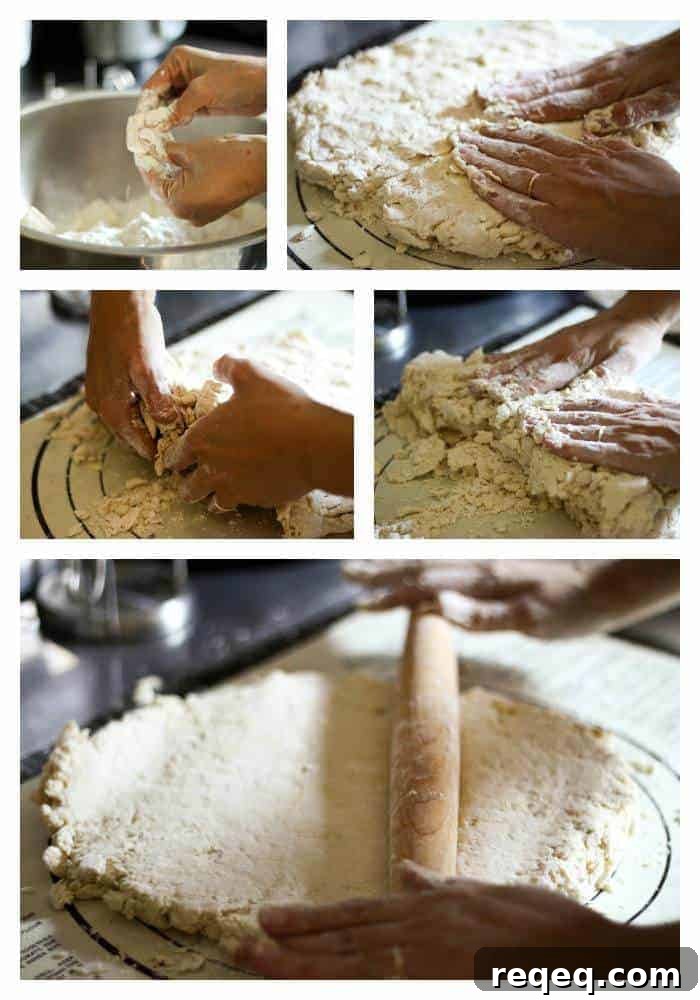
This recipe uses self-rising flour, so simply measure the flour into a large bowl and add the butter. Use your fingertips, not the palms of your hands, to break and toss the butter pieces into the flour so they become coated. The goal is uneven pieces—no larger than peas—so you’ll have a mix of small bits and flatter pieces.
Resist the urge to add too much liquid. The dough will look shaggy and a bit crumbly at first; that’s normal. Add most of the buttermilk around the edge of the bowl, reserve a couple of tablespoons, and toss gently with a spoon, spatula, or scrapers until a scrappy dough starts to come together. If it still feels too dry, add the reserved buttermilk a tablespoon at a time until the dough holds when squeezed.
Why use your hands to work the butter into the dough?
Hands let you feel the dough’s texture and tell when pieces are too large or when the mixture is ready to hold together. Working with your hands also helps prevent overworking, which can make biscuits tough.
After the mixture forms, turn it out onto a floured surface and pat it gently into a roughly 2-inch-thick rectangle. Fold the dough to create layers: slide hands under one side, fold from 9 o’clock to 3 o’clock like closing a book, pat to 2 inches thick, then fold from 6 o’clock to 12 o’clock. Repeat this sequence a few times—the dough will come together gradually and form the layers you want.
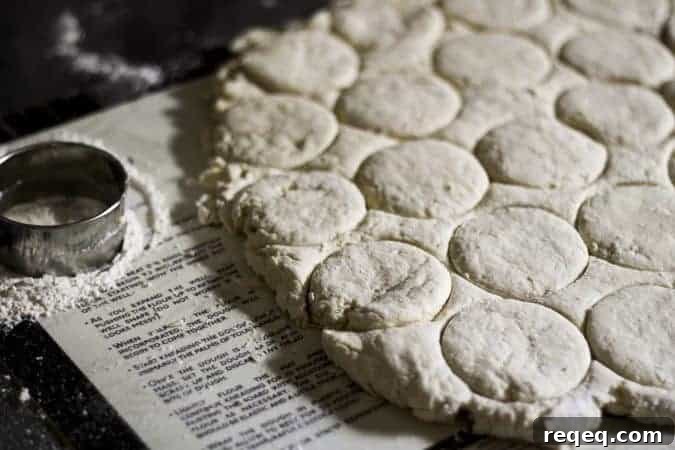
Roll the dough gently to about 3/4- to 1-inch thickness. Use a sharp open-topped biscuit cutter or a sharp knife to cut straight down without twisting. Cut the biscuits close together to minimize scraps.
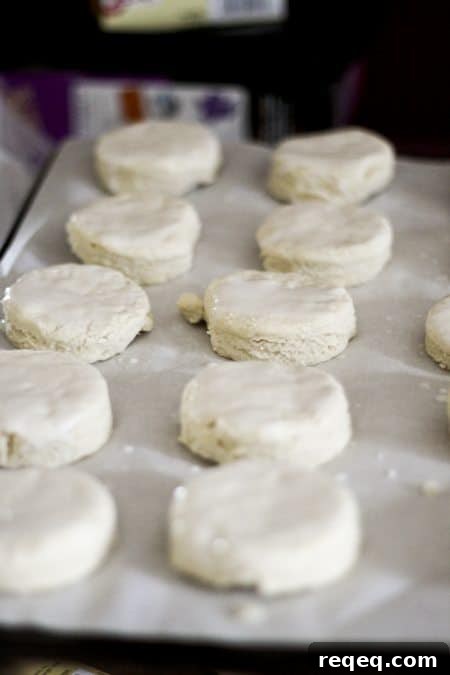
Place biscuits on a greased or parchment-lined baking sheet, leaving room between them so sides can rise and brown. For a shiny, deeper brown top, brush the biscuits with buttermilk before baking; omit brushing for a more rustic, flour-dusted top.
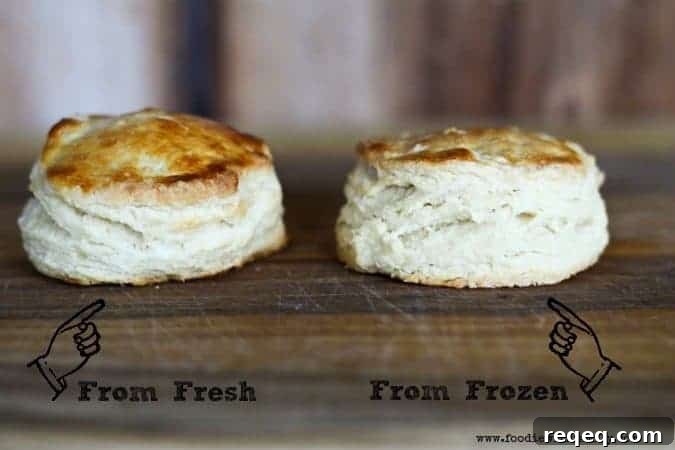
This recipe yields a generous batch. I often freeze half the unbaked cut biscuits for quick baking later. To freeze, place unbaked biscuits on a parchment-lined sheet, freeze until solid, then transfer to a labeled freezer bag for up to three months. Frozen biscuits bake nicely and in my experience can puff up even higher than fresh-cut ones.
Cook’s Notes
- Using a 2-inch cutter should produce about 24 biscuits from this recipe, though yield can vary.
- You can cut the dough into squares for a quicker, less wasteful option.
- Use real cultured buttermilk for best flavor and texture; the vinegar-and-milk substitute won’t provide the same result here.
Ingredients (for about 24 biscuits)
- 4 cups self-rising flour (about 1 pound by weight)
- 1/2 cup very cold butter (about 1 stick or 4 ounces)
- 1 1/3 cups buttermilk, plus extra if needed and for brushing
- All-purpose flour for dusting the work surface
Instructions (summary)
- Preheat oven to 425°F. Add flour to a large bowl.
- Cut butter: half into small cubes, half into as-thin-as-possible pats. Toss into flour and coat with your fingertips. Rub each piece between your fingers until pieces are uneven and no larger than peas.
- Pour most of the buttermilk around the bowl edge. Toss until a scrappy dough forms; add the reserved buttermilk a tablespoon at a time if needed until the dough holds together when squeezed.
- Turn dough onto a floured surface and gently pat into a 2-inch-thick rectangle. Fold from 9 to 3 and 6 to 12 o’clock, patting to 2 inches each time to build layers.
- Gently roll to 3/4–1 inch thickness. Cut straight down with a sharp cutter or knife. Transfer to a prepared sheet, leaving space between biscuits.
- Brush tops with buttermilk if desired. Bake 8–12 minutes, rotating halfway, until golden brown and lofty. Let rest 2 minutes before serving.
- To bake frozen biscuits: Preheat oven to 475°F, arrange frozen biscuits on parchment with 2-inch spacing, brush tops with buttermilk and bake 5 minutes, then reduce oven to 425°F and bake an additional 10 minutes or until golden and risen.

Serve these biscuits warm with butter and jam, or ladle sausage gravy over them for a hearty breakfast. They also freeze well and make a convenient, delicious option for busy nights.

This post originally published on October 26, 2013, with updates in November 2015, July 2017, and March 2021.