
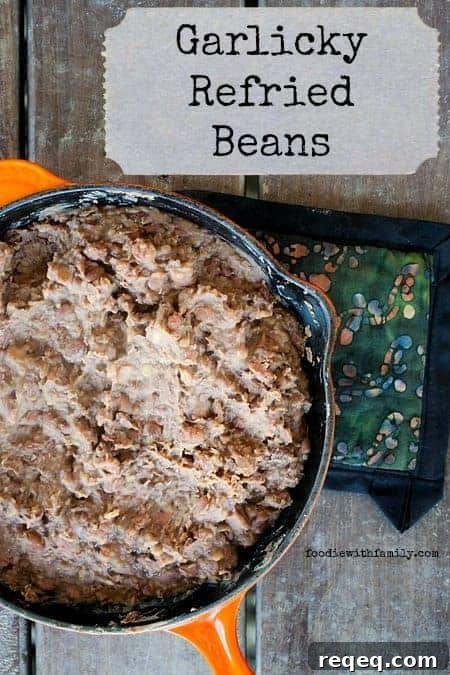
Refried beans are a household staple here. With five hungry boys in the mix, there’s always someone proclaiming they’re “STARVING!” or that their stomach is a “GIANT VOID!” The theatrics are real, and refried beans are the reliable answer. I make a big batch most weeks, portion it into snack-sized containers, and freeze them. Even the youngest can retrieve a container, crack the lid, and heat it in the microwave—often wearing oversized oven mitts and an apron, but able to feed himself independently. That small independence gives me a few minutes of peace and keeps everyone fed.
We keep a near-bottomless supply of tortilla chips on hand—bought in bulk—and reheated refried beans plus chips make a quick, satisfying snack that holds the kids over. But these beans aren’t only for snacks. They form the base for many meals: beans and rice, quesadillas, nachos, burritos, tacos, or even a flavorful layer for veggie burgers.
Why make refried beans from scratch?
Canned refried beans are inexpensive and convenient, and I keep cans for true emergencies. Dried beans are also economical. Financially, there isn’t a huge gap between canned and dried. Health-wise, homemade beans let you control sodium and fat levels, which is an advantage. But the primary reason I make them from scratch is simple: homemade refried beans taste and feel vastly better than the canned variety.
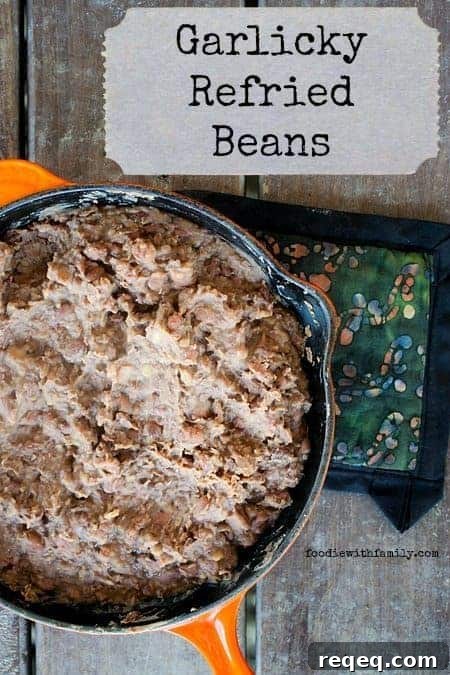
Far from bland mashed beans, homemade refried beans deliver real flavor, texture, and depth. My version focuses on garlic and a touch of smoky spice, producing a creamy, slightly textured spread with some whole beans remaining for body. It’s simple, but the result is rich and satisfying.

One of our favorite quick snacks is a lightly charred tortilla spread with warm refried beans, a little grated cheese, and a few cilantro leaves or a spoonful of salsa. It’s fast, delicious, and versatile.
Cooking Notes:
- No soaking required. The method used here renders pre-soaking unnecessary and saves time without sacrificing texture.
- Salt the beans while they cook. Contrary to a common myth, adding salt during cooking doesn’t toughen beans. Salting early seasons them through-and-through and produces better flavor.
- Fat amount is adjustable. The lower amount yields a leaner, still-tasty batch; the higher amount makes an indulgent, richer result. Choose according to taste and dietary preference.
- Choose the fat you prefer. Lard is traditional, bacon grease adds smoky depth, and neutral oils or shortening also work. Experiment to find your favorite flavor profile.
- Avoid over-reducing during the refrying stage. The beans will continue to thicken as they cool; stop when they’re just shy of your final desired thickness to prevent a stodgy result.
- If your beans become too thick, rescue them by stirring in more fat and a splash of chicken stock or water, then simmer until they reach a batter-like consistency. Let cool and serve.
Homemade Garlicky Refried Beans
Rebecca Lindamood
Ingredients
- 1 pound dried pinto beans 2 cups
- 8 cloves garlic peeled but left whole
- 1/2 an onion trimmed of both ends, peeled, and roughly chopped
- 2 bay leaves
- 1 Ancho pepper dried poblano chile, wiped clean, stem and seeds removed
- 1 tablespoon dried oregano
- 2 teaspoons kosher salt
- 1/4 to 1/2 cup peanut canola, or vegetable oil, vegetable shortening, lard, or bacon grease
Instructions
-
Preheat the oven to 275°F.
-
Place the pinto beans in a colander, pick through to remove any debris, and rinse well. Transfer the beans to a 3-quart or larger Dutch oven and cover with 2–3 inches of fresh water. Add the whole garlic cloves, chopped onion, bay leaves, Ancho pepper, oregano, and salt. Bring to a boil on the stovetop, cover tightly, then transfer to the oven and bake for 60–90 minutes (see notes) or until the beans are very tender.
-
Heat your chosen fat in a heavy-bottomed 8–12 inch skillet over medium-high heat until shimmering. Use a ladle to transfer about 3 cups of beans and cooking liquid into the skillet. When it reaches a boil, add two more ladles of beans and liquid, let it return to a boil, and repeat until all beans are in the skillet. Lower the heat to medium-low and vigorously stir with a wooden spoon to break up the beans. Continue simmering until the mixture is mostly broken down and creamy, with some whole beans remaining for texture. Remember it will thicken further as it cools.
-
Taste and adjust seasoning with additional salt if desired. Serve warm.
Notes
**For a smoother texture, use a potato masher while cooking. For an ultra-smooth finish, pulse the cooked beans in a food processor with a metal blade until the desired consistency is reached.
Nutritional information is an estimate and provided as a courtesy. Calculate nutrition using the exact ingredients you use if needed.
Did you make this recipe?
Tag @foodiewithfam on Instagram and use #foodiewithfamily so the author can see your results.