
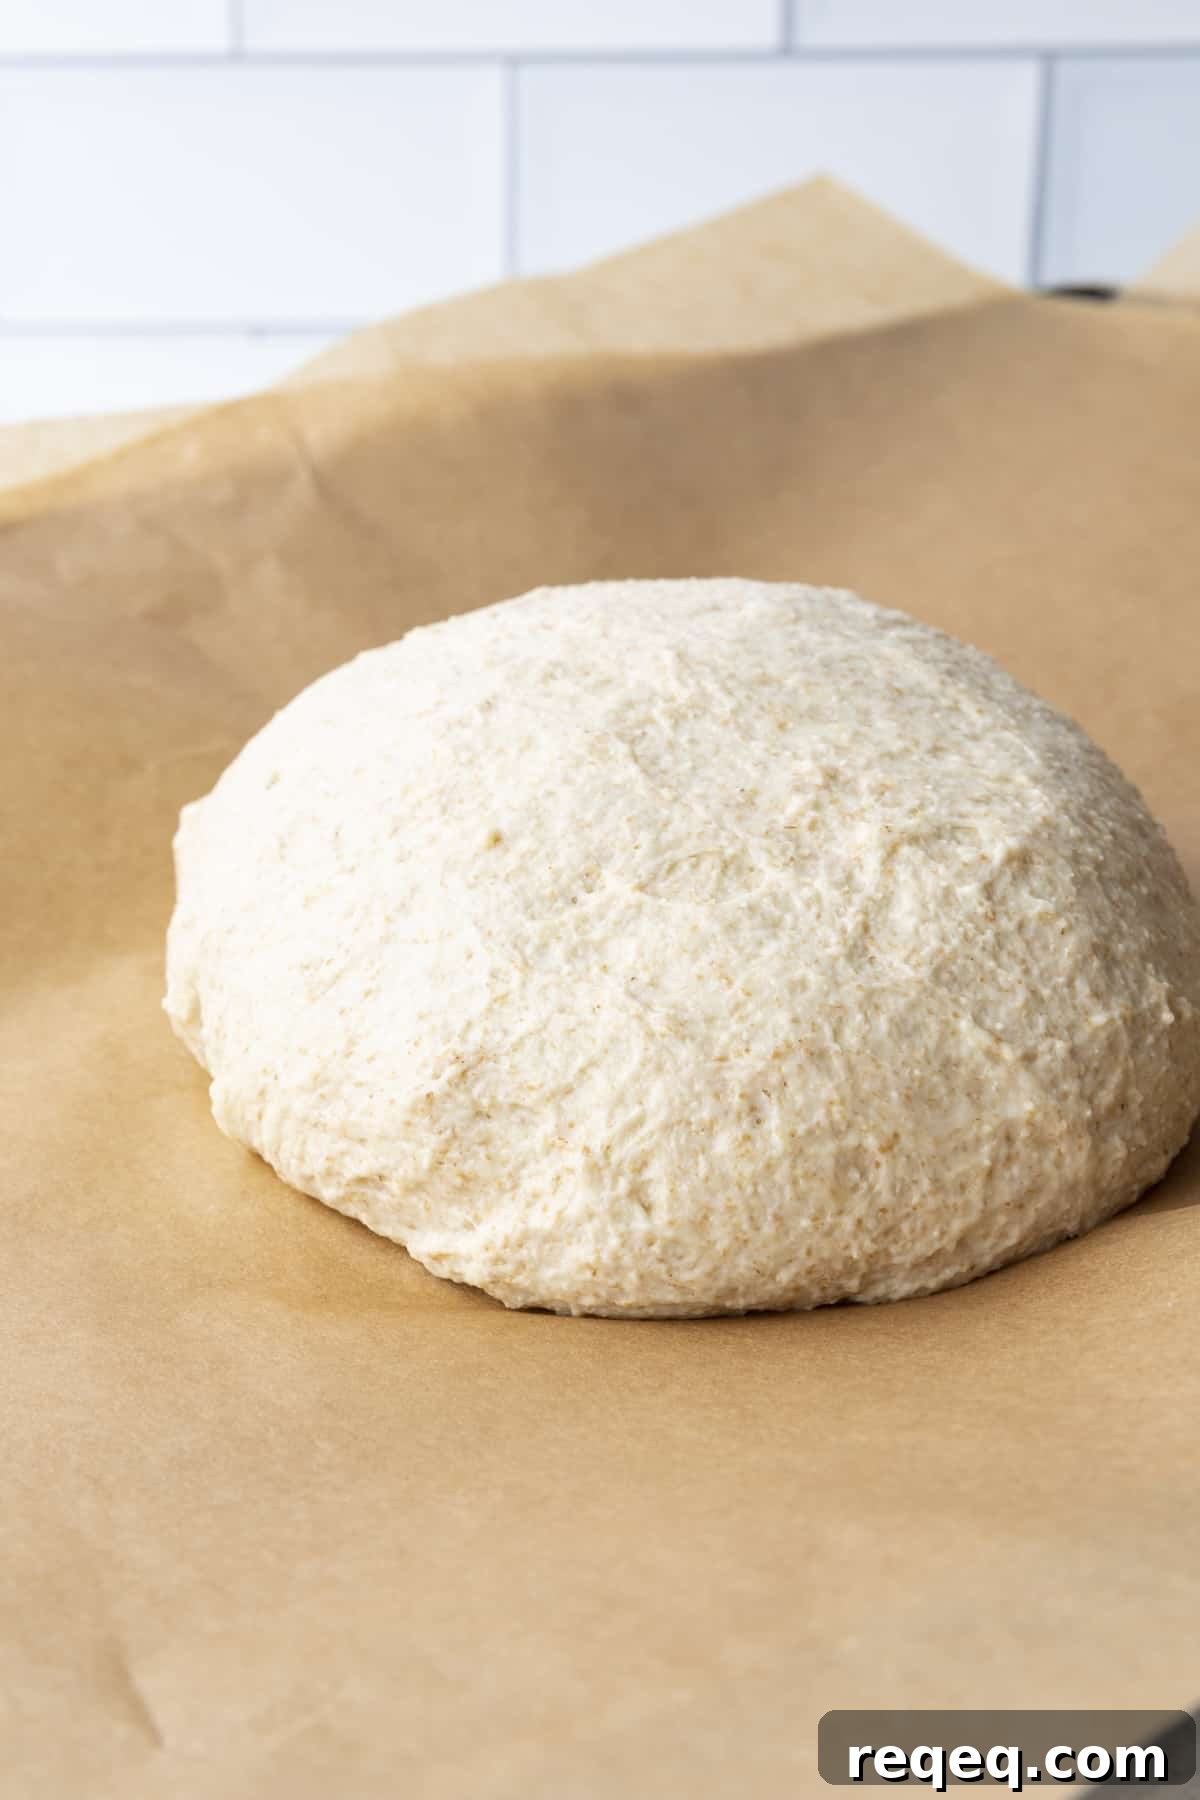
This whole wheat pizza dough yields our family’s favourite pizza crust: crispy yet chewy, full of flavour, and sturdy enough to hold any toppings.
Why make pizza dough with whole wheat? I get it—pizza isn’t exactly a health food. But whole wheat brings more protein and nutrients than white flour and, more importantly for this recipe, it adds a depth of flavour and a texture that simply elevates the crust.

What Ingredients Do I Need?
- All-purpose flour
- Whole wheat flour
- Semolina flour (substitute with all-purpose or bread flour if you don’t have it)
- Olive oil
- Water
- Salt
- Sugar
- Active dry yeast or instant yeast
Whole Wheat Pizza Crust
This recipe uses three flours because each contributes different properties. You can make a pizza crust from 100% whole wheat, but the result tends to be dense and a bit heavy. Combining whole wheat with all-purpose and semolina gives a crust that’s flavorful without sacrificing texture.
All-purpose flour is a versatile, medium-gluten flour that provides reliable structure. Semolina, made from durum wheat, has very high gluten content and helps produce a crackly exterior while keeping the interior soft and chewy. Semolina can be delicate if used alone—it can overwork and tear rather than stretch—so mixing it with all-purpose flour balances that tendency.
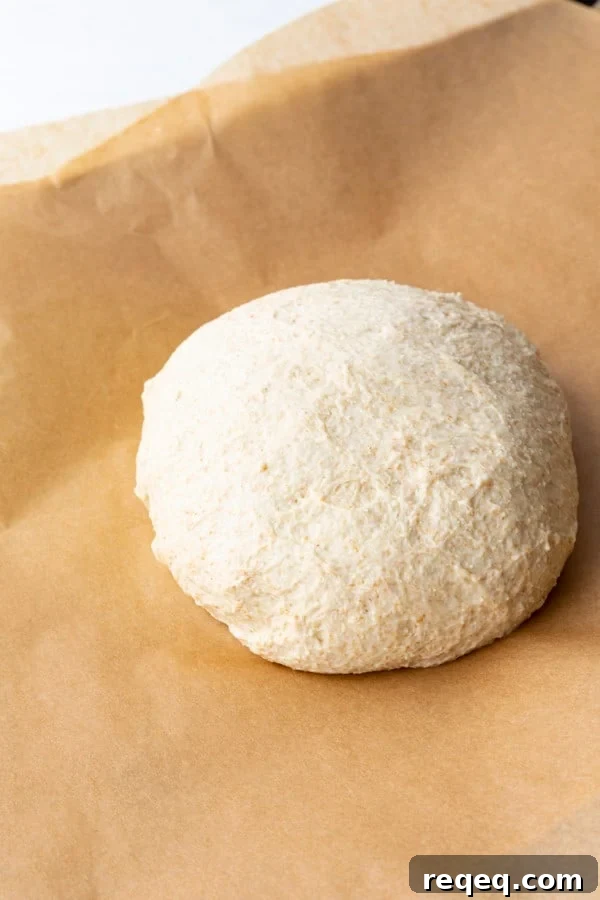
If you can’t find semolina, substitute an equal volume of all-purpose or high-gluten bread flour. The texture will change but the dough will still be very good. Whole wheat flour adds a richer, heartier flavour that you won’t get from white flour alone.
Whole Wheat Flour in Baked Goods
Whole wheat absorbs more liquid than white flour, so recipes typically need extra water—about one tablespoon more per cup of whole wheat flour. Dough made with whole wheat will be a bit stickier initially; resist adding extra flour, as the dough will firm up as it rests. Whole wheat dough may take longer to rise and won’t often puff as high as an all-purpose dough, but that contributes to the crisp-yet-chewy texture that makes this crust so satisfying.

- Whole wheat flour absorbs more liquid than white flour—add about 1 tablespoon extra water per cup of whole wheat flour.
- Because absorption takes time, the dough will feel stickier at first. Don’t add flour; it will resolve as the dough rests.
- Rising takes patience. Let the dough double in size—don’t rush it.
- Roll or stretch gently; whole wheat dough benefits from a careful touch.
- Expect a slightly lower rise than an all-purpose dough—this contributes to the crust’s texture.
This whole wheat pizza dough delivers the crust I was hoping for: crisp edges, chewy crumb, and plenty of flavour. Every time I make it, it’s a hit at the table.
Great Pizzas to Make with Whole Wheat Pizza Crust
This dough works beautifully with classic toppings like pepperoni and cheese, but it also excels under more creative combinations—barbecue chicken or turkey, vegetable pizzas with cream cheese-based ranch, or even seafood-inspired toppings. For a pre-baked crust, roll the dough out, brush with olive oil, and bake at 450ºF until the bottom is crisp and the edges are golden. Otherwise, top and bake as you would any pizza.
The recipe makes a large batch—enough for several pizzas—so you can bake what you need and freeze the rest for future pizza nights. The dough also makes excellent focaccia or flatbread.
Whole Wheat Pizza Dough
This batch yields enough dough for about six 12-inch pizzas or three half-sheet pan pizzas. If that’s more than you need, the recipe can be halved. Leftover dough stores well in the refrigerator for up to 10 days when kept lightly covered, or it can be frozen for up to three months in individual, lightly oiled bags.
To prepare the dough: mix the yeast, salt, sugar, olive oil, and water in a large bucket or bowl. Stir in the flours until no dry pockets remain. You don’t have to knead—mixing thoroughly is enough; wetting one hand and forearm makes it easy to incorporate the flour without sticking.
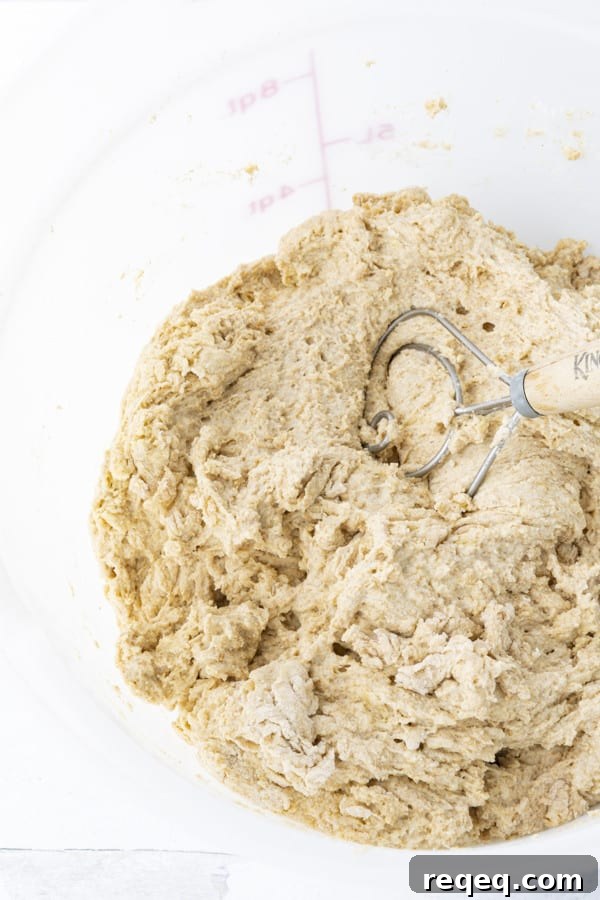
Cover the container loosely (don’t seal it tightly) and let the dough rise at room temperature until it has doubled and become very puffy. Rising time varies with temperature—under two hours in warm weather, longer in cool conditions.
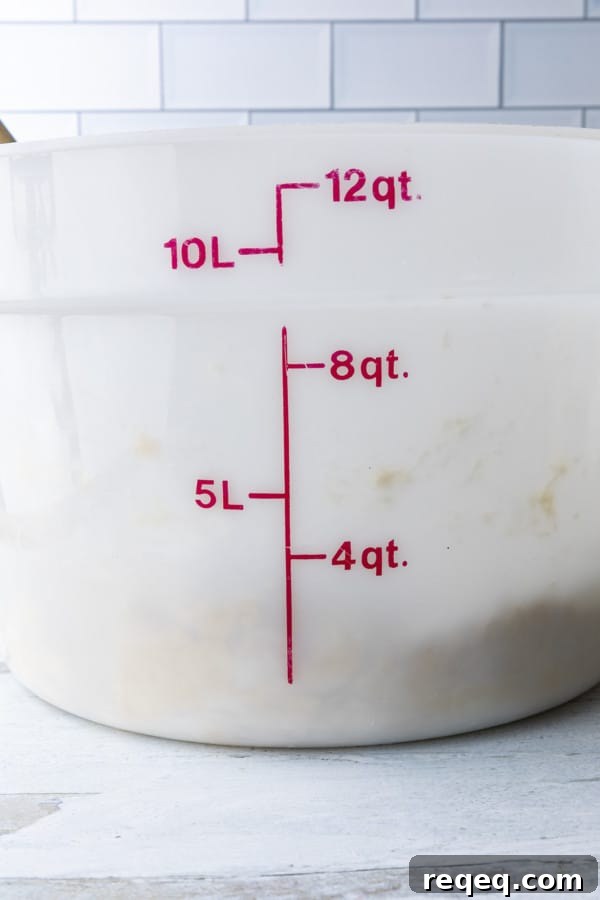
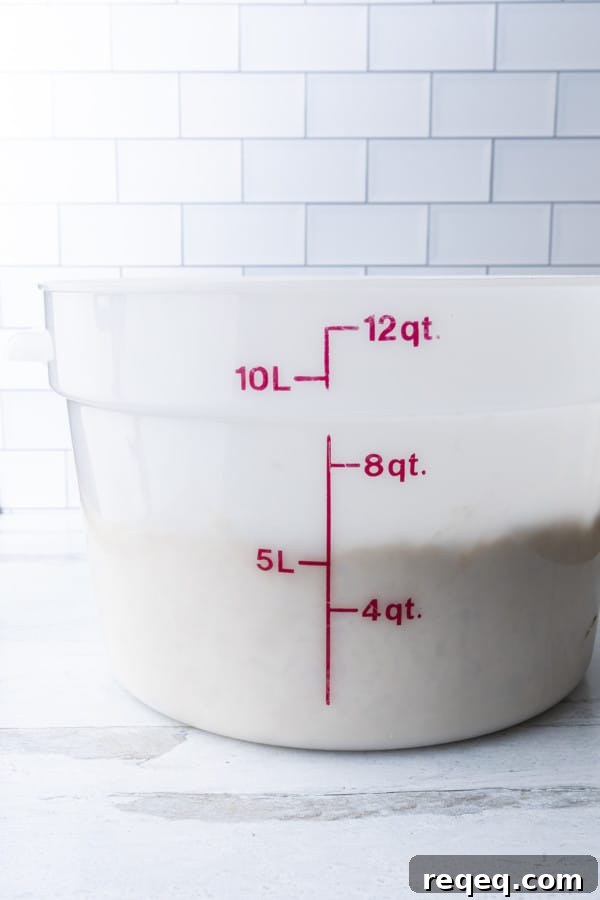
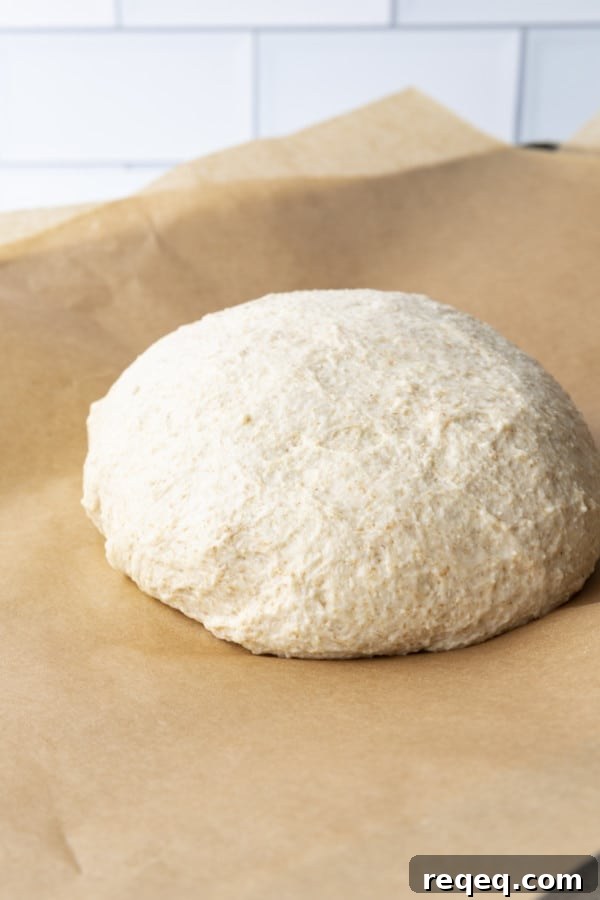
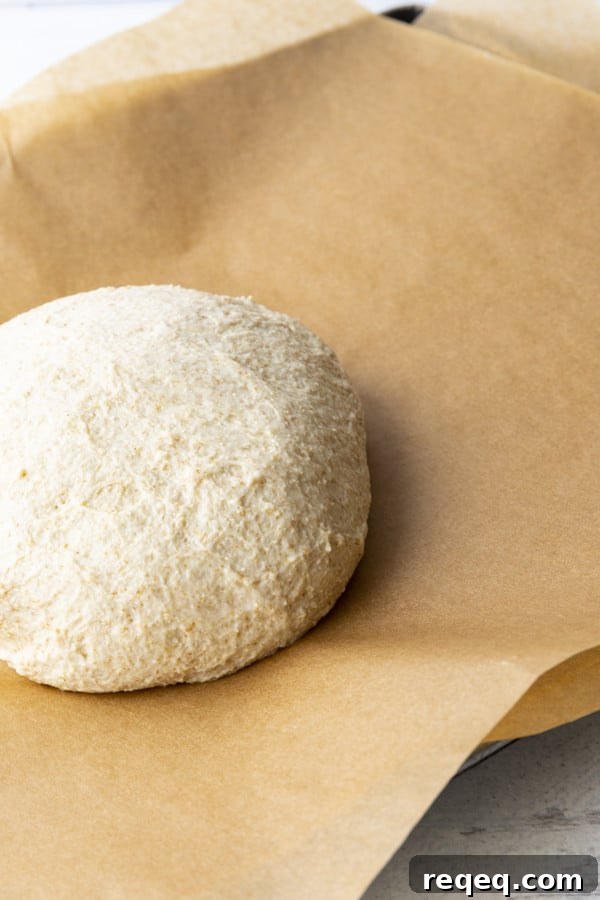
Once the dough has doubled, wet your hands and divide it into six roughly equal balls. Shape each ball by pulling the dough’s edges under until you have a smooth, tight surface. Set aside the balls you’ll use immediately and freeze any extras in labeled, lightly oiled freezer bags.
To thaw frozen dough, move it to the refrigerator about 8 hours before baking, then let it come to room temperature for at least 30 minutes before stretching. For a quicker thaw, leave it at room temperature for about 3 hours, depending on your kitchen’s warmth.
Whole Wheat Pizza Dough
Rebecca Lindamood
5 mins
2 hrs 5 mins
Equipment
-
1 dough bucket or large mixing bowl
-
1 dough whisk or long-handled, sturdy spoon
Ingredients
- 5 3/4 cups room temperature water
- 1/2 cup extra virgin olive oil
- 3 tablespoons instant yeast
- 2 tablespoons kosher salt
- 2 tablespoons sugar raw or granulated
- 4 cups whole wheat flour (~1 lb 1 oz by weight)
- 7 cups all-purpose flour (~1 lb 14.75 oz by weight)
- 2 cups semolina flour (~11 oz by weight)
Instructions
-
Mix the yeast, salt, sugar, olive oil, and water in a large (about 12-quart) bucket or large mixing bowl. Halve the recipe if your container is smaller.
-
Stir in the flours until no dry pockets remain. You don’t need to knead; wetting one hand and forearm makes it easy to fully incorporate the flour.
-
Cover loosely (do not seal tightly) and let rest at room temperature until the dough doubles and becomes very puffy. Rising time varies with temperature.
-
Use the dough immediately, refrigerate it lightly covered for up to 10 days, or divide into pizza-sized portions and freeze in oiled bags for up to 3 months.
Nutrition
Carbohydrates: 54g
Protein: 8g
Fat: 6g
Fiber: 4g
Nutritional information is an estimate and provided as a courtesy. Calculate using your actual ingredients if needed.
did you make this recipe?
Tag @foodiewithfam on Instagram and use #foodiewithfamily so the author can see your creation.
This post was originally published May 7, 2012, and republished with improved information, instructions, and images in April 2022.