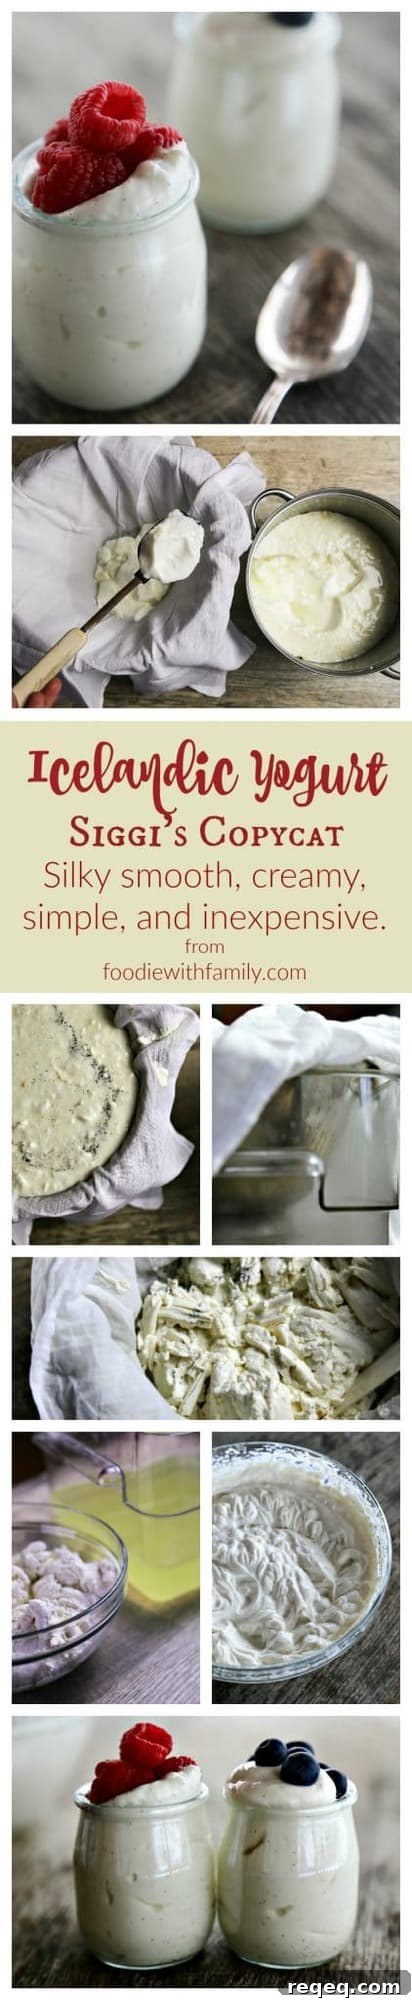
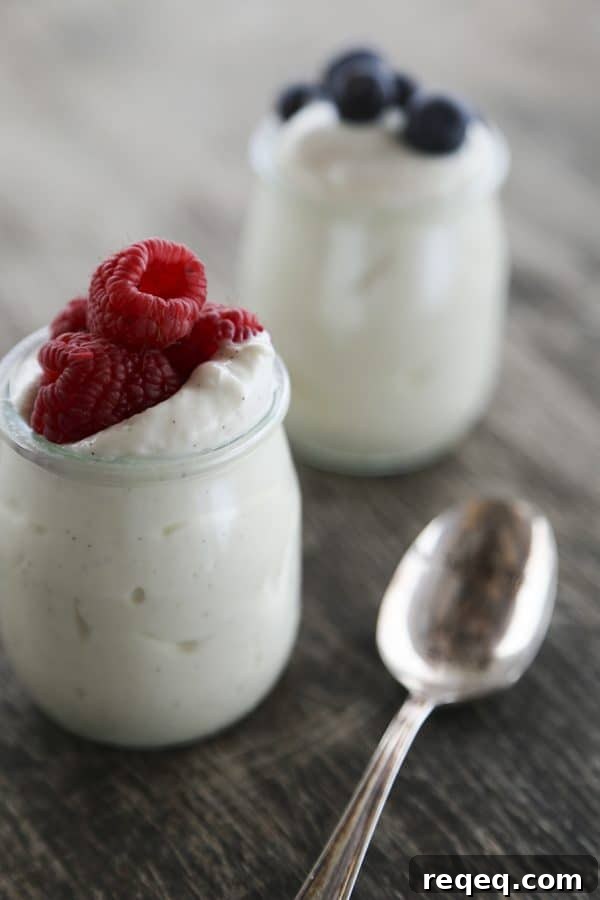
Yogurt is fine—especially when it’s thick rather than runny. Greek yogurt is a favorite for its density, but Icelandic yogurt (also called skyr) is in a class of its own. It’s incredibly thick, silky smooth, and surprisingly filling. A serving keeps me satisfied from breakfast straight through to lunch. Compared side-by-side with plain, unsweetened Greek or regular yogurt, skyr is less tangy and has a lighter, creamier mouthfeel.
Commercial skyr, such as Siggi’s, is widely praised but can be pricey and is often found only in stores with extensive health-food sections. If you enjoy the texture and nutrition of skyr, making it at home delivers the same ultra-thick, low-fat, high-protein result for much less.
What differentiates Icelandic yogurt from Greek yogurt is more than just straining. Greek yogurt is primarily strained to remove whey; skyr is both set with rennet and whipped after straining. The small addition of liquid rennet creates a delicate curd that, once drained and whipped, becomes ethereally smooth rather than grainy. Traditional methods use skim milk, which keeps fat low and protein content high.
How to Make Icelandic Yogurt (Siggi’s Copycat)
- Heat one gallon of skim milk with a split vanilla bean (both the pod and the scraped seeds) in a non-reactive, heavy-bottomed pot. Slowly bring to a steady simmer, stirring frequently to prevent scorching, and heat to 185°F–190°F (about 15–20 minutes).
- Remove the pot from the heat and let the milk cool to about 110°F. Whisk together 2/3 cup of plain or vanilla skyr (or plain Greek yogurt if skyr is unavailable) with 1 cup of the 110°F milk until smooth, then stir that mixture back into the pot.
- Mix 4 drops of liquid vegetable rennet (or 2 drops double-strength) with 1/4 cup cool, non-chlorinated water. Stir the rennet mixture into the warm milk quickly and evenly, then cover the pot, wrap it in a towel, and keep it warm and draft-free for about 12 hours (an oven with the light on works well).
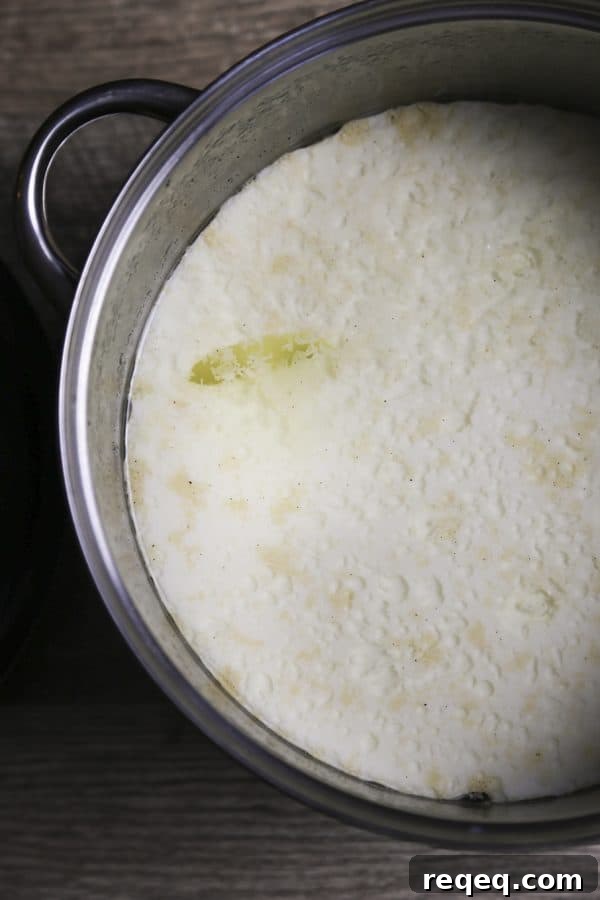
- After setting, the milk will have formed a delicate curd. Line a colander over a bowl with a double layer of cheesecloth, a flour-sack towel, or butter muslin. Spoon the curd into the lined colander—do not pour—to avoid breaking the curd. Let it drain undisturbed in a cool place for 4–8 hours, collecting the whey that drains off.
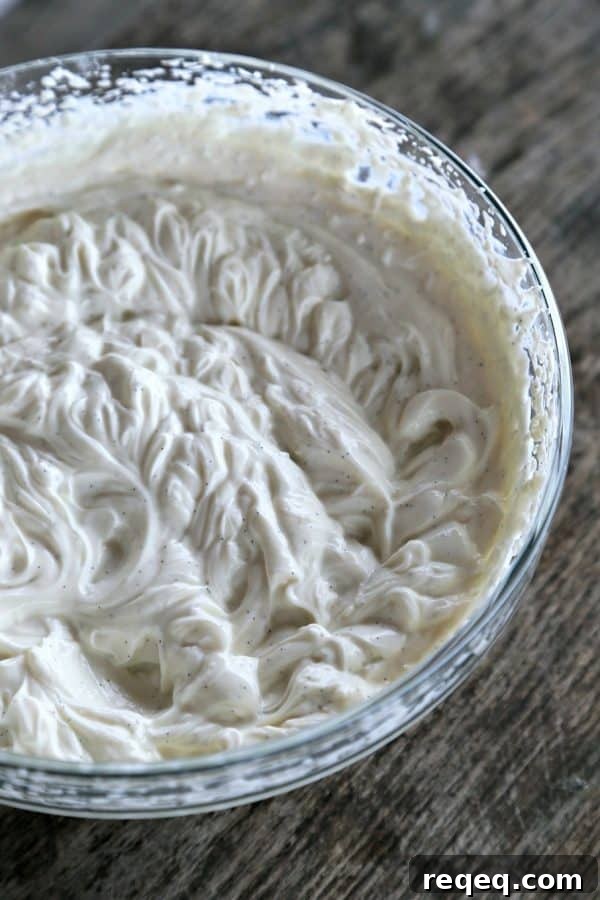
- Transfer the drained curd to a bowl and whip with a hand mixer, adding reserved whey a tablespoon at a time until the skyr becomes silky and reaches your preferred consistency. Sweeten individual servings as desired, and reserve 1/2 cup of your finished skyr to use as the starter for the next batch.
Cook’s Notes
- This recipe uses skim milk, producing an ultra low-fat and high-protein skyr similar to Siggi’s.
- Use plain or vanilla skyr (Siggi’s) as your starter when possible. If unavailable, plain or vanilla Greek yogurt will work.
- One vanilla bean per batch adds depth—split it, scrape the seeds, and add both pod and seeds to the milk while heating.
- Choose a non-reactive pot (stainless steel, enameled cast-iron) to avoid off-flavors.
- Heat the milk slowly and stir regularly to avoid scorching. If light scalding occurs, do not scrape scorched bits into the milk.
- Cool the milk to 110°F gradually before adding the starter and rennet.
- After adding rennet, keep the pot warm and undisturbed for roughly 12 hours to allow proper setting.
- Drain the curd in a cool location for 4–8 hours to achieve the desired thickness and collect the whey for other uses.
- Beat the strained curd with a mixer, adding whey tablespoon by tablespoon until it reaches a silky texture.
- Reserve 1/2 cup of the finished skyr to culture the next batch. Do not sweeten the entire batch—sweeten individual servings when serving.
- Save the whey for other recipes such as breads or smoothies.
Ingredients
- 1 gallon skim milk
- 1 vanilla bean, slit and scraped
- 2/3 cup plain or vanilla skyr (Siggi’s) or plain vanilla Greek yogurt (starter)
- 4 drops liquid vegetable rennet (or 2 drops double-strength)
- 1/4 cup cool, non-chlorinated water (for the rennet)
Instructions
- Add the skim milk and vanilla bean (pod and scraped seeds) to a large stainless steel or enameled pot. Slowly bring to 185°F–190°F, stirring to prevent scorching.
- Remove from heat and cool to 110°F. Whisk the starter skyr or yogurt with 1 cup of the warm milk until smooth; stir into the pot.
- Combine rennet with cool water and stir into the milk for about one minute. Cover, wrap in towels, and keep warm for about 12 hours in a draft-free spot or an oven with the light on.
- Spoon the set curd into a colander lined with double-layer cheesecloth or muslin, removing the vanilla pod. Let drain in a cool place for 4–8 hours, saving the whey.
- Transfer the drained curd to a bowl and beat with a hand or stand mixer. Add whey a tablespoon at a time until silky and smooth. Jar and refrigerate. Store in the refrigerator for up to 4 weeks; keep 1/2 cup unsweetened to use as a starter for the next batch.
Storage and Serving
Store finished skyr in airtight jars in the refrigerator for up to four weeks. Sweeten individual servings with honey, maple syrup, or your preferred sweetener at serving time, and reserve a small portion to culture the next batch within about 2–3 weeks for best results.