
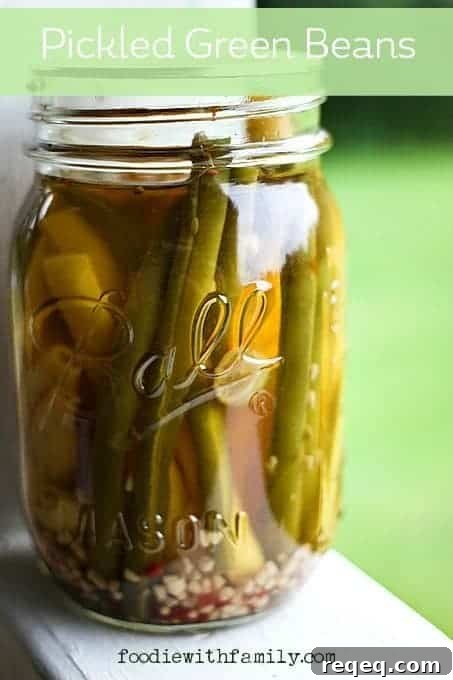
Pickled green beans are one of the first canning projects I learned from my grandmother. I can still picture long, noisy afternoons at her house with my mom and aunts: peeling peaches, shucking corn, laughing until our sides hurt, and packing jars full of summer produce. The kids usually had the easy job—snapping the ends off the beans—so we felt like we were really helping make one of everyone’s favourite snacks: pickled green beans, or dilly beans.
Garlicky, snappy, crisp, and gently spicy, these pickled green beans are wonderful straight from the refrigerator on a hot day. They have the bright tang of a cucumber pickle but with an extraordinary crunch.
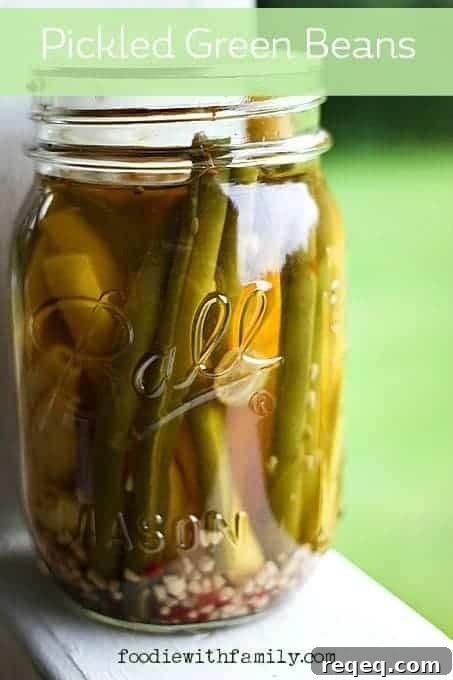
Every time I pop one from the jar I feel like a child again, sneaking treats from Grandma’s fridge while she rested. These beans aren’t just for snacking, though. Chop them and add them to green salads, potato salad, tuna or chicken salad, or pasta dishes for a bright, crunchy note. They also pair beautifully with roasted or game meats—think venison or beef—making them a welcome addition to fall and holiday meals.
Serve a bowl of these pickled beans with your Thanksgiving spread and expect compliments. They’re also a lovely addition to a Christmas table beside ham or goose: the vinegar tang, garlic, and a touch of heat cut through rich, fatty dishes and refresh the palate.
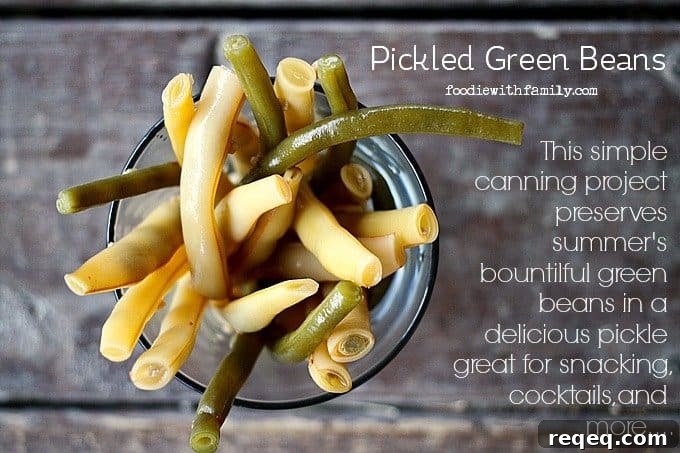
If you like cocktails, try a long pickled bean as a garnish in a Bloody Mary or other savory drinks. They’re versatile, attractive in jars, and make thoughtful homemade gifts for holiday hostessing.
The solution is simple: go to your farmer’s market, grab a peck of green beans, and start pickling. If you’re someone who cans with a plan, make several jars at once—these keep well and are perfect to give as holiday presents.
Cook’s Notes
This pickled green bean recipe is an approachable canning project suitable for beginners and beloved by experienced canners alike.
You’ll notice in the photos that wax beans pickle just as nicely as green beans. I tend to prefer the classic green ones for the look, but either variety works and the flavor and texture are the same. Filled jars of mixed green and wax beans have a lovely, old-fashioned appearance.
For the brine I prefer raw apple cider vinegar for its fuller flavor; regular apple cider vinegar is my second choice. I generally avoid white vinegar for pickling because I find it too harsh, but it is safe to use if that’s what you have or prefer.
Each jar calls for fresh garlic cloves, though you can substitute 1 tablespoon of dried garlic flakes per jar if needed. Adjust the crushed red pepper flakes to suit your heat tolerance—start with the recipe as written, then increase if you want more kick.
This recipe scales easily. I often make five to eight times the batch at once, but feel free to make as little or as much as you need.
If you’re new to canning and need guidance for sterilizing jars or processing in a water bath, consult a trusted canning basics guide for step-by-step safety instructions before you begin.
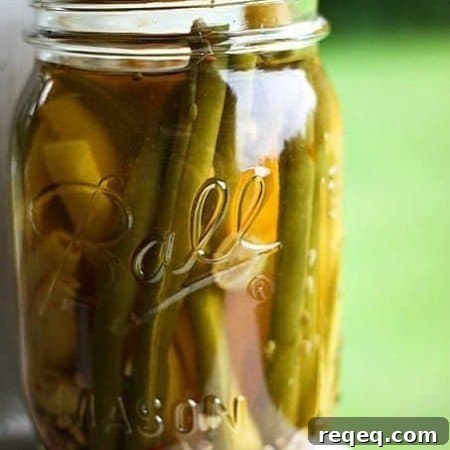
Pickled Green Beans: Dilly Beans
Rebecca Lindamood
Ingredients
- 2 pounds fresh green beans ends and strings removed
- 2 1/2 cups apple cider vinegar
- 2 1/2 cups water
- 1/4 cup kosher salt
- 2 tablespoons raw sugar can substitute granulated white sugar if necessary
Additional Ingredients Per Pint:
- 1 dill head or 2 teaspoons whole dill seed
- 2 cloves garlic peeled
- 1/2 teaspoon black peppercorns
- 1/2 teaspoon mustard seed not ground mustard
- 1/2 teaspoon crushed red pepper flakes
- 1/4 teaspoon coriander seeds not ground coriander
Instructions
-
Trim the green beans so they will fit in the jars, leaving about 1/2 inch of headspace. Place the per-pint ingredients (dill, garlic, peppercorns, mustard seed, red pepper flakes, coriander seeds) into each clean jar, then pack the trimmed beans in upright over the spices.
-
In a saucepan bring the apple cider vinegar, water, salt, and sugar to a boil. Pour the hot brine over the packed beans, leaving about 1/4 inch of headspace. Wipe the jar rims, place new two-piece lids on the jars and tighten to fingertip firmness. Process in a boiling water bath for 10 minutes. Transfer jars carefully to a rack and allow them to cool completely. Remove the rings, wipe jars, label, and store in a cool, dark place for up to a year. Any jars that do not seal should be refrigerated immediately. For best flavor, wait 2 to 3 weeks before opening.
Nutrition
Nutritional information is an estimate provided as a courtesy. Calculate nutrition using the actual ingredients you use with your preferred tool.
Did you make this recipe?
Tag @foodiewithfam on Instagram and use #foodiewithfamily so the author can see your jars and creations.
Save