
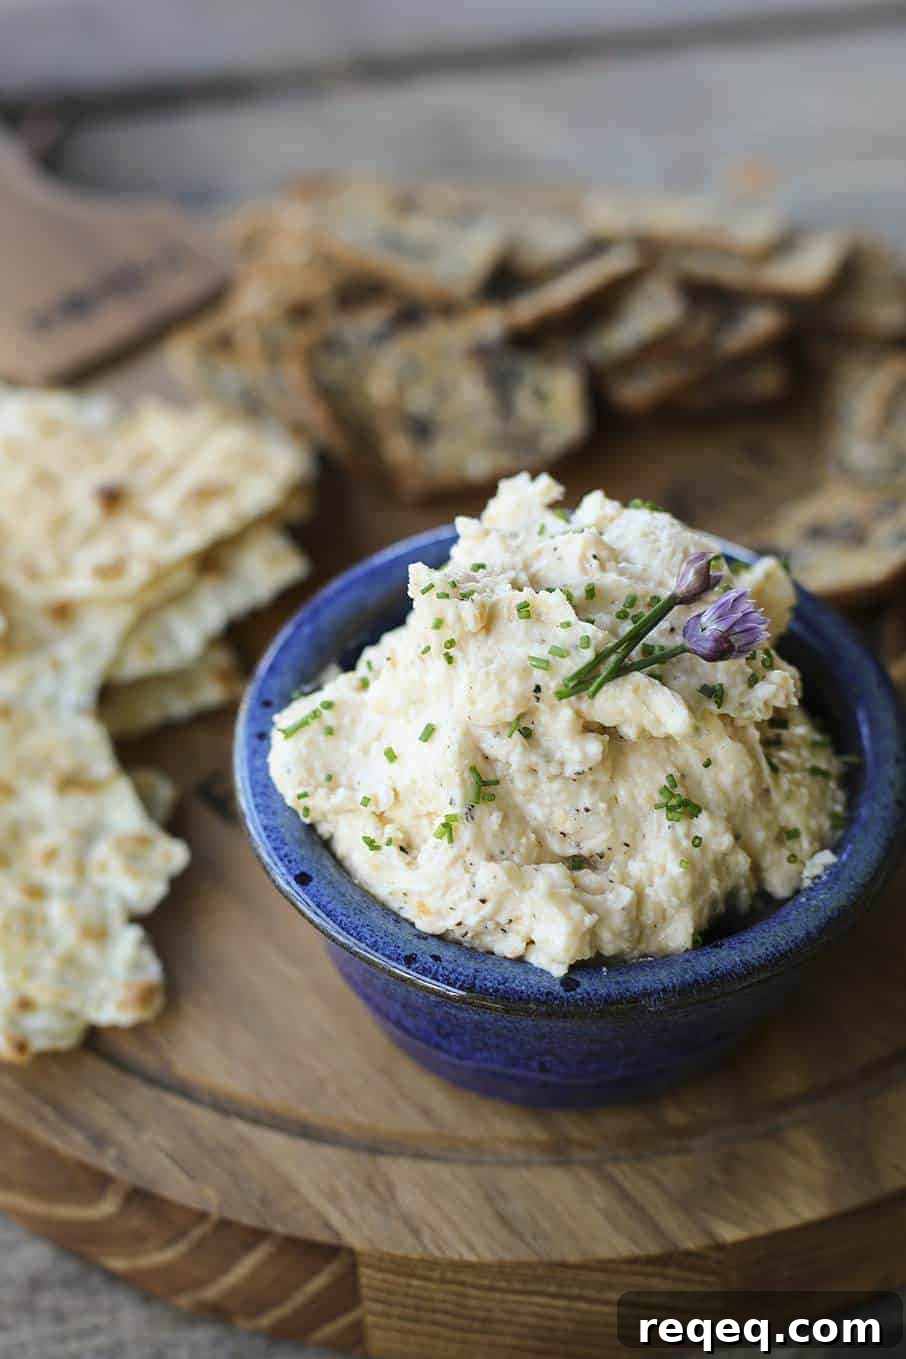
Do you ever get invited to last-minute gatherings? Have you heard of Fromage Fort? Do you love cheese?
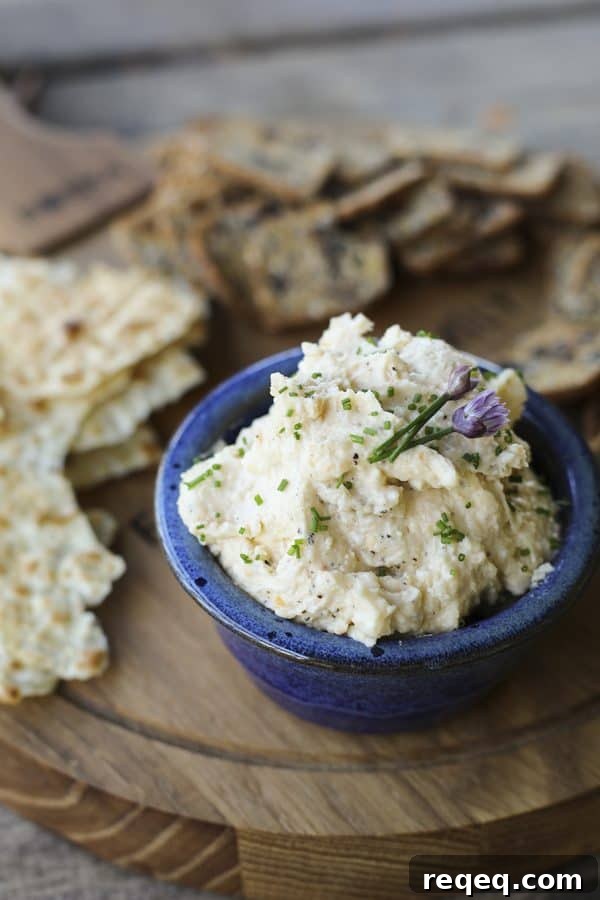
This recipe is for serious cheese lovers. Fromage Fort is the perfect way to use up odds-and-ends from your cheese drawer — a nub of Romano, a hunk of Cheddar, a few tablespoons of crumbled blue, some Asiago pieces. The French name literally means “strong cheese,” and this spread certainly doesn’t hold back. It’s bold, savory, and utterly cheesy.
Think of Fromage Fort as similar to American pimiento cheese, except without the pimientos and with a splash of white wine for depth. The result is a spreadable, punchy mixture that’s ideal for serving with crackers, crusty bread, raw vegetables, baked potatoes, pretzels, or whatever you like to pair with cheese.
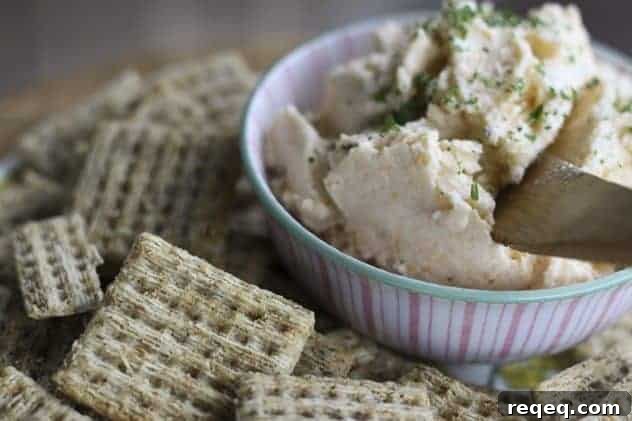
Note: Avoid using processed cheeses such as Velveeta or American cheese for this recipe. They don’t belong in Fromage Fort — use real cheeses for real flavor.
The only special tool you need is a food processor to achieve the best, smooth texture. Other than that, the recipe is forgiving: you can blend it up five minutes before guests arrive or make it a week ahead. The flavor will sharpen with time, so refrigeration will deepen the profile if you make it in advance.
Serve Fromage Fort as a casual appetizer or a finishing spread. Garnish with chopped herbs if you like, and keep extra tightly covered in the fridge with plastic wrap or wax paper pressed to the surface to preserve freshness.

Cook’s Notes
- When assembling cheeses, avoid using too much strong, salty cheese (like Asiago, Romano, or Parmesan) or a large amount of blue cheese. Treat those as accent notes rather than the base.
- For balanced flavor, try roughly 4 ounces of Cheddar as the base and round out the rest with three or four other cheeses.
- Use a white wine you’d enjoy drinking. A simple dry Pinot Grigio or Sauvignon Blanc works well; the wine adds brightness and helps the spread reach a smooth consistency.
- Store leftover Fromage Fort in a covered container with plastic wrap or wax paper pressed directly on the surface to minimize air exposure and keep it fresh up to about a week.
Tools
- Food processor
- Spatula
- Ramekins or small serving bowls
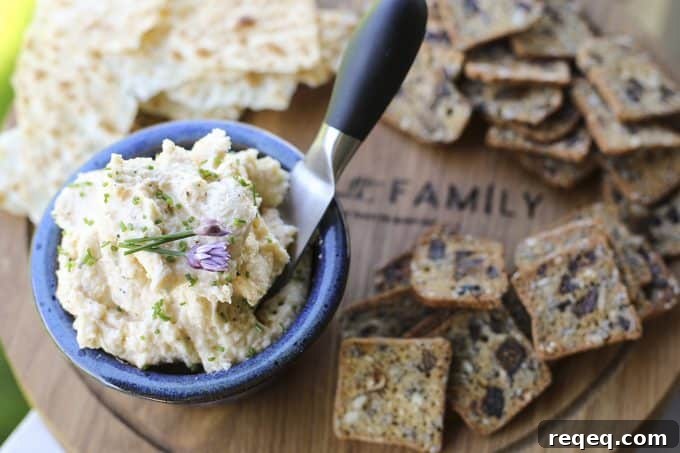
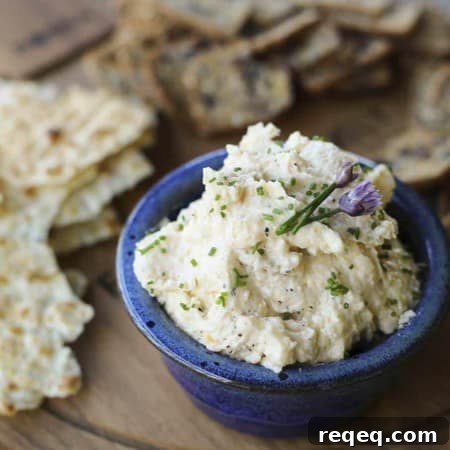
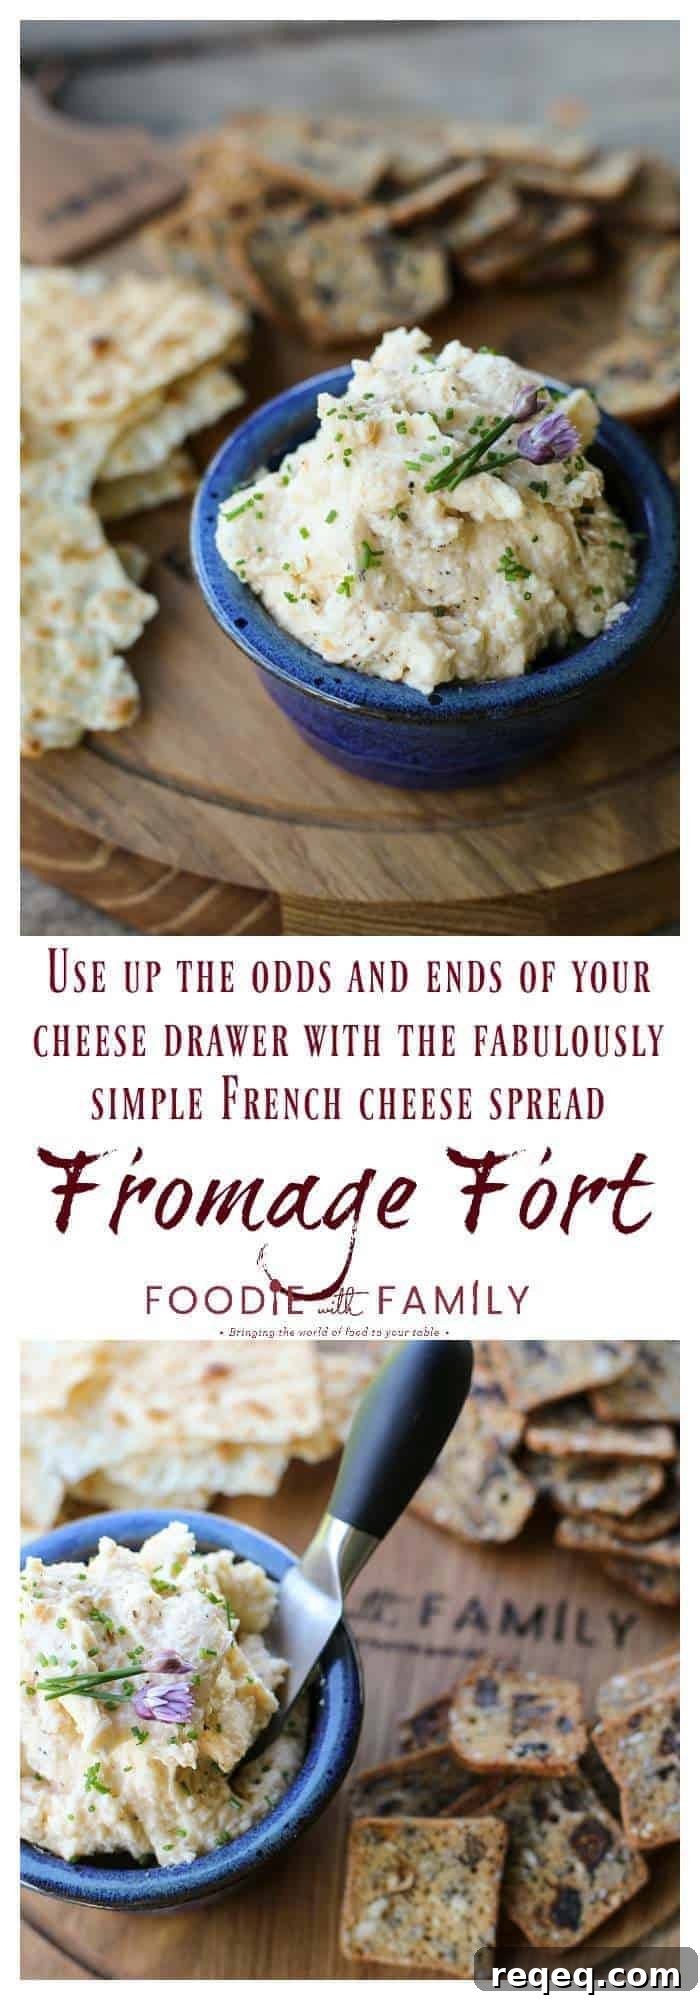
Fromage Fort {French Cheese Spread}
Rebecca Lindamood
Ingredients
-
1/2
pound
of assorted cheeses
(Cheddar, Asiago, Romano, Parmesan, Monterey Jack, Colby, Swiss, etc.) -
1/4
cup
dry white wine
(or more, depending on desired texture) -
1/2
a large clove of garlic
, peeled and roughly chopped - Cracked black pepper to taste
- Optional: chopped herbs for garnish
Instructions
-
Grate the cheeses and add them to the bowl of a food processor fitted with a metal blade. Add the chopped garlic, cracked black pepper, and the white wine. Secure the lid and process until the mixture reaches a spreadable consistency. If you prefer a looser texture, add a little more wine and process again. Scrape the spread into a bowl or ramekin, cover tightly, and refrigerate until ready to serve, up to a week.
-
If desired, garnish with chopped herbs before serving.
Nutritional information is an estimate and provided as a courtesy. Calculate nutrition based on the exact ingredients you use.

Want more Cheese Recipes?
Celebrate National Cheese Day with a variety of delicious recipes for cheese lovers. Here are some ideas to inspire your next cheesy meal or snack:
- Cheese Taco Shells
- Cheddar Broccoli Soup
- Cheesy Garlic Bread
- Stuffed Cheese Buns
- Garlic Bread Grilled Cheese Sandwiches
- Fromage Fort (Cheese Spread)
- One Pan Ham & Cheese Tortellini
- Cheese Blintz with Fresh Strawberries
- Cheesy Pesto Bread
- Instant Pot Cheesy Enchilada Rice
- Dill Pickle Bacon Grilled Cheese
- 2-Ingredient Cream Cheese Pancakes
- Grilled Portobella Mushrooms with Spinach and Cheese
- Creamy Stovetop Macaroni and Cheese
- Easy Philly Cheesesteak Sloppy Joes
- Mushroom & Gouda Grilled Cheese
- Grilled Cheese Roll Ups
- Lemon Cream Cheese Scones
- Chicken Bacon Ranch Cheese Ball Bites
- Ham and Cheese Melt Egg Bake
- Hot Ham and Cheese Campfire Sandwiches
This post was originally published November 23, 2011. Updated with new photos, notes, and additional information June 2017.