
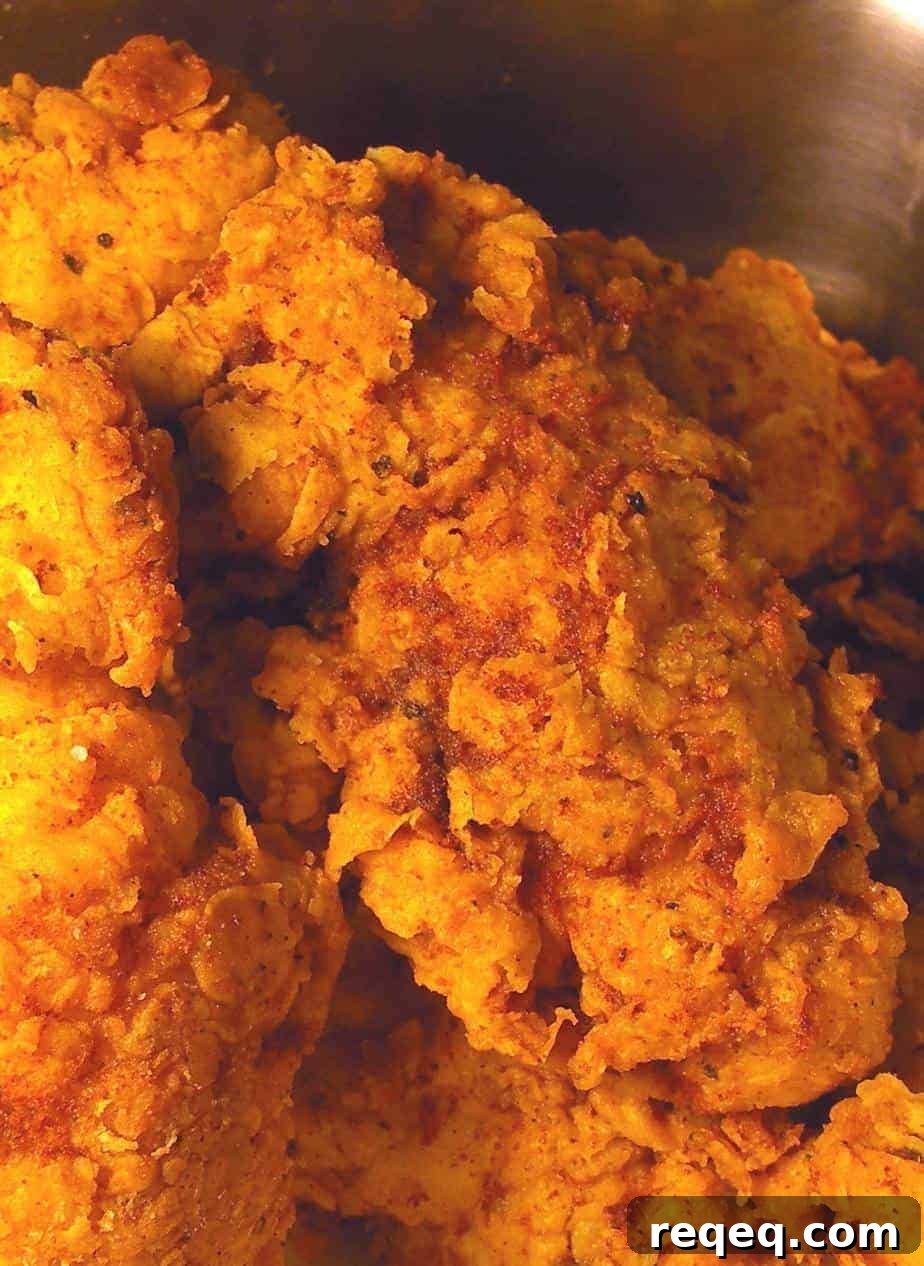
These extra-crispy, flavorful fried chicken tenders are chicken done right. A touch of garlic and onion in the breading adds serious flavor to every crunchy bite, and the coating method locks in the chicken’s juicy goodness.
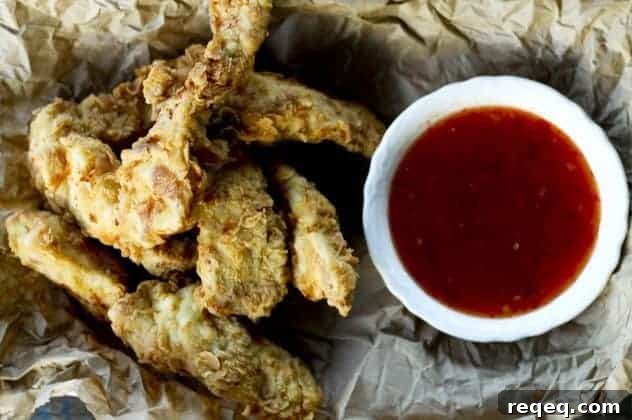
The Evil Genius, ever the thoughtful cook, recently made my all-time favorite dinner: fried chicken tenders. While many swear by dark meat, I’ll happily shout my affection for white meat: I love white meat chicken. He delivered a generous plate of crispy, crunchy, well-seasoned chicken tenders, and they were perfect.
Because I was under strict “sit down and relax” orders while he cooked, our photos were limited to the chicken cooling before we dove in. Hot fried chicken waits for no one—that includes photographers.
If you’ve kept oil from homemade tortilla chips, this is a great way to use it up. Add additional canola or peanut oil as needed to reach roughly 6 cups for frying. And if you want a sweet-savory dip, try a brown sugar pancake syrup—it pairs beautifully with extra-crispy chicken.
Extra Crispy Fried Chicken Fingers
Rebecca Lindamood
Ingredients
- 1 1/2 pounds boneless, skinless chicken breasts or thighs
- 6–8 cups canola or peanut oil for frying
- 1 egg
- 1 cup buttermilk (or milk for a milder flavor)
- 2 cups all-purpose flour
- 1 Tablespoon Montreal steak seasoning (or substitute)
- 1 teaspoon kosher salt
- 1 teaspoon fresh coarse-ground black pepper
- 3/4 teaspoon MSG (optional; omit if sensitive)
- 1/2 teaspoon paprika
- 1/2 teaspoon garlic powder (preferably granulated)
- 1/2 teaspoon onion powder (preferably granulated)
Instructions
- In a large bowl, whisk together the flour, Montreal steak seasoning, salt, pepper, MSG (if using), paprika, garlic powder, and onion powder. Divide the seasoned flour between two shallow dishes or pie plates. Line a pan or cooling rack with paper towels and set it aside for draining the cooked chicken.
- Pour oil into a large, deep, heavy-bottomed pan or fryer and heat over medium to medium-high. Never fill the pan more than halfway with oil. If you have a thermometer, heat the oil to 350°F. If you don’t have a thermometer, test the oil by dipping the tip of a breaded chicken piece into it—many lively bubbles around the edges indicate it’s ready.
- Whisk the egg and buttermilk together in a medium bowl until combined and set aside near the flour dishes.
- Trim the chicken pieces and slice each breast or thigh lengthwise into about three sizable strips (slice smaller breasts into two if needed).
- Set up a breading station near the stove in this order, from the oil out: first flour dish, bowl with egg/buttermilk, second flour dish, and a board with the chicken. Work one piece of chicken at a time: coat it evenly in the first flour dish, shake off excess; dredge through the egg/buttermilk, shake off excess; then dredge through the second flour dish, coating thoroughly and shaking off the excess.
- Using one hand to manage the coated chicken (to avoid cross-contamination), gently slide the fully coated piece into the hot oil—do not throw it in. Place each piece one at a time so they have space and form a crust before adding the next.
- Turn the pieces gently with tongs and cook for 8–15 minutes depending on thickness. If the coating is browning too fast, reduce the heat. To check doneness, remove a thicker piece and slice the center—clear juices indicate the chicken is cooked through.
- Transfer the cooked chicken to the towel-lined pan and let rest for at least 5 minutes before serving. They will be very hot right out of the oil, so allow a short cooling period to avoid burns and to let the coating set.
Nutritional information is an estimate and provided as a courtesy. Calculate nutrition using the exact ingredients and quantities you use with your preferred nutrition tool.
Did you make this recipe?
Tag @foodiewithfam on Instagram and use #foodiewithfamily so the author can see your version.