
I’ve been fortunate to move around and see parts of this country, but I’ve lived in rural Western New York longer than anywhere else. I was born in Michigan and will always consider myself a Michigander, though there are moments when I almost claim the New Yorker title—mostly because of the food.
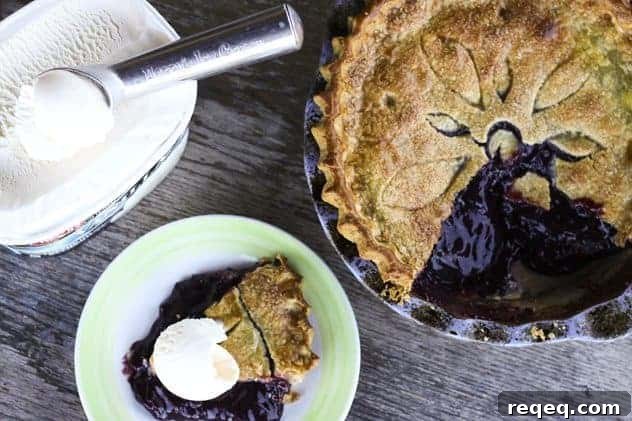
Beef on weck, white hots, wings, salt potatoes and grape pie are some of those signature foods. Grape pie was perhaps the greatest revelation. Made with Concord grapes, it carries an intense, perfumed aroma that makes your mouth water instantly. That scent is the one every grape soda and candy has tried—and failed—to reproduce. Fresh Concord grapes bring a singular joy; they are the essence of autumn.
New York is dotted with vineyards and u-pick farms. Drive through the right areas in September with your windows down and you’ll catch that unmistakable grape perfume drifting across fields. Paired with the bright fall foliage and crisp air, it’s an unmistakable sign of the season’s change.
I used to wait all year for grape pie until I learned to make and can my own grape pie filling. It’s surprising this hasn’t become more common commercially. Grape pie filling is tart and sweet, juicy and velvety, and the gently cooked grape skins add body and texture. It’s a bit more hands-on than simply cooking berries with sugar and starch, but part of the pleasure is the ritual: sitting around two big pots on the porch, slipping skins from grapes two at a time. You hold a grape in each hand, squeeze the juicy pulp into one pot and drop the skins into the other. It can take half an hour or more, but time drifts away with a mug of coffee or tea between your feet and good company all around.
After the porch work, the pulp simmers until the seeds loosen, then it’s pressed through a colander or food mill to remove the seeds. The sieved pulp is returned to the pot with the skins, joined by sugar, a splash of lemon juice (or citric acid) and a starch like ClearJel. The mix is cooked until it thickens, then poured hot into jars, sealed, processed in a water bath and stored. When winter arrives, those jars become a quick route to an unexpected slice of autumn.
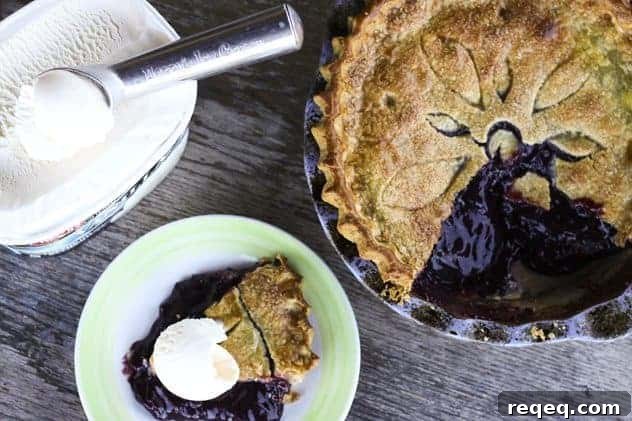
Grape pie filling isn’t just for pies. It makes a lovely cake filling, an excellent ice cream topping, a delicious spread for sandwiches, and a fine jam substitute for cookies or turnovers. Versatile and fragrant, it brightens many desserts.
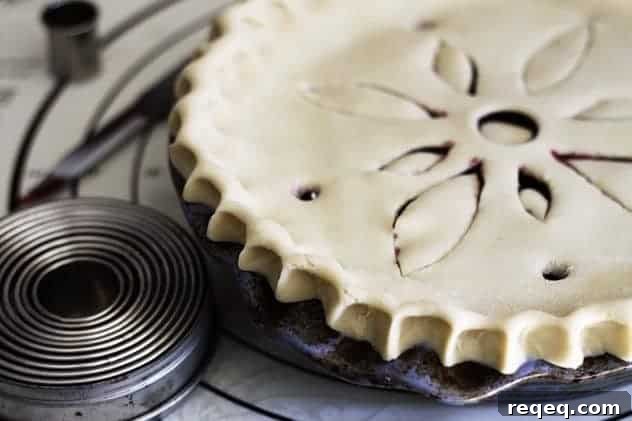
When you’re ready to bake the pie, ease your favorite crust into a dish, spoon in a jar of the deep purple filling, top with the second crust, crimp the edges and cut a few vents. The hardest part that follows is waiting: for the pie to bake, for it to cool enough to slice, and for that first wedge to be handed to you. The aroma while it bakes is its own reward.
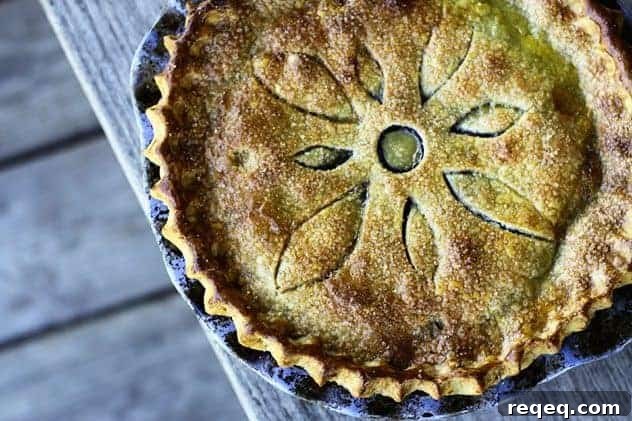
When the pie is finally ready, the payoff is total. A flaky crust gives way to thickened, silky grape filling studded with tender skins. Your mouth and fingers will likely be stained purple—the same mark left months earlier while canning the filling. These are the small pleasures that make canning addictive.
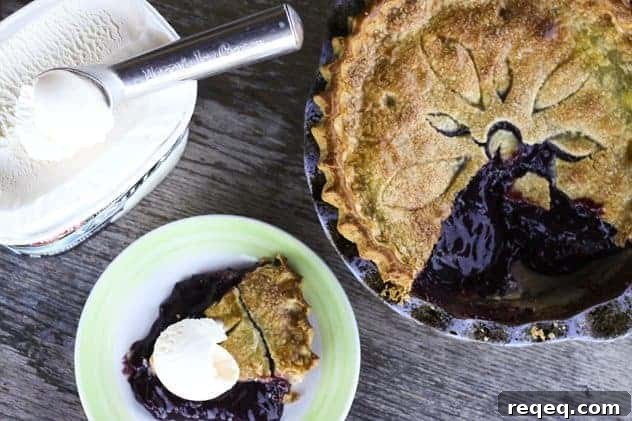
Grape Pie Filling and Grape Pie
Rebecca Lindamood
Pin Recipe
Ingredients
For the Pie Filling:
- 22 cups Concord grapes washed
- 4 cups granulated sugar
- 1/4 cup lemon juice or 1 teaspoon citric acid
- 1 cup ClearJel starch or another brand of the same type of starch
For the Grape Pie:
- 1 quart grape pie filling
- Pie pastry for a double crust
- 1 egg beaten
- Raw sugar or granulated sugar for sprinkling (optional)
Instructions
To Prepare and Can Grape Pie Filling:
- Working over two pots, hold a grape in each hand and gently squeeze the pulp into the first pot, dropping the skins into the second pot. Continue until all grapes are separated into pulp and skins.
- Place the pot with the pulp (do not add water) over medium heat and bring to a boil, stirring frequently. Boil 5–6 minutes, then pass the hot pulp through a food mill or a colander, pressing to extract as much juice and pulp as possible. Pour the sieved pulp over the reserved skins.
- In a separate bowl, whisk together the sugar and ClearJel (and citric acid if using). Sprinkle the mixture over the grape pulp and mix thoroughly. Return the pot to medium heat and stir constantly until the mixture comes to a full boil and thickens.
- Using a canning funnel, ladle the hot filling into clean, sterilized quart jars, leaving 1 inch of headspace. Wipe rims clean, center new lids and screw on rings fingertip-tight.
- Place jars in a canner, cover with water, bring to a boil and process for 30 minutes. Turn off the heat, let jars rest 5 minutes, then transfer to a rack to cool overnight. Remove rings, wipe jars, label and store in a cool, dark place for up to two years.
To Make the Grape Pie:
- Preheat oven to 425°F. Roll out half the pastry and line a pie plate, letting the dough drape slightly over the edge. Pour a quart of grape pie filling into the crust and spread evenly. Roll out the top crust, place it over the filling, trim and crimp the edges, and cut vents.
- Brush the top crust with beaten egg and sprinkle with sugar if desired for color and sparkle.
- Bake 15 minutes at 425°F, then reduce the oven to 350°F and bake an additional 30–40 minutes until the crust is deep brown and the filling is bubbly. Shield the edges with foil if they brown too quickly.
- Transfer the pie to a cooling rack and allow it to cool completely before slicing, if you can wait. Cooling helps the filling set slightly for cleaner slices.
- Serve each slice with a scoop of vanilla ice cream for a classic pairing. Store leftovers covered at room temperature for up to 3 days.
Nutritional information is an estimate and provided as a courtesy. Calculate nutrition with the specific ingredients you use.
did you make this recipe?
Tag @foodiewithfam on Instagram and use #foodiewithfamily so your photo can be seen.