
Welcome to part III of the series on component dishes (Part I, Candied Jalapenos) and Part II, Homemade Greek Yogurt and Cucumber Yogurt Salsa (Raita)! These pieces all come together to make the transcendent “Second to Naanwich,” which I’m still thinking about weeks after enjoying it. In the next post I’ll share the Tandoori-style grilled chicken recipe and step-by-step assembly for the you-know-what.
I won’t bore you with excuses for the delay—life has been full: hosting family, finishing year-end work, keeping the kids on track for the last days of school, planning a trip, and, yes, gardening more than cooking lately. Also, a neighbor’s very enthusiastic late-night band provided a memorable (and noisy) soundtrack for a couple of weekends. But we’re here for food, so let’s jump straight into it.
*Note: if you ever find yourself subjected to a band that sounds like it set up in your front yard, you’ll understand my wish for common-sense noise standards.
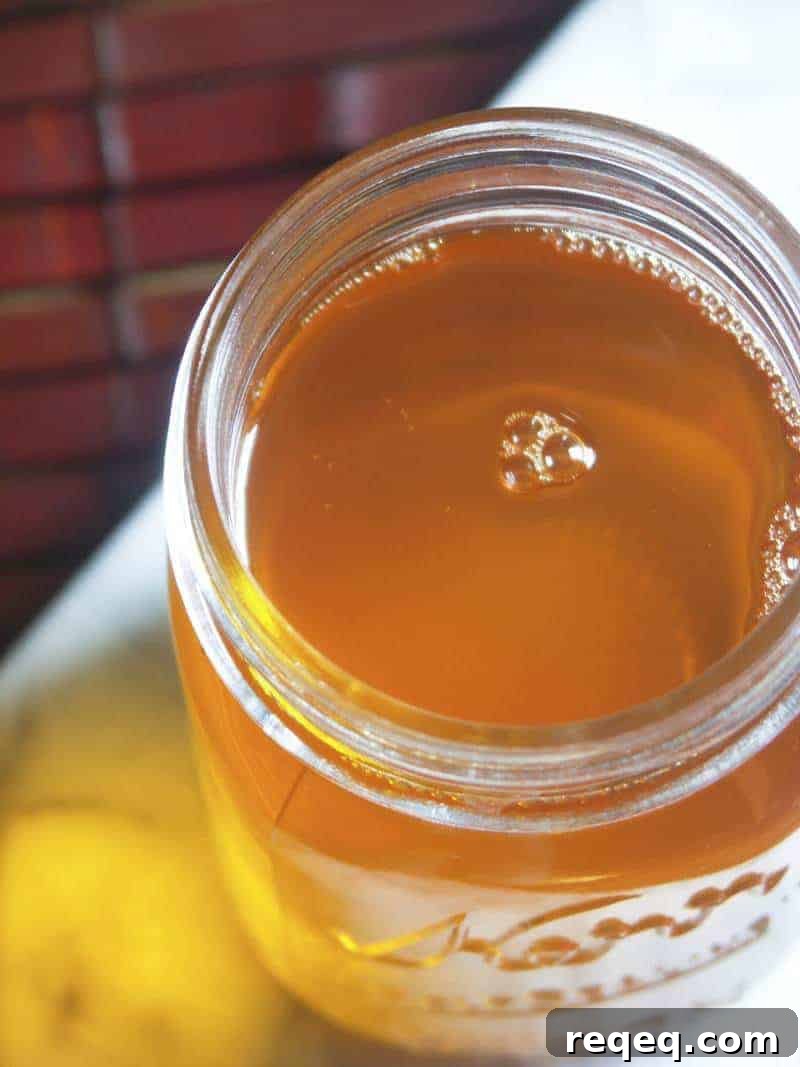
Ghee—also called clarified or drawn butter—is a staple fat in many cuisines worldwide, including Indian, French, English, Brazilian, and Iranian cooking. In plain terms, ghee is butter that has been gently cooked to remove water and milk solids, leaving nearly pure butterfat. The result is a richly flavored, shelf-stable fat with a higher smoke point than regular butter.
Why use ghee instead of regular butter?
Ghee lasts longer because the water and milk solids that cause butter to spoil are removed. Slow, gentle heating allows the water to evaporate and the milk solids to separate out. Removing those components also raises the smoke point, letting you cook at higher temperatures without burning the fat while keeping that desirable buttery flavor. The outcome is versatile, long-lasting ghee that gives you great flavor and better performance in high-heat applications.
Start with the best butter you can find for the best result. Cultured or European-style butter creates extra depth, but any high-quality butter will produce excellent ghee.
Cost considerations
Store-bought ghee can be expensive and sometimes hard to find. Making your own is often far more economical. Depending on your local butter prices, homemade ghee can cost a fraction of the jarred variety. If you have access to good-quality, reasonably priced butter, homemade ghee is both cost-effective and delicious.
Don’t throw away the browned milk solids left after straining. Those little crispy bits are incredibly flavorful—great stirred into rice or soup, spread on bread, or used to enrich other dishes. Save them in the refrigerator and use them as a concentrated flavor booster.
One small practical note: while the ghee cooks, your kitchen will smell fantastic. You may want a snack ready while you wait.
For a printer-friendly, photo-free version of this recipe, click here.
Homemade Ghee
Yield: About 1 1/2 pints of ghee plus 1/2 pint of crispy milk solids.
Ingredients:
- 2 pounds good-quality butter (cultured or European-style recommended)
Method:
1. Melt the butter slowly over low heat in a heavy-bottomed saucepan. Stir occasionally until the butter is fully melted and starts to foam at the surface.
2. Continue cooking gently. After a few minutes you’ll hear snapping, popping, and crackling—that’s the water evaporating and separating from the fat. This step helps stabilize the ghee for longer storage.
3. Milk solids will separate and sink or cluster in the pan. Keep cooking over low heat until the crackling subsides and the solids turn a toasty brown. A useful aroma indicator is that the butter will start to smell like popcorn when it’s ready.
4. Remove the pan from the heat once the milk solids are golden brown and the sizzling has mostly stopped. Allow the ghee to cool uncovered for about 30 minutes.
5. While it cools, prepare a straining station: place a fine-mesh sieve or colander over a bowl or jar and line it with paper towels, a clean tea towel, or extra-fine cheesecloth.
6. Carefully pour the cooled ghee through the lined sieve into a clean jar. The sieve will catch the toasted milk solids.
7. Scrape the browned solids into a separate jar and refrigerate. These crispy bits are intensely flavorful and can be used to enrich many dishes.
Storage: Store ghee at room temperature in a tightly sealed jar for up to six months. At room temperature it will be mostly solid and opaque.